Easy Instant Pot Hibachi Chicken Dinner (GF)
Instant Pot Hibachi Chicken is the super easy dinner recipe you’ve been looking for. It really does not get easier than this delectable seasoned chicken and veggies all cooked in one pot. Serve it up with a creamy restaurant-style sauce and your family will be begging for more!
Suitable for gluten free diets. Post includes Weight Watchers points.
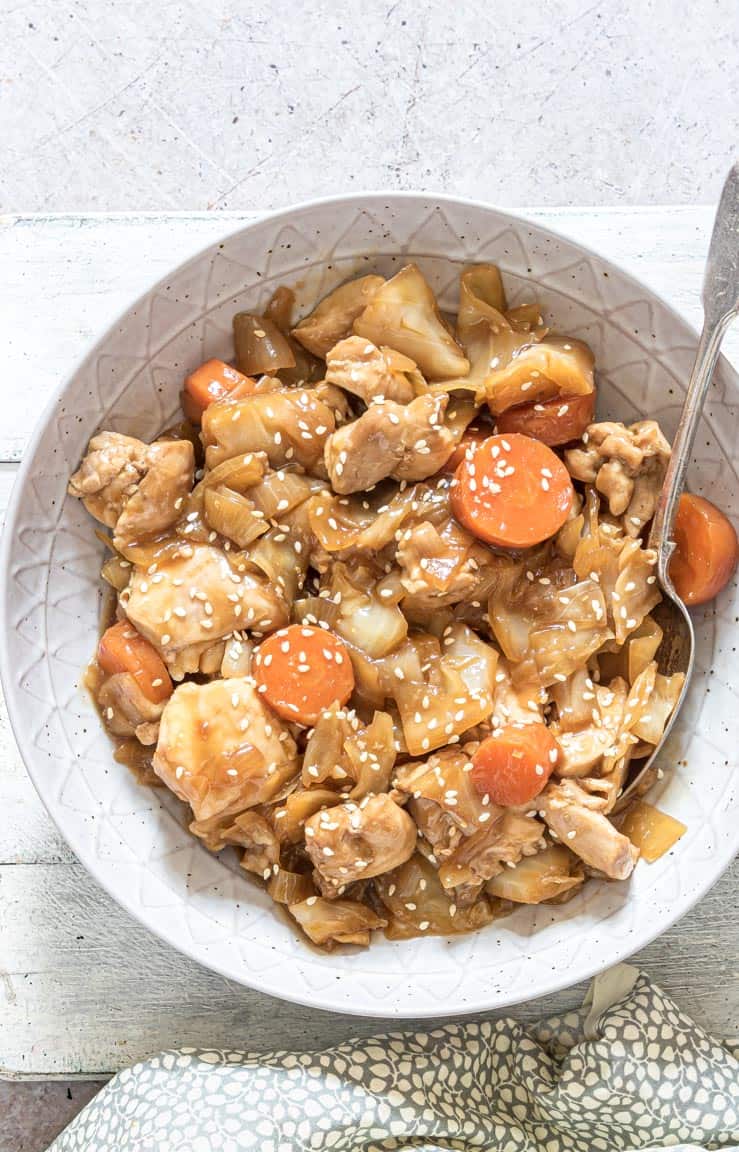


So, another awesome family friendly, super easy dinner for the win!!!!! And it does not get easier than this Easy Instant Pot Hibachi Chicken dinner made with seasoned chicken and veggies served with a creamy 5 minute Yum Yum Sauce and delicious Kani Salad.
Plus, this Chicken Hibachi Dinner is an awesome Japanese Steakhouse restaurant-quality meal that is really really easy to whip up and eat at home. Add it to your fave ‘go-to’ fakeaways rotation and be prepared to make this 132,000 more times this year.
If you like this recipe then try this Instant Pot Chicken Adobo and Instant Pot Ropa Vieja (Cuban Beef).

WHY YOU WILL LOVE THIS
- This easy family dinner is super fast to prep and whip up.
- It is made with only a few affordable everyday pantry ingredients.
- It is super customizable – change up the veggies to serve something different every time.
- Minimal cleanup! It’s all cooked in one Instant Pot.
- It is gluten-free and finger licking good!!
What Is Hibachi Chicken?
Traditionally, the Japanese word hibachi means “fire bowl”. Where rice, seafood, meat, etc. etc. are cooked on a very high heat metal plate over a ceramic bowl full of burning charcoal or wood. Luckily we can adapt this recipe to our Instant Pot to easily whip it up at home.
Ready to learn just how easy it is to make Instant Pot Hibachi Chicken? Gather up your ingredients and I will show you…..

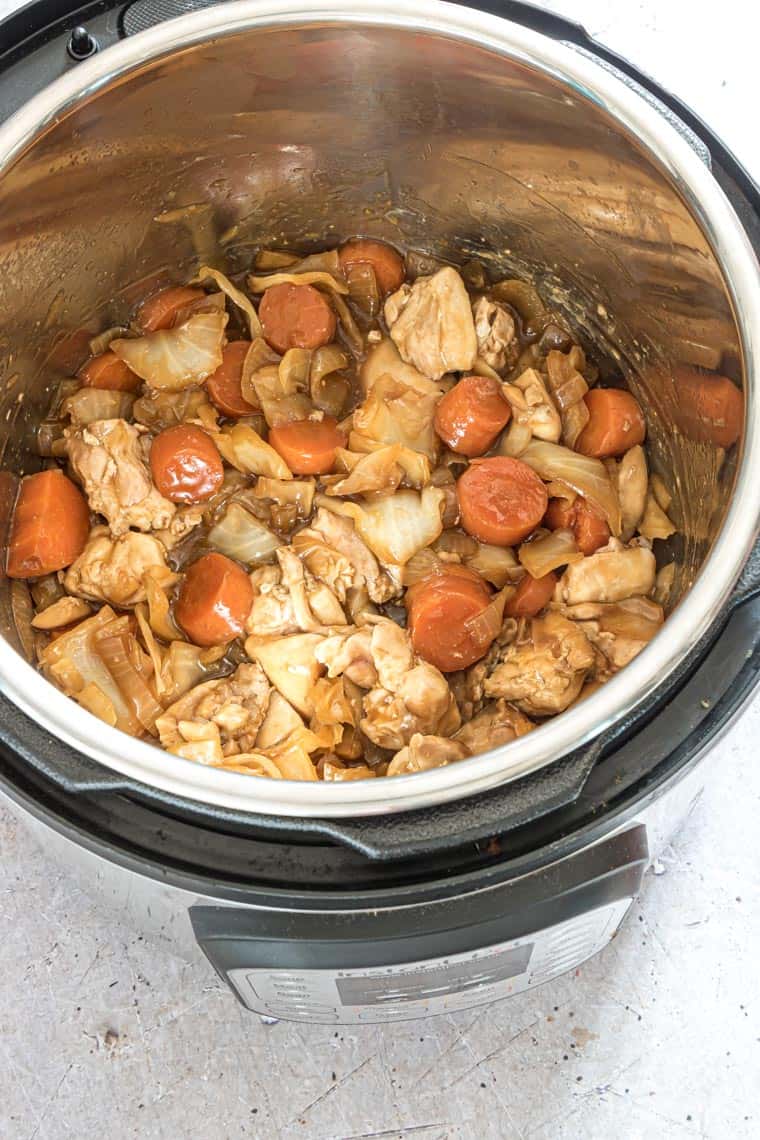
How To Make Hibachi Chicken
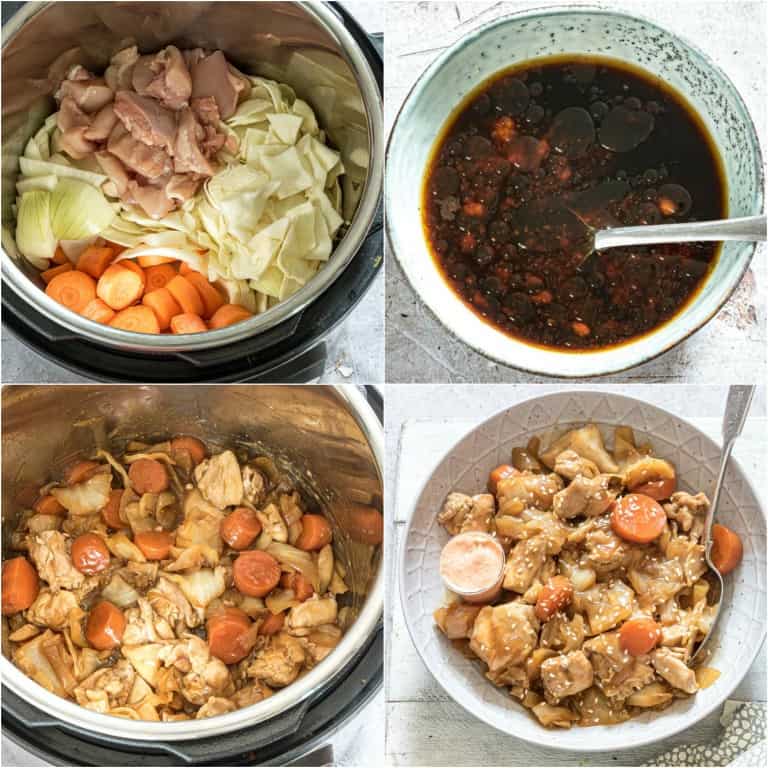
- Add chicken, carrots, cabbage, onion into the Instant Pot insert.
- Mix together soy sauce, broth, garlic, and sesame oil. Pour in the insert.
- Place the lid on, seal, select high pressure, and set to the pressure cook / manual cook setting for 4 minutes.
- Then perform a quick pressure release to release all of the pressure. At this point you can serve as is, but it is much better if you thicken the sauce.
- Remove chicken and veggies, but leave the sauce in.
- Make cornstarch slurry by mixing 2 tbsp cornstarch and 1 tbsp water, and add it to the sauce.
- Choose the sauté setting and saute until the sauce thickens.
- Switch off and add the chicken and vegetables back in. Mix before serving.
To keep the chicken moist, it is important to:
- 1) do a quick pressure release.
- 2) make sure to remove the chicken from the sauce before you thicken it up.
Japanese Hibachi Recipe Tips
- It is really important to use a low sodium broth or a low sodium tamari soy sauce, otherwise, it could be too salty.
- Make sure you use vegetables that will hold under pressure for the cook time. So for example, do not use broccoli which cooks in zero minutes.
- If you start with frozen chicken, you’ll need to defrost before using.
- Feel free to double the recipe to serve a crowd. Just don’t fill the Instant Pot past the max fill line.
- Cooking time listed does not include the time for the Instant Pot to come up to pressure or for the pressure to release.
- If following a gluten-free diet, make sure to use gluten free Tamari sauce instead of regular soy sauce.
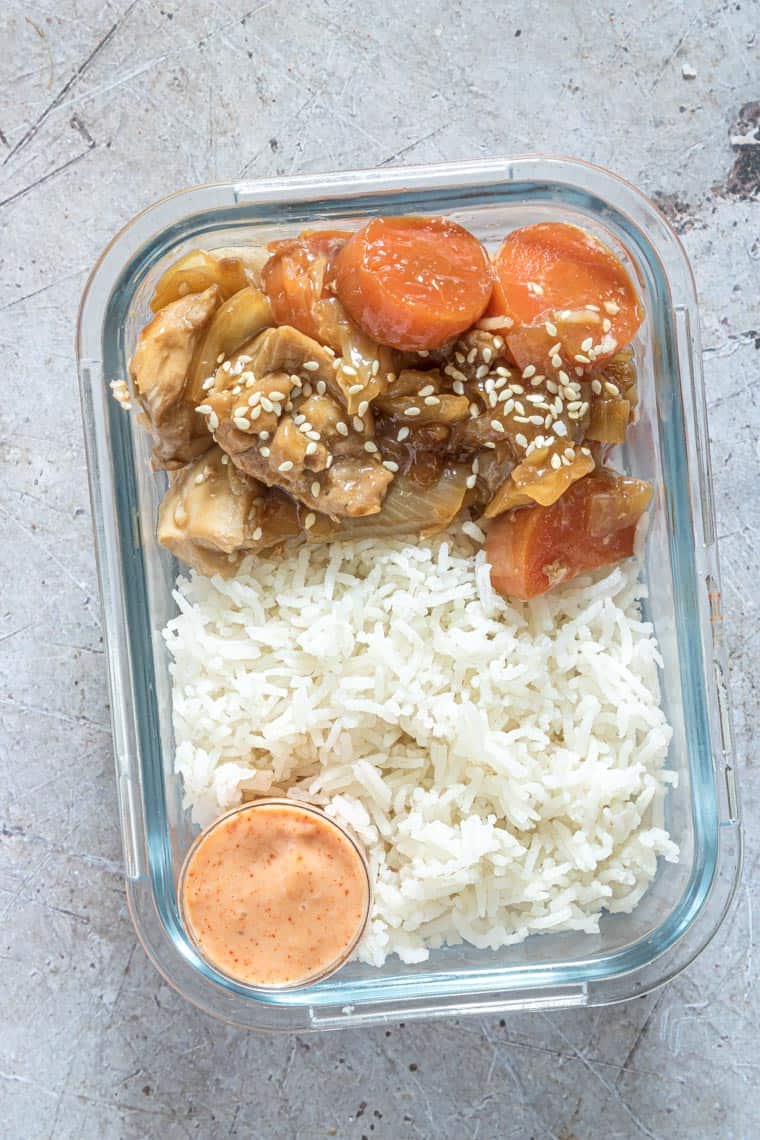
- Make a big batch and then portion in meal prep bowls and store in the refrigerator. #prepaheadforthewin
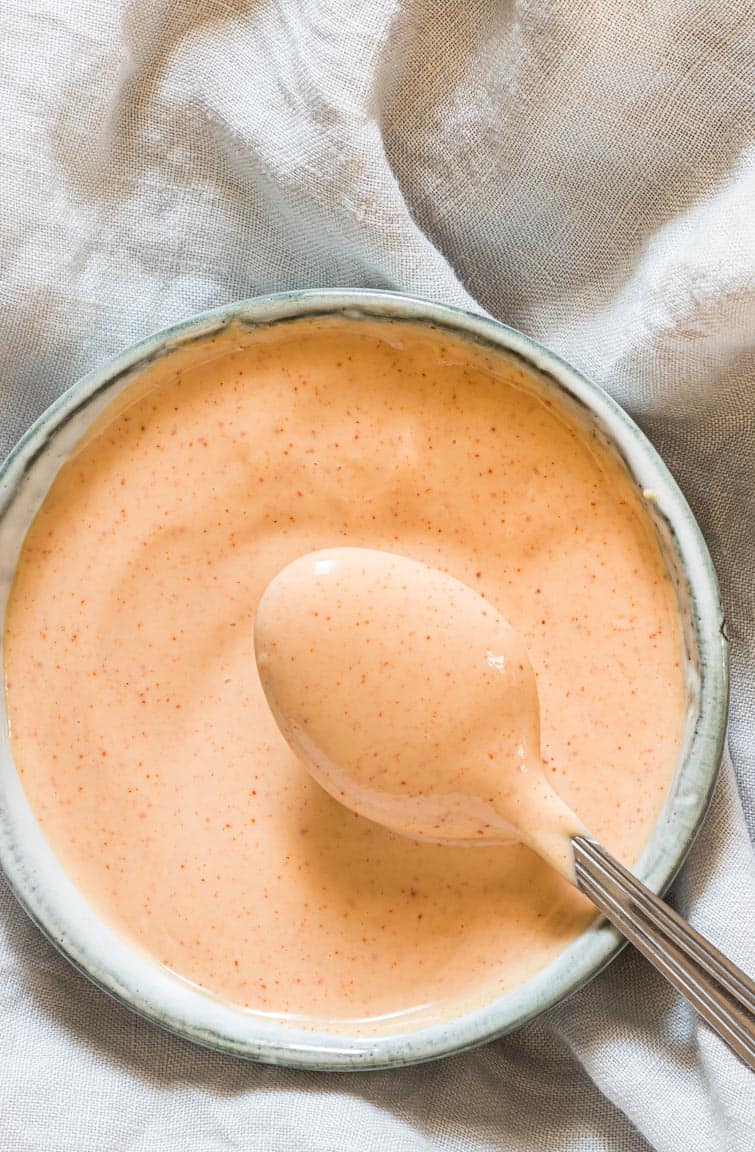
Hibachi Chicken Sauce Recipe
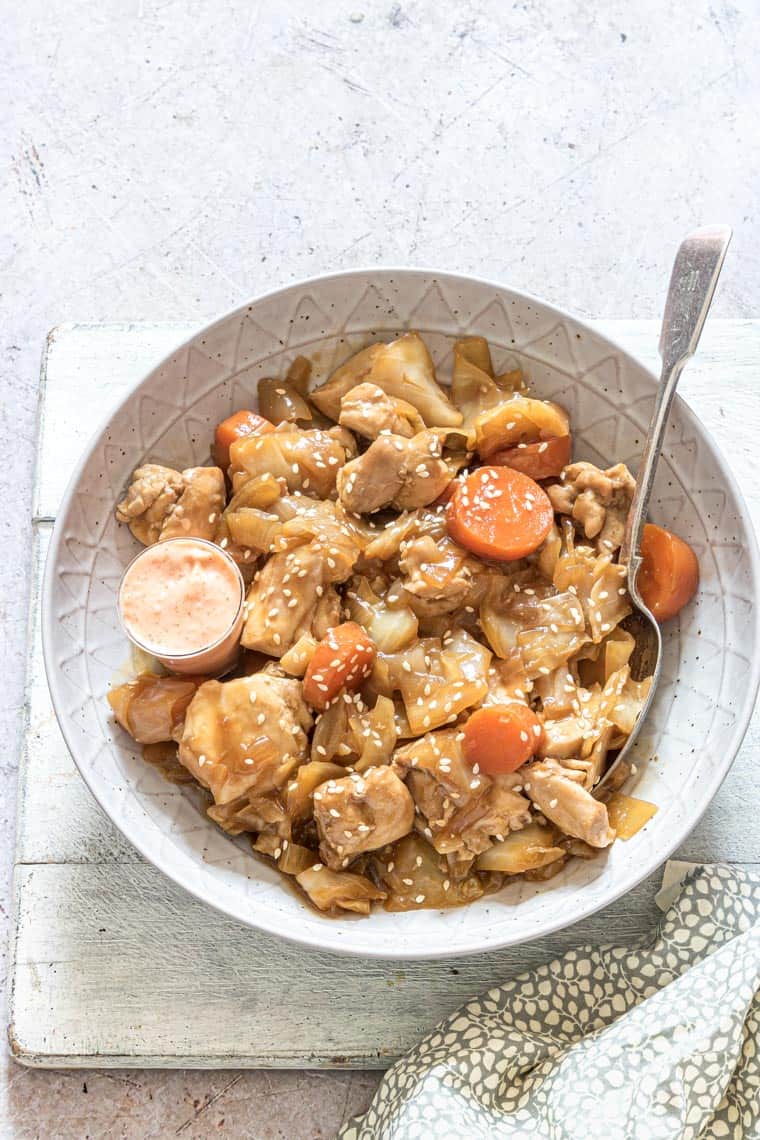
So what exactly is Hibachi Chicken Sauce? Also known as Yum Yum Sauce, it’s a creamy tangy savory mayo-based sauce normally served with seafood in Japanese steakhouses. This awesome orange hue condiment goes with pretty much EVERYTHING, because as the name suggests, it’s YUM!
Head over to the Yum Yum Sauce post for the full recipe and all the tips.
Meal Prep
Cook up a big batch of this Hibachi Chicken because it can be easily stored in the fridge or freezer until you need it.
Prep Ahead – Make ahead and refrigerate for up to 3 days in an airtight container.
Freeze – Follow the handy tips below on how to freeze this.
- Let cool down then transfer into these very handy Ziploc freezer bags.
- Squeeze out all the extra air and seal the bags.
- Label the bags and then lay them flat in the freezer.
- Store in the freezer for 3 months.
Variety – change things up and serve this as:
- a low carb treat.
- satisfying lunch on the go.
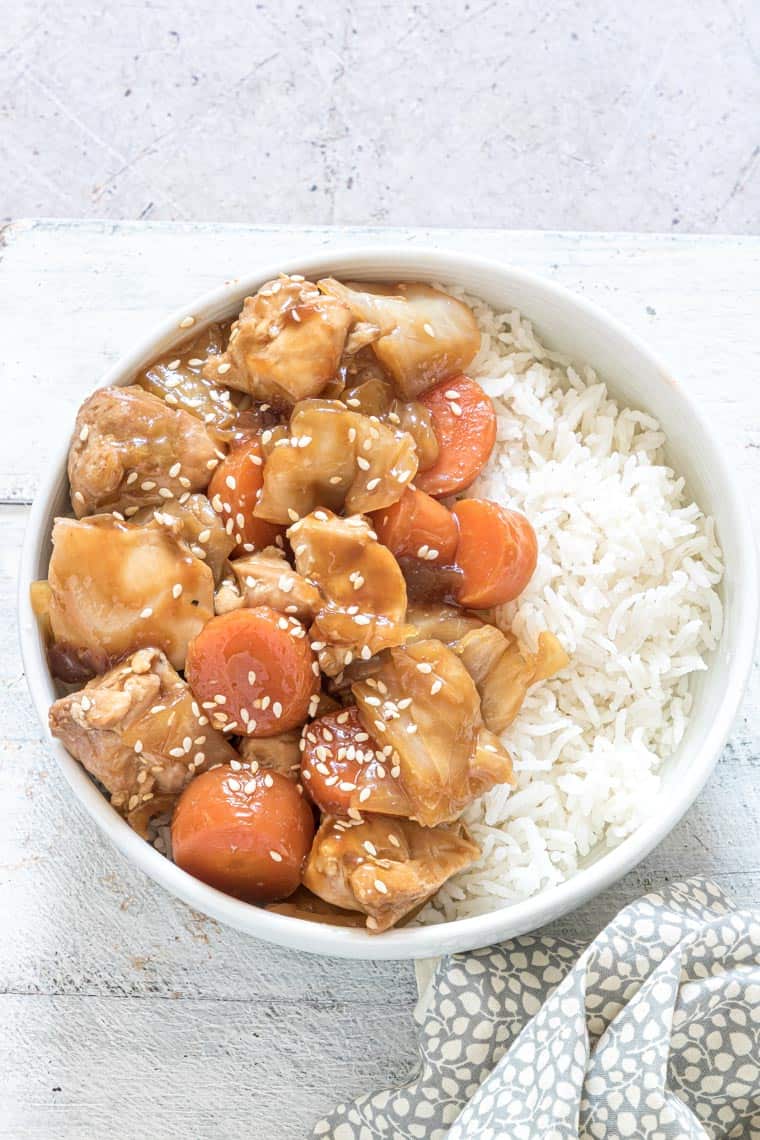
- delish chicken and rice bowl.
More Recipes You Might Like
- Instant Pot Chicken Adobo.
- Instant Por Ropa Vieja.
- Instant Pot Barbacoa Beef.
- Instant Pot White Chicken Chili.
- Instant Pot Chicken and Rice.
- For a few instant pot tips – learn all about the Instant Pot Burn Message and about the Instant Pot Settings.
Serving Suggestions
Weight Watchers Points
There is just 1 Blue Plan SmartPoint in a serving of this, without the yum yum sauce.
Thank you for reading my Instant Pot Chicken Hibachi recipe post. And please visit again as I continue dreaming up recipes, traditional African recipes, African fusion recipes, Sierra Leone recipes, travel plans, and much more for you. Thanks for supporting Recipes from a Pantry, food blog.
Get The Easy Instant Pot Hibachi Chicken Recipe
Don’t forget to tag #recipesfromapantry on Instagram or Twitter if you try Instant Pot Hibachi Chicken Dinner! It is really, really awesome for me when you make one of my recipes and I’d love to see it. You can also share it on my Facebook page. Please pin this recipe to Pinterest too! Thank you for reading Recipes from a Pantry.

Instant Pot Hibachi Chicken Dinner
Ingredients
- 1 lb (454g) skinless boneless chicken thighs diced
- 2 carrots cut into 1/2 inch discs
- 3 cups cabbage roughly chopped
- 1 onion peeled and sliced into big pieces
- 1/3 cup tamari soy sauce or regular if not GF
- 1/3 cup reduced sodium chicken broth
- 1 tsp minced garlic
- 1 tsp sesame oil toasted if possible
- 2 tbsp cornstarch
Instructions
- Add chicken, carrots, cabbage, onion into the Instant Pot insert.
- Mix together soy sauce, broth, garlic, and sesame oil. Pour in the insert.
- Place the lid on, seal, select high pressure, and set to the pressure cook / manual cook setting for 4 minutes.
- Then perform a quick pressure release to release all of the pressure. At this point, you can serve as is, but it is much better if you thicken the sauce.
- Remove chicken and veggies, but leave the sauce in.
- Make cornstarch slurry by mixing 2 tbsp cornstarch and 1 tbsp water, and add it to the sauce.
- Choose the sauté setting and saute until the sauce thickens.
- Switch off and add the chicken and vegetables back in. Mix before serving.
Video
Recommended Products

Notes
- It is really important to use a low sodium broth or a low sodium tamari soy sauce, otherwise, it could be too salty.
- Make sure you use vegetables that will hold under pressure for the cook time. So for example, do not use broccoli which cooks in zero minutes.
- If you start with frozen chicken, you’ll need to defrost before using.
- Feel free to double the recipe to serve a crowd. Just don’t fill the Instant Pot past the max fill line.
- Cooking time listed does not include the time for the Instant Pot to come up to pressure or for the pressure to release.
- If following a gluten-free diet, make sure to use gluten free Tamari sauce instead of regular soy sauce.
- Make a big batch and then portion in meal prep bowls and store in the refrigerator.


What an informative post! I kept expecting to scroll to the recipe but kept finding more and more information. That’s so awesome! You even answered my main question, what about that crispy skin? I’m so indecisive about getting an instant pot.
My new favorite Instant Pot recipe! This was so good and so easy to make. Love the cabbage in here too. YUM!
Yum!!! I love this recipe. Such fantastic flavors and so easy in the Instant Pot. Thanks for all the tips and photos!
What an easy weeknight dinner! Cabbage is our favorite ingredients this time of year!
Can I leave out all the veggies? Or will that affect the flavor