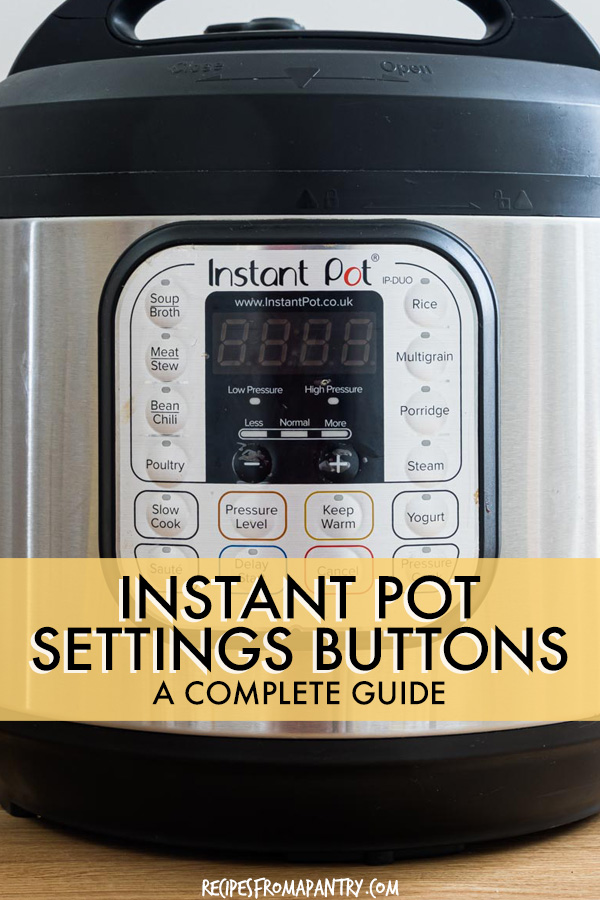
Instant Pot Settings Buttons
Ever wonder what all those Instant Pot buttons settings actually do?! This helpful guide explains everything you need to know, from how to start Instant Pot to using the various Instant Pot buttons and Instant Pot settings with ease.

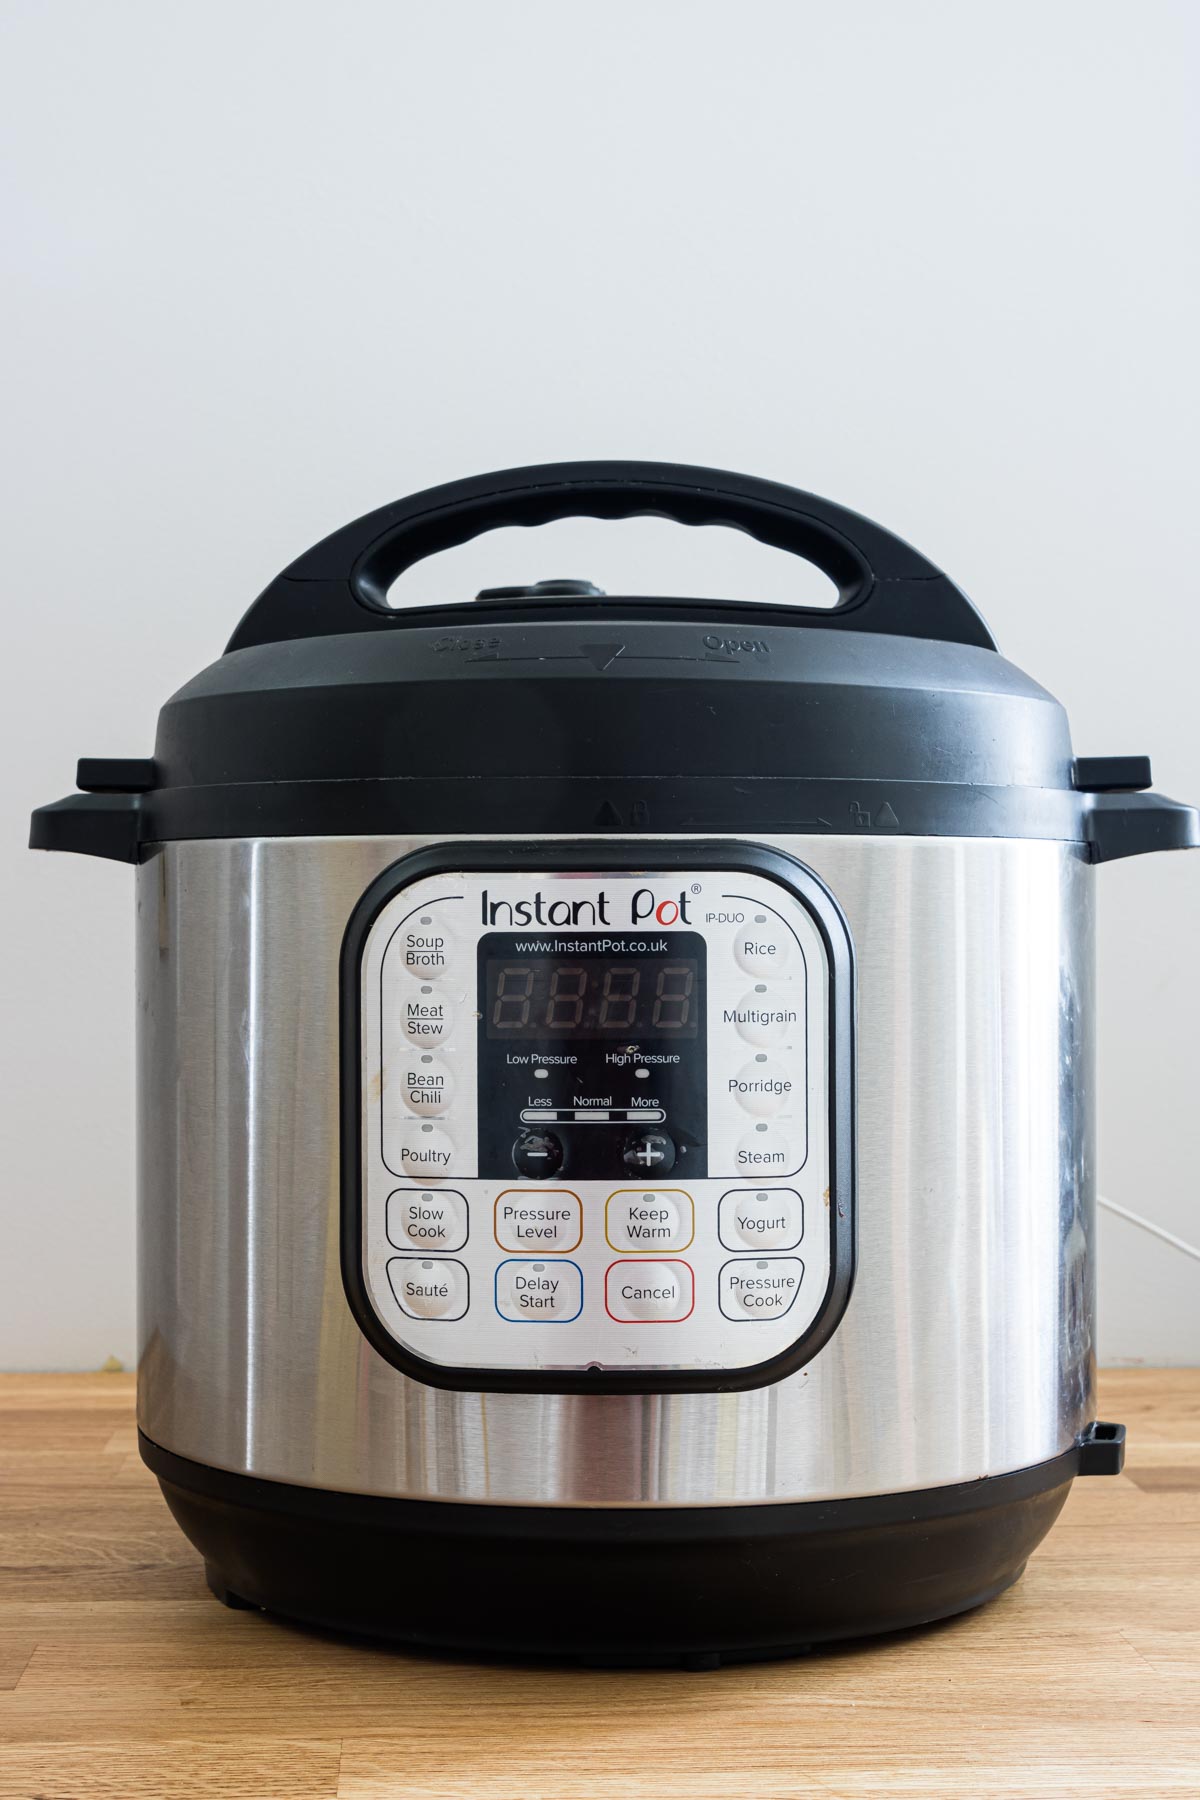
What Is An Instant Pot?
I’m sure you’ve heard the buzz about the Instant Pot and how it’s one of the most popular kitchen appliances ever. There are several Instant Pot models available on the market, and with a large and loyal fan base, there are even entire websites dedicated to using it.
A huge Instant Pot fan myself, I love to share my Instant Pot knowledge and help answer questions like what exactly is an Instant Pot, and what does it do?
In short, an Instant Pot is a programmable, electronic pressure cooker. When the lid is on and in the locked position, it creates a tight seal that allows pressure and steam to build, so the food is cooked faster than other methods.
And you can cook delicious recipes like the best Instant Pot Chicken Breast, really crispy yet juicy Instant Pot Chicken Thighs and perfectly cooked Instant Pot Mashed Potatoes and better than take out Instant Pot Chicken Fajitas.
In addition to pressure cooking, the magical Instant Pot can also be used as a yogurt maker, rice cooker, slow cooker, and more, thanks to all of the different smart settings and buttons. Yeap, the Instant Pot really can do it all!
So, are you ready to learn how to use your Instant Pot buttons and cook up all sorts of food quickly and easily? Then let me show you….
The Most Important Instant Pot Settings
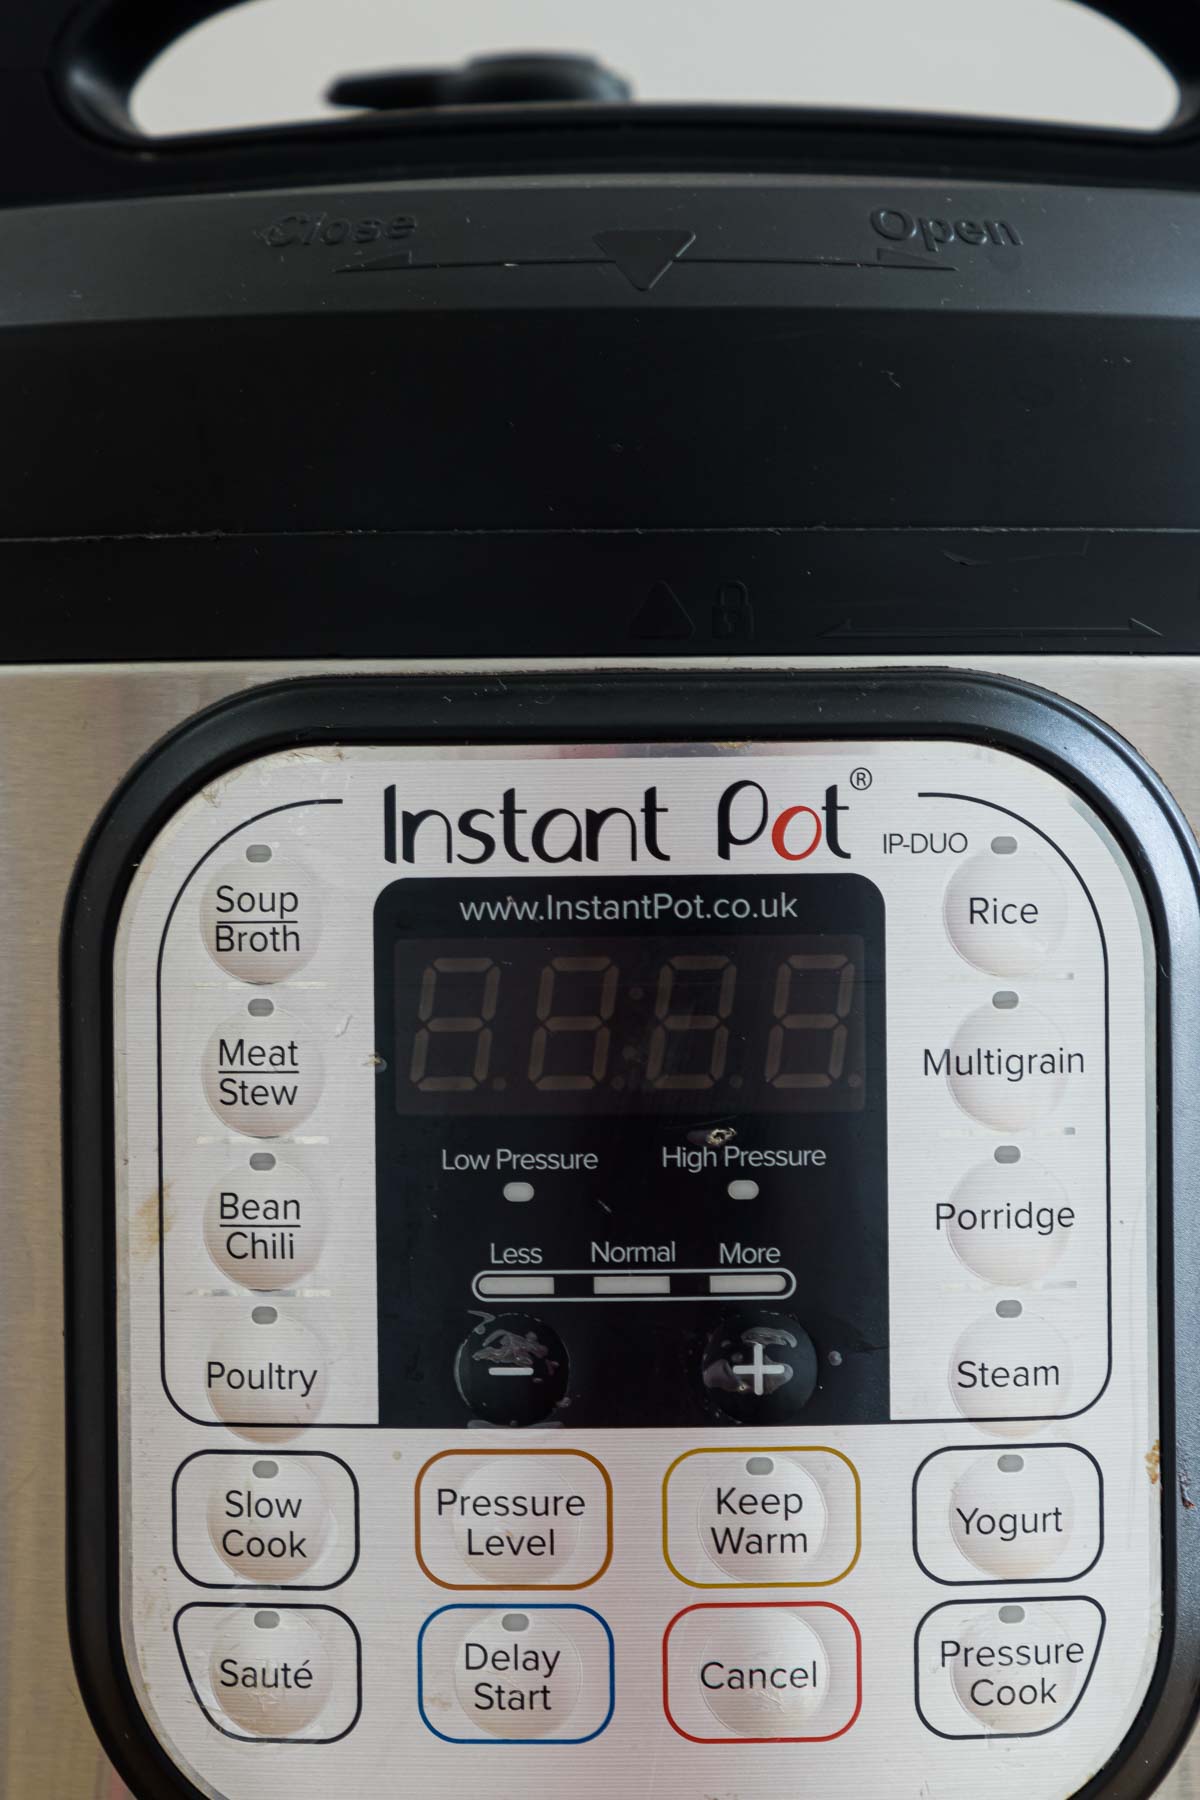
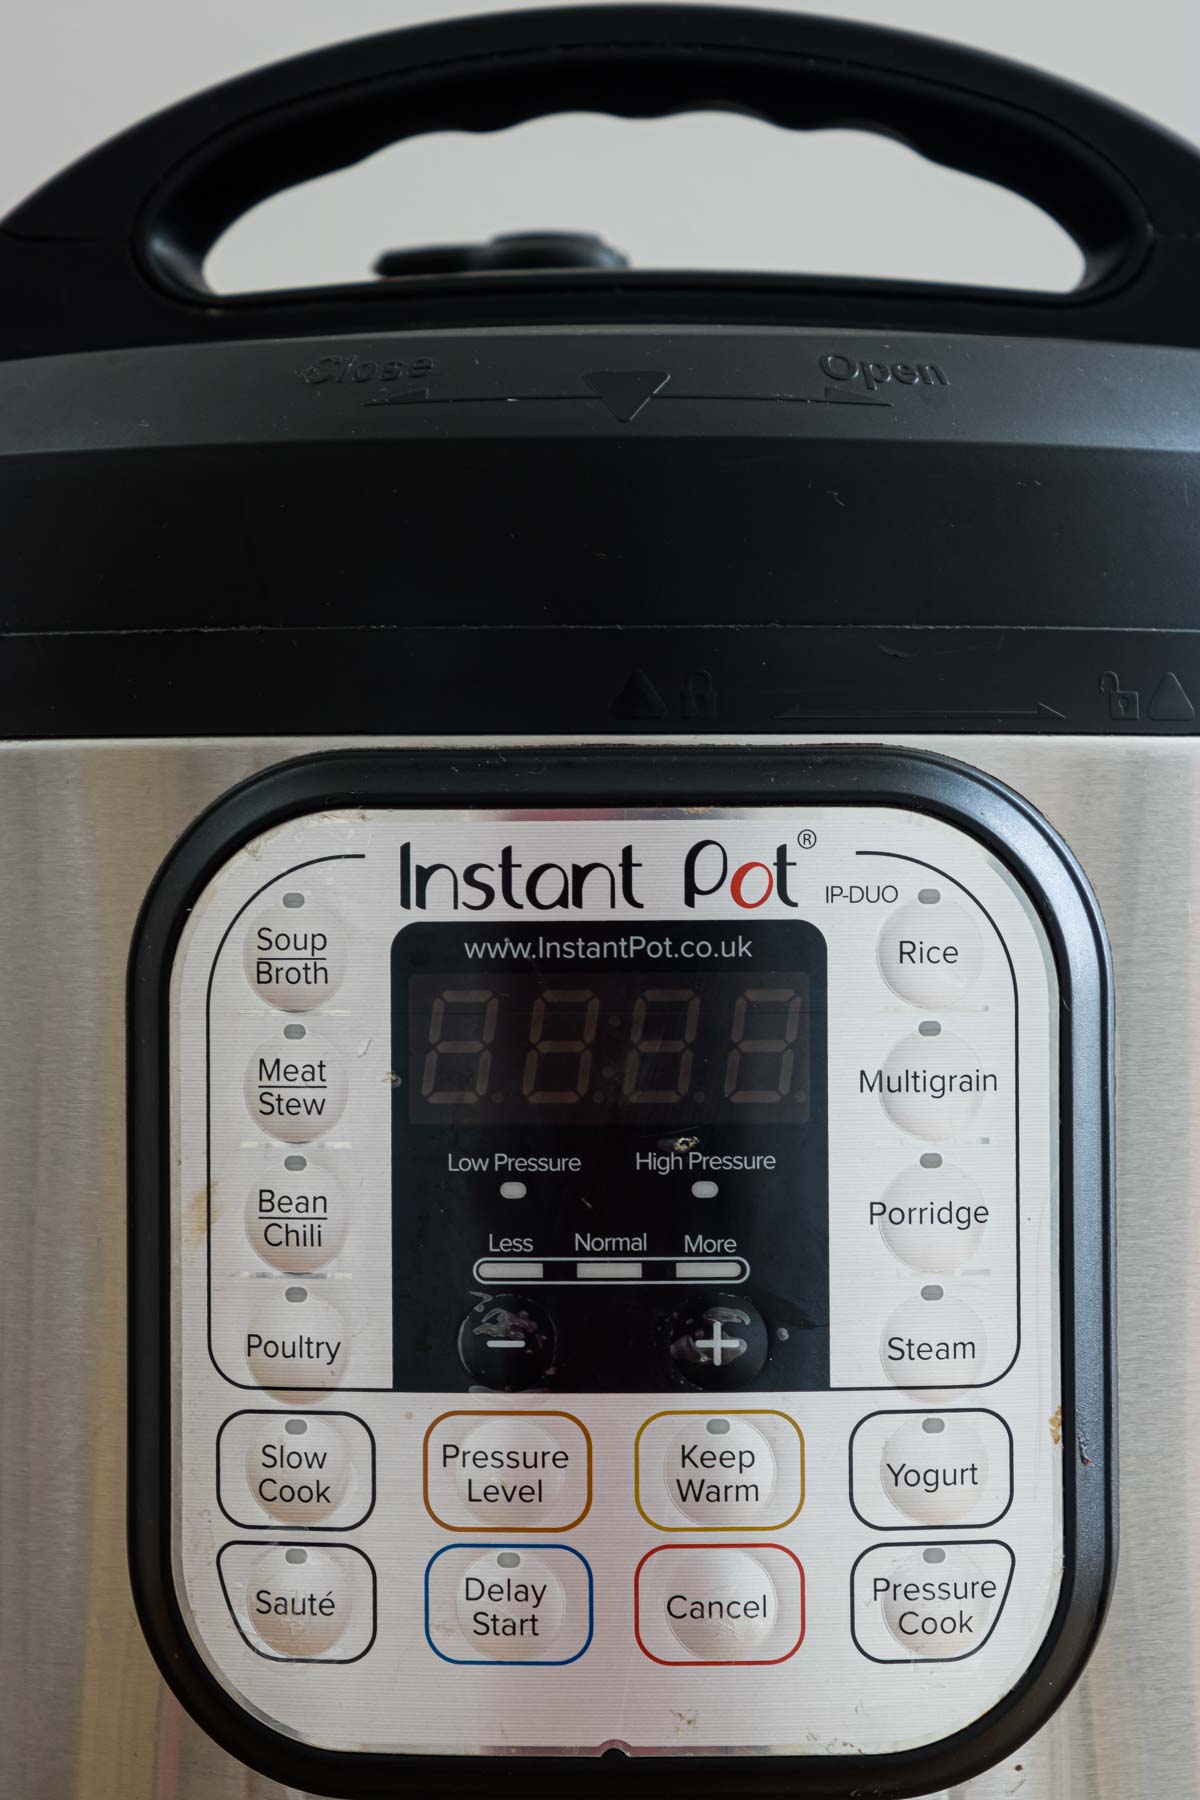
If you are new to the Instant Pot, there are only 4 buttons you need to know to cook most Instant Pot recipes you find online.
It’s important to realize that the available functions vary depending on the Instant Pot model, so your Instant Pot may have different buttons than what is included here.
Pressure Cook/Manual – This magical button is the one you will use most frequently. Essentially this is how to start Instant Pot;
- After sealing the lid, pressing this button automatically sets the Instant Pot to cook at HIGH pressure.
- To adjust the cooking time, you will simply press the [-] and [+] buttons located below the digital screen. After a moment, the unit will beep and begin the process of coming to pressure.
- Once it has reached full pressure, you will hear another beep, and shortly after, the clock will begin counting down the time you selected.
- The time it takes for the Instant Pot to come to pressure depends on the model and the recipe; however, 15 minutes is average.
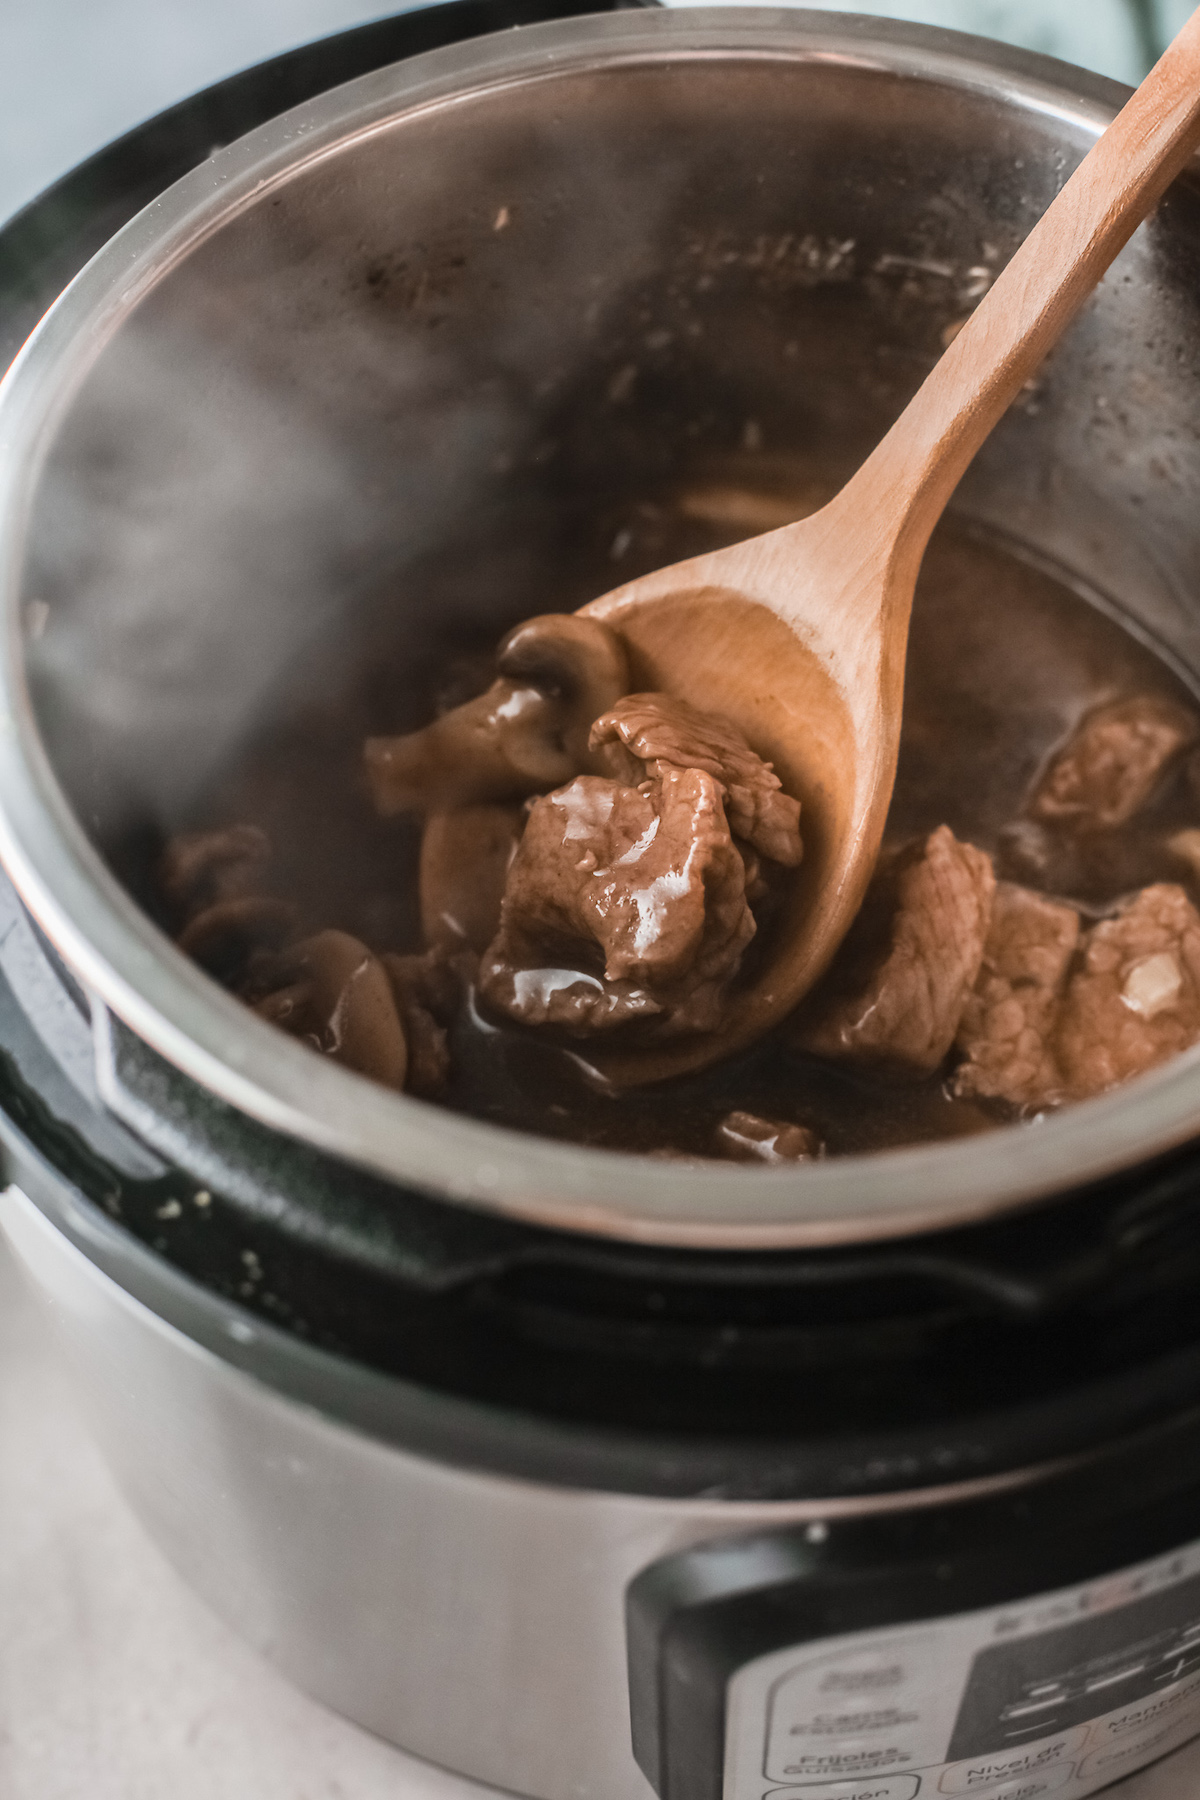
Sauté – Many recipes call for sautéing ingredients before commencing pressure cooking. The beauty of the Instant Pot is that you don’t need to do this in a separate pan. Press the sauté button, and the insert will begin to heat quickly so you can pre-cook and brown ingredients. Wait until the screen says HOT before adding your ingredients.
Keep Warm – The keep warm instant pot setting will keep the pressure cooker at a low temperature after the food has finished cooking. This is helpful if you won’t be serving your meal right away. Some models will default this setting to ON every time you press the pressure cook button. If you wish to turn it off, press the button until the indicator light turns off.
Cancel – If you need to cancel the cooking process for any reason or wish to turn off the unit, you will push the Cancel button.
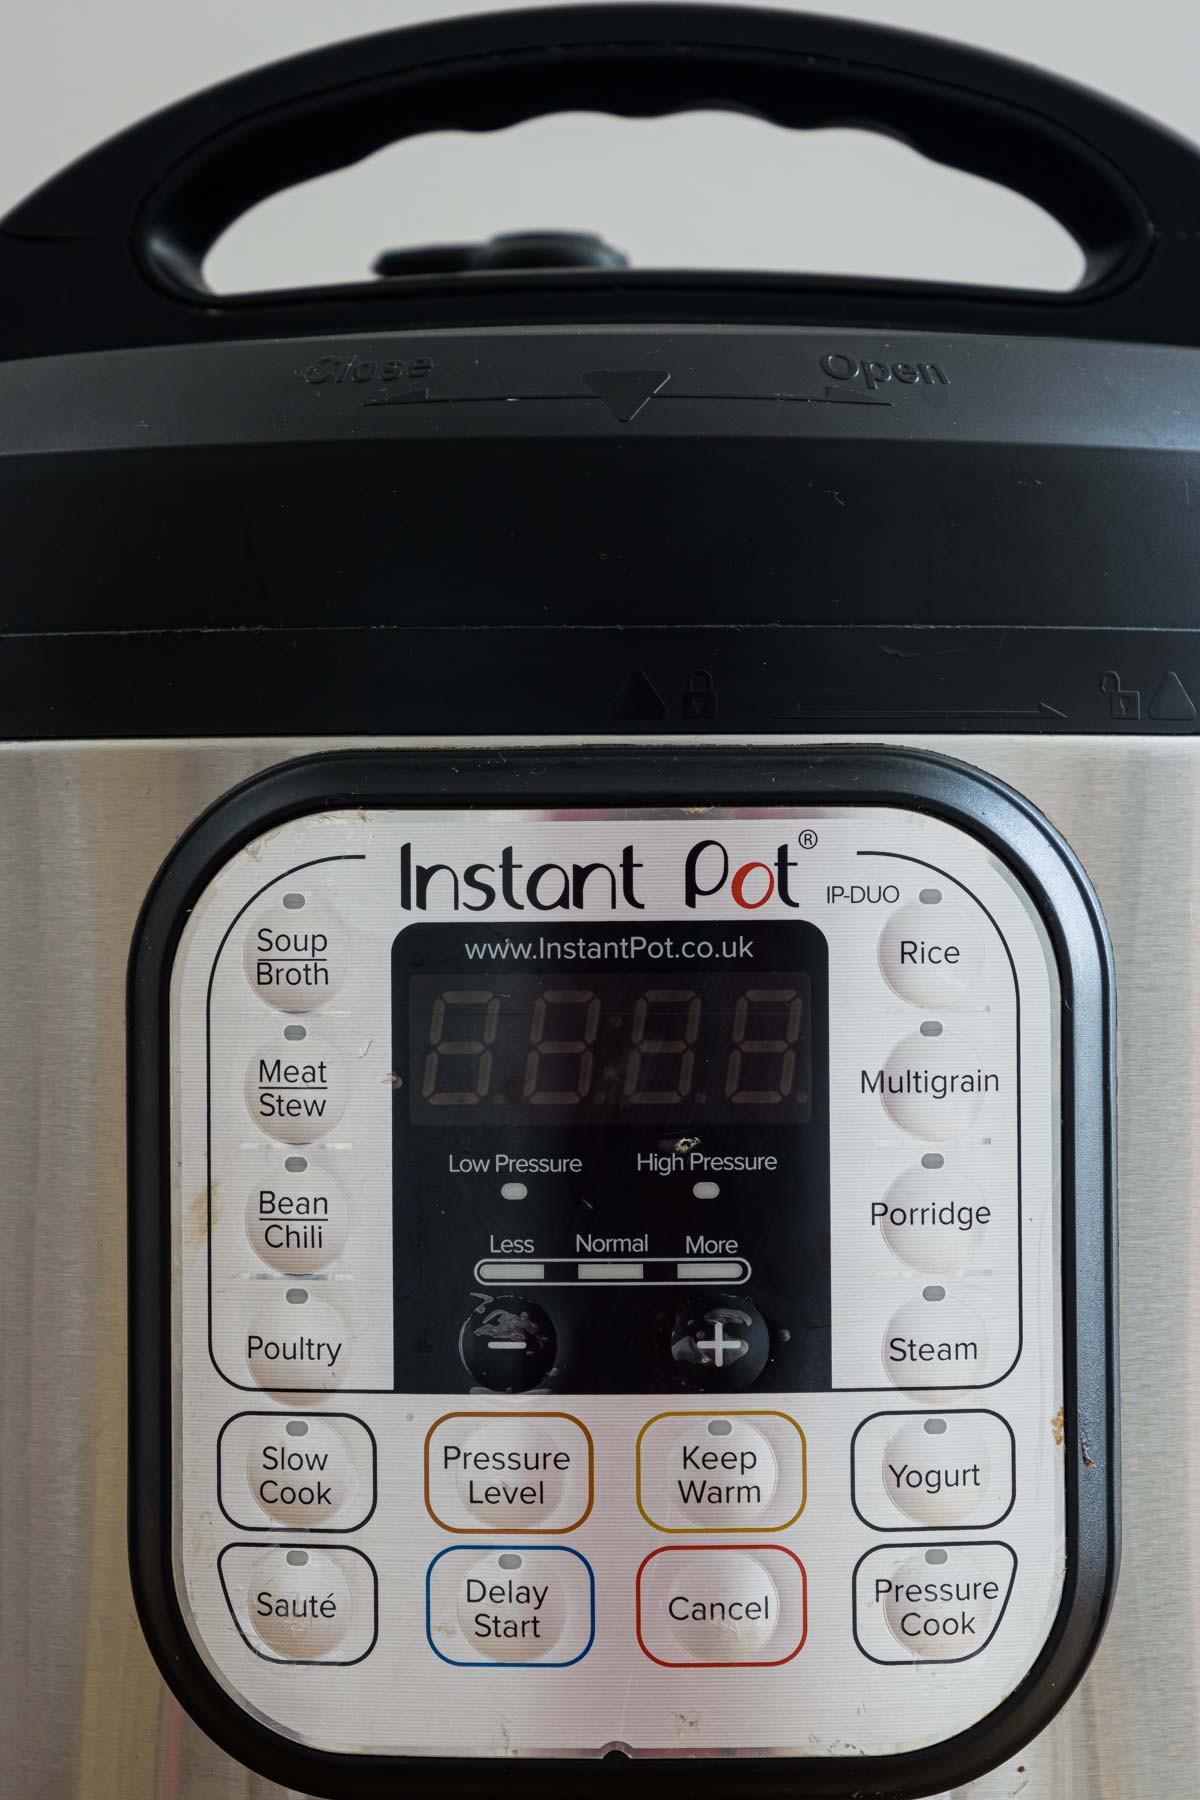
Advanced Setting Instant Pot Buttons
Once you’ve mastered the basics of Instant Pot cooking, you may want to experiment with the other smart settings your Instant Pot has to offer. These 5 smart buttons are pre-programmed times designed for specific foods but could be used for anything requiring that specific time setting.
Soup/Broth – The Instant Pot Soup setting is perfect for cooking soups. Press the button to cook at HIGH pressure. On my Instant Pot, the normal setting is for 2 hours, more is 4 hours, and less in 30 minutes.
Meat/Stew – The Instant Pot Stew setting cooks at HIGH pressure for 35 minutes. Press again to adjust to more to cook for 45 minutes. Press again to adjust to less to cook for 20 minutes.
Bean/Chili – The Instant Pot Chili setting cooks at HIGH pressure for 30 minutes. Press again to adjust to more to cook for 40 minutes. Press again to adjust to less to cook for 25 minutes.
Poultry – The Instant Pot Poultry setting cooks at HIGH pressure for 15 minutes. Press again to adjust to more to cook for 30 minutes. Press again to adjust to less to cook for 5 minutes.
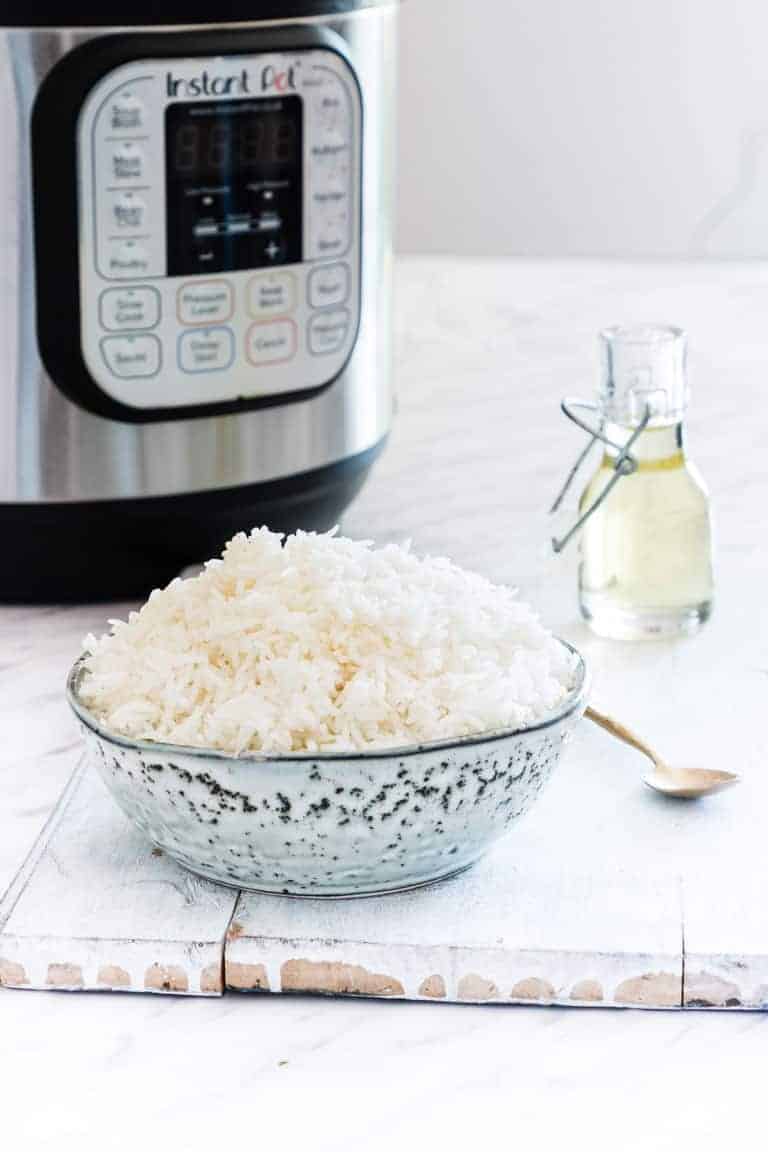
Rice – The Instant Pot Rice setting cooks at LOW pressure and is the only fully automatic setting. This setting is intended for cooking white rice and will automatically adjust the cooking time depending on the amount of water and rice in the cooking pot. This method should not be used for brown or wild rice.
==> Check out this post and learn how to make Instant Pot Rice-4 Ways!
More Preset Buttons
Multigrain – The Instant Pot Multigrain setting cooks at HIGH pressure for 40 minutes. Press again to adjust to more and 45 minutes of warm water soaking time will be followed by 60 minutes pressure cooking time. Press again to adjust to less to cook for 20 minutes.
Porridge – This Instant Pot Porridge setting cooks at High Pressure for 20 minutes. Press again to adjust to more to cook for 30 minutes. Press again to adjust to less to cook for 15 minutes.
Steam – The Instant Pot Steam setting cooks at High Pressure for 10 minutes. Press again to adjust to more to cook for 15 minutes. Press again to adjust to less to cook for 3 minutes. This function is intended to be used with a rack or steamer basket.
Other Instant Pot Buttons to Know
Depending on the make and model of your Instant Pot pressure cooker, you may have a few more settings to choose from. Here is what you need to know:
Slow Cook Setting – Your Instant Pot doubles as a slower cooker as well.
- The slow cook function includes 3 levels;
- low = 180–190F / 82-88C
- normal 190–200F / 88-93C
- high 200–210F / 93-99C
- Use [+] and [-] to increase or decrease the cooking time according to your recipe.
- Unlike a slow cooker, which heats from both the sides and the bottom, the Instant Pot only heats from the bottom, so you may need to cook longer than you would in a traditional slow cooker.
Pressure Level Setting – The Instant Pot Pressure Level Setting allows you to switch between HIGH and LOW pressure settings for all pressure cooking programs.
Yogurt Function – The Instant Pot Yogurt Button allows you to adjust to MORE for boiling and pasteurizing milk. Select NORMAL for incubating the yogurt. This setting defaults to 8 hours.
==> You’ll be amazed at how easy it is to make this Instant Pot Yogurt recipe!
Delay Start Function – The Instant Pot Delay Start Setting allows you to select a cooking function and set adjustments, then press Delay Start and use the [+] and [-] buttons to set the amount of time you’d like to wait before the Instant Pot starts to cook.
FAQs
Foods will need a minimum of 1 cup of liquid to properly cook in Instant Pot.
Generally, cooking times do not include the time it takes the unit to come to pressure. This time can vary based on your IP model or the amount of food you are cooking.
If you see a recipe that says to press manual and your Instant Pot doesn’t have a manual button, you will simply press the pressure cook button and vice versa.

Instant Pot Recipes You May Like
- Instant Pot Chicken Tenders. Kids big and small love these.
- Easy Instant Pot Chicken Tortilla Soup. Great easy comfort food.
- Instant Pot Chicken and Rice. Perfect one pot meal for the whole family.
- Instant Pot Butter Chicken. – Better than take out recipe.
Thank you for reading my Instant Pot Settings post. And please come visit again as I continue to slice, dice, and dream up affordable Air Fryer recipes, Instant Pot Recipes, Southern Recipes, and more. Thanks for supporting Recipes from a Pantry, food blog.


Is there a way to set the temperature manual? I’ve had a couple of recipes that asked for a temperature to be set.
What can I do to not get the “burn” message on some recipe’s I make? I make sure nothing is burnt on the bottom before I start, then it gets burned, so I scrape it off and have to do this a few times before the message kicks off. This seems to happen the most when I cook chili..