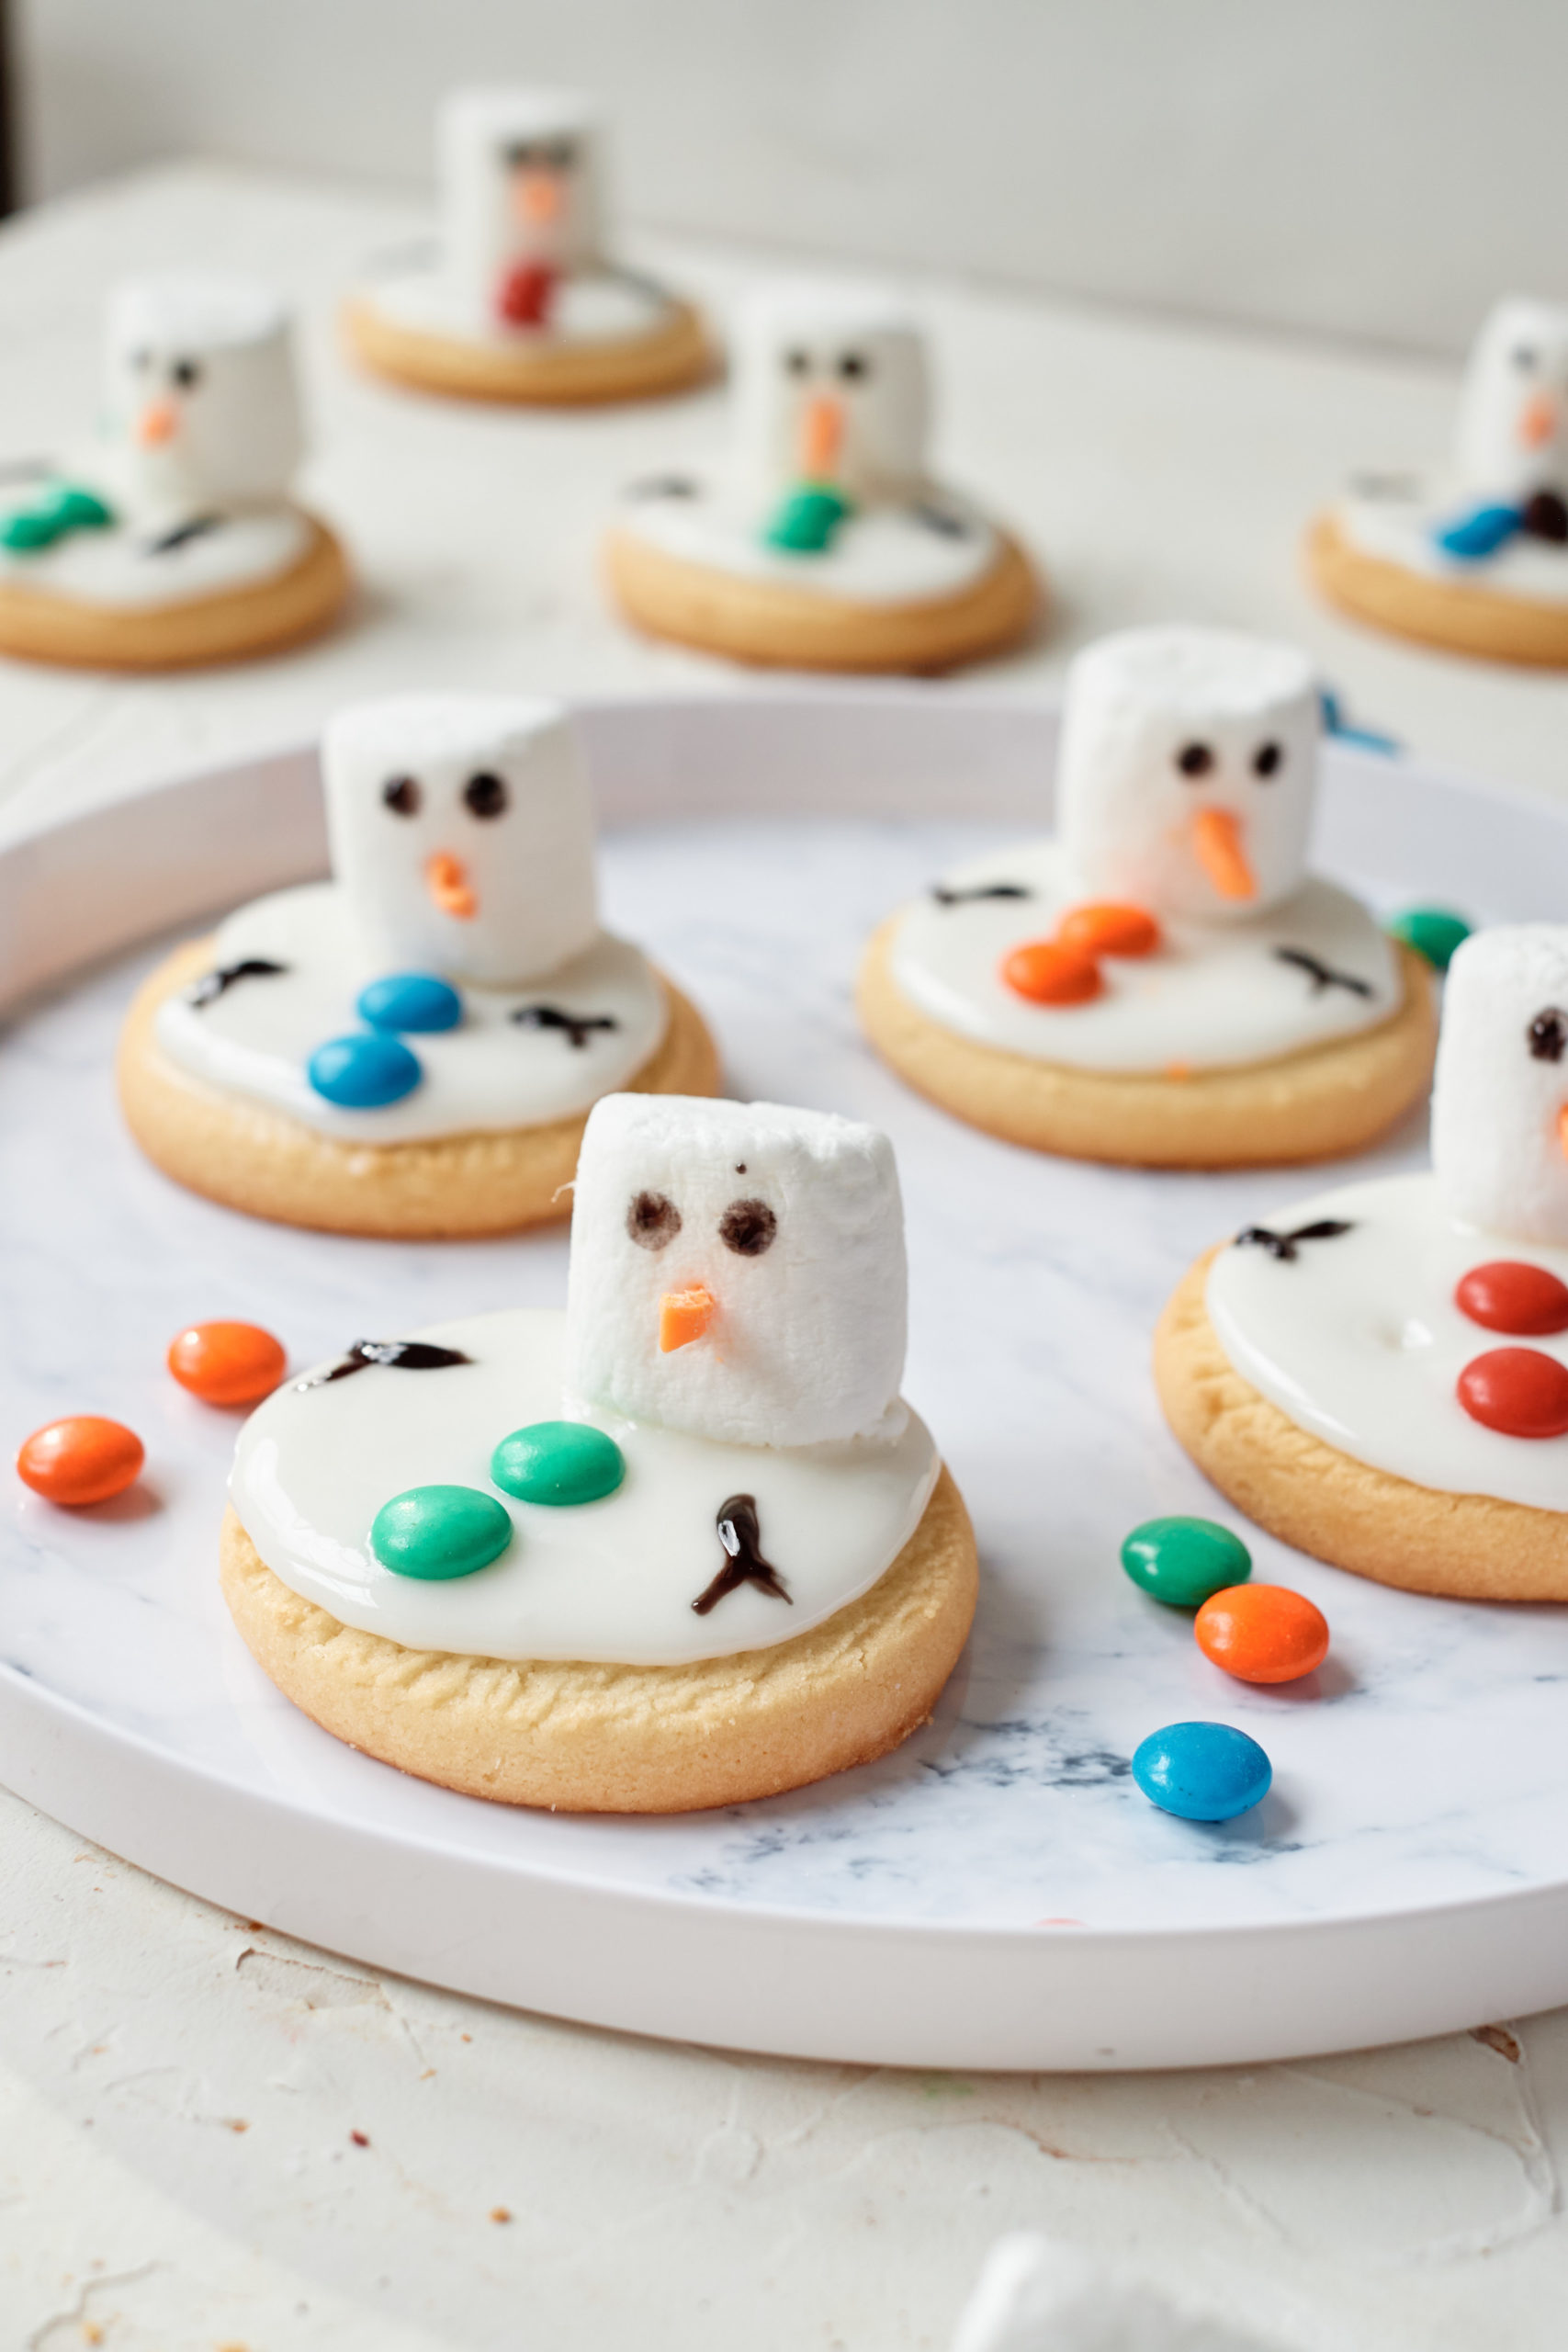
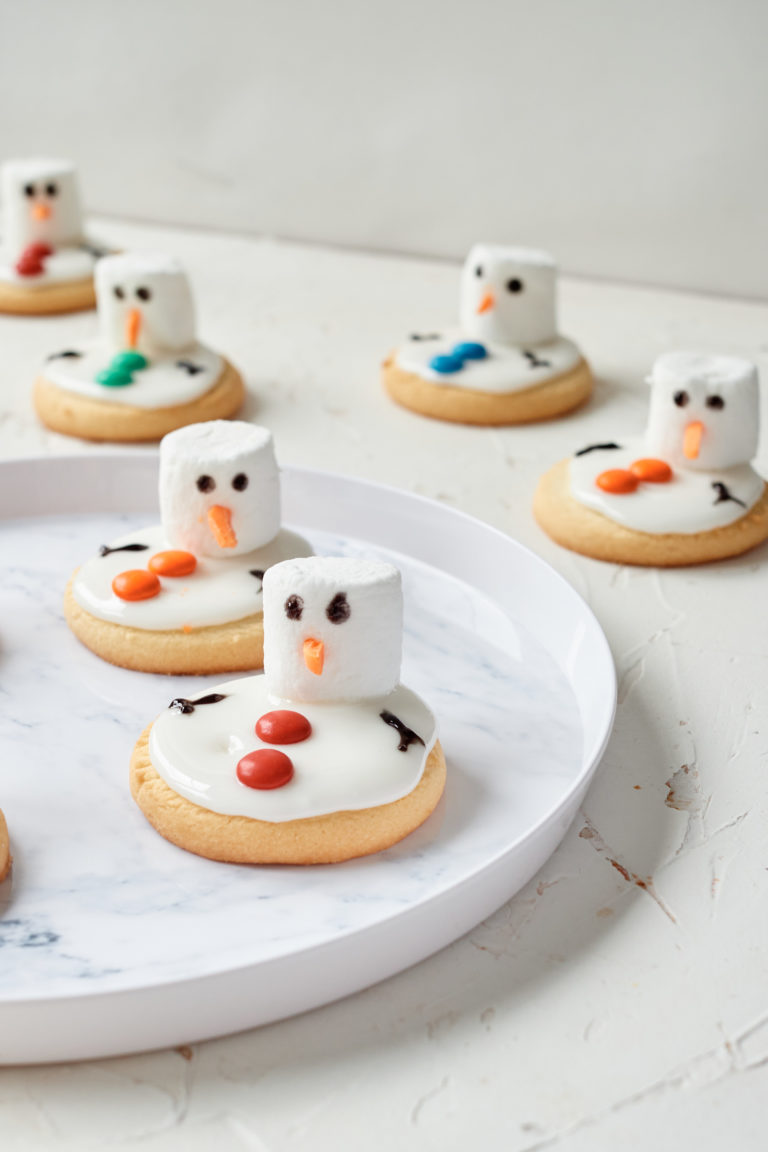
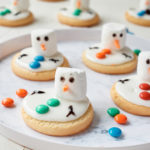
Easy Melted Snowman Cookies
Melted Snowman Cookies are a fun and easy way to get the kids baking with you. You only need 6 ingredients to make these adorable and festive cookies.
If you’re feeling the festive treats and sweets vibes, you’ll enjoy Christmas Light Cookies, Crockpot Christmas Candy, Snowball Cookies and Grinch Popcorn too.
If you’re looking to get into the festive winter spirit, making these delicious Melted Snowman Cookies will surely help you get in the mood.
These Snowman Cookies are such a cute way to welcome the chilling temps and stay warm by the oven at the same time esp over the holiday season.
All you need for these Melting Snowman Cookies are a little creativity and just a handful of ingredients.
Folks, you can choose to use premade cookies, store-bought sugar cookie mix, or of course, my favorite way, to make your own homemade sugar cookies. Whatever option you have on hand will work.
If you need an activity to keep the kiddos busy and reward them with an exciting treat at the end, making these decorated cookies is an easy way to do just that. Like making these Christmas Light Cookies or Chocolate Crinkle Cookies.
And guys, if you need a hostess gift for a Christmas party you’re attending, or need favors for one you’re hosting, these would be the perfect thing.
Why Make This Recipe
- Quite simple to make. Even easier if you’re using store-bought cookie mix or even premade cookies.
- Inexpensive and fun. You’ll get a kick out of designing and creating these treats.
- Potluck perfection. Bring to any Christmas party or cookie swap.
- Customizable. Easy to change out the candies, frosting, and even base cookies you’re using to bring new designs and flavors.
Tools You Need
- Cooling rack.
- Knife.
- Baking sheet if required.
Soooo, let’s gather up these Melted Snowmen ingredients and I will show you…..
How To Make Melted Snowman Cookies
Get the complete ingredients list and instructions from the recipe card below.
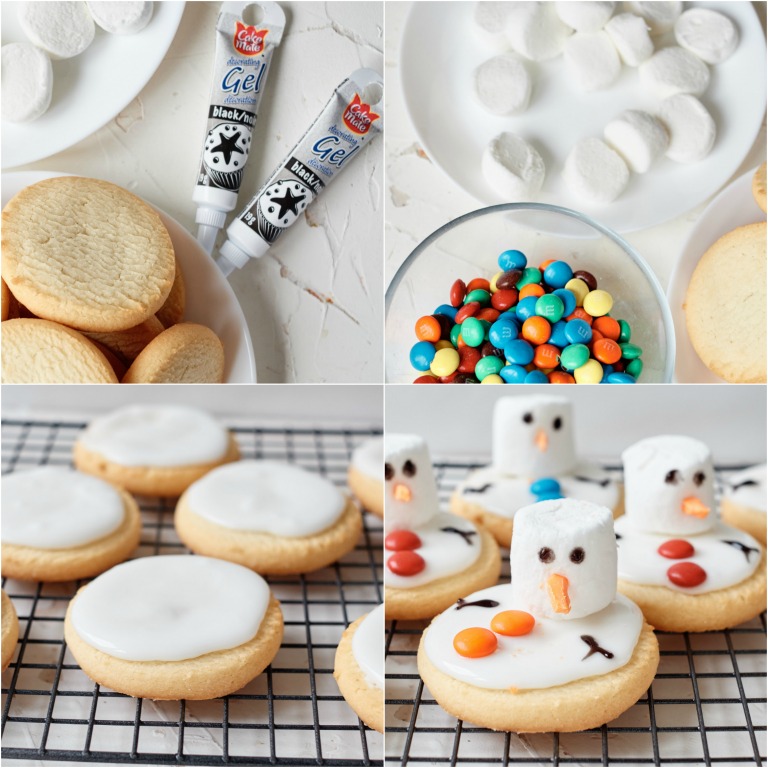
- Make your sugar cookies according to the package, your homemade recipe or get your premade cookies out of the container.
- Microwave your icing for 10 seconds (may need to repeat a few times to get to the right consistency) to thin it out and make it easier to handle in the piping bag.
- Add icing to piping bag and snip off a small tip.
- Add your cookies to a cooling racks then frost your cookies with the icing (we love vanilla frosting). Don’t be afraid to let it drip off the sides.
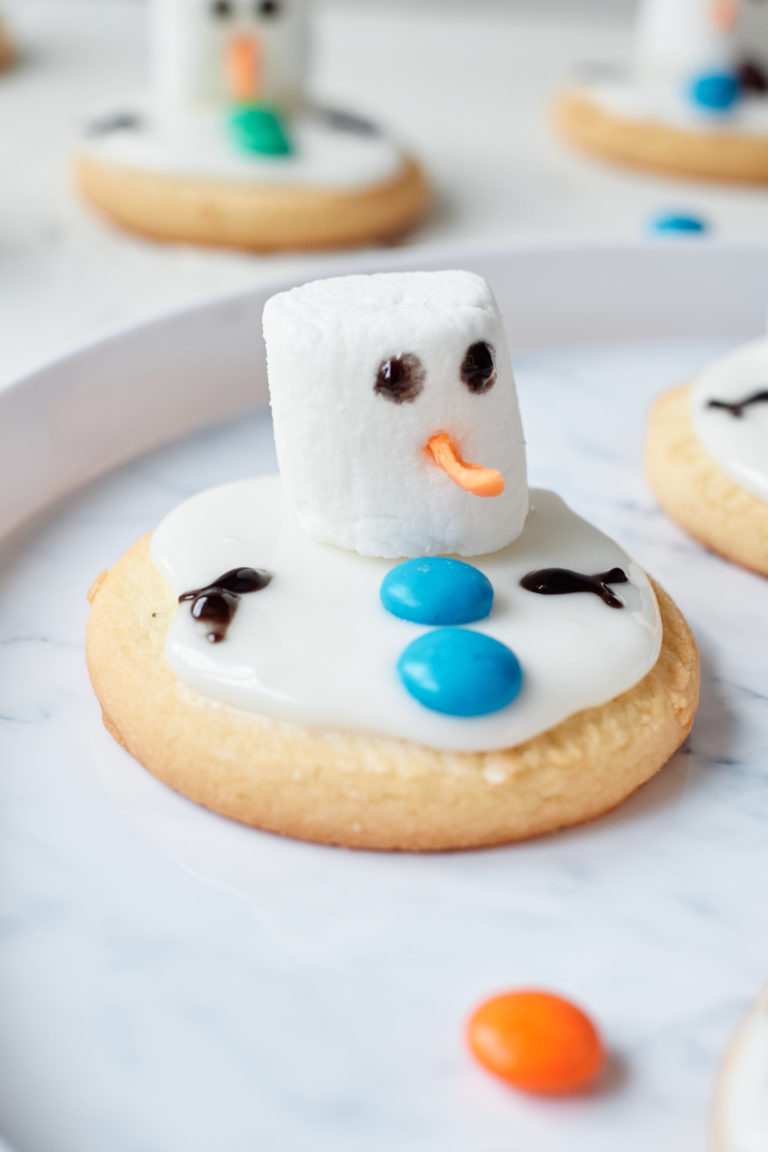
- Add your marshmallows toward the back of the cookies as the head. Gently press your M&M buttons quickly before the frosting sets.
- Using your black gel writing type decorators icing, pipe out the arms by the head.
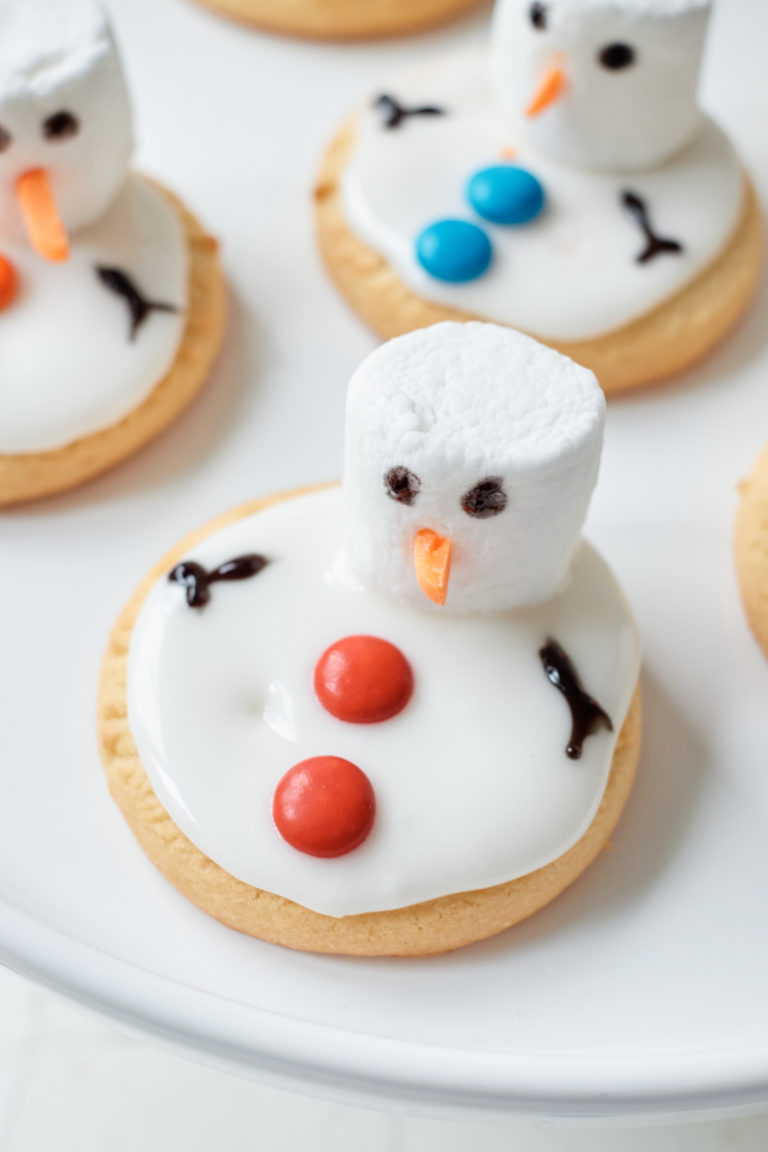
- Let your cookies dry and set for 20-30 minutes before adding the eyes to the head with a mouth and attach your orange nose sprinkle.
Recipe Tips
- If you really want to make these cookies special, rather than just cutting them, microwave the marshmallows to get them to slightly puff up so when they cool back down once placed on the cookie, they’ll look even more melted.
- To avoid your marshmallows sticking to your hand when removing them from the plate, spray your hand with the cooking spray and carefully pull the marshmallows from the plate and set them on the iced cookies.
- Using black gel icing that comes in a tube is great for small details like the eyes and mouth.
- If making your own royal icing, use clear vanilla extract so you don’t distort the color of the white icing for your melted snowman part.
- You can easily double or triple this recipe to feed a larger crowd for a bigger Christmas party or if you’re making edible gifts.
- If making your own sugar cookies, you should chill the dough 30-60 minutes before cooking so you have a nice thick cookie base.
- For chewier cookies, melt the butter before adding it.
Recipe Variations
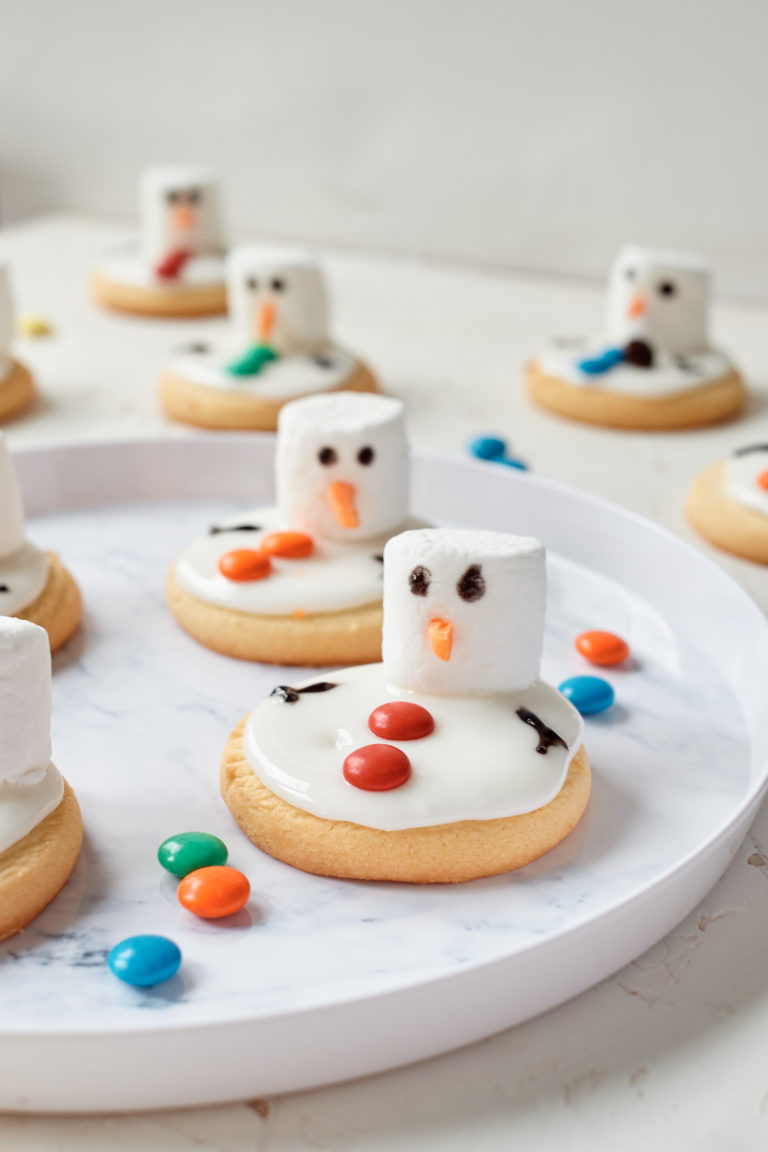
These cute melting snowmen festive cookies are easily customizable. You can add different candies and accessories to customize and really individualize the look of each melted snowman cookie. You can even substitute other parts of this recipe to change things altogether.
Trade out the cookie base: As I mentioned earlier, you can use storebought cookie mix, premade cookies or make your own sugar cookies. But you can even use other types of cookies like peanut butter cookies or chipless cookies.
Change out the flavors: If making your own royal icing, you can add different extracts, try almond extract or peppermint extract for a unique flavor.
Change out the icing: Instead of using royal icing, try using melted white chocolate. Just remember it sets quite fast, so add your buttons and nose as quickly as possible.
Try different accessories: If you want a scarf around the marshmallow head, grab some frosting, a new piping bag and a piping tip and add one, you can even pipe on buttons instead of using M&M’s. If you want to add a hat, try using a mini Reese’s cup cut and placed on the head. Use miniature chocolate chips for eyes. Get creative and use different candies and sprinkles (I love orange sprinkle) to add different elements.
FAQ
How To Store These Cookies?
You can store these cookies in an airtight container for a few days up to a 7 days. If they actually stick around that long!
What’s The Difference Between Royal Icing And Regular Icing?
Royal icing is the decorator type icing you see used. It’s a completely different texture than regular buttercream or whipped icing. It hardens up to like a candy-like texture.
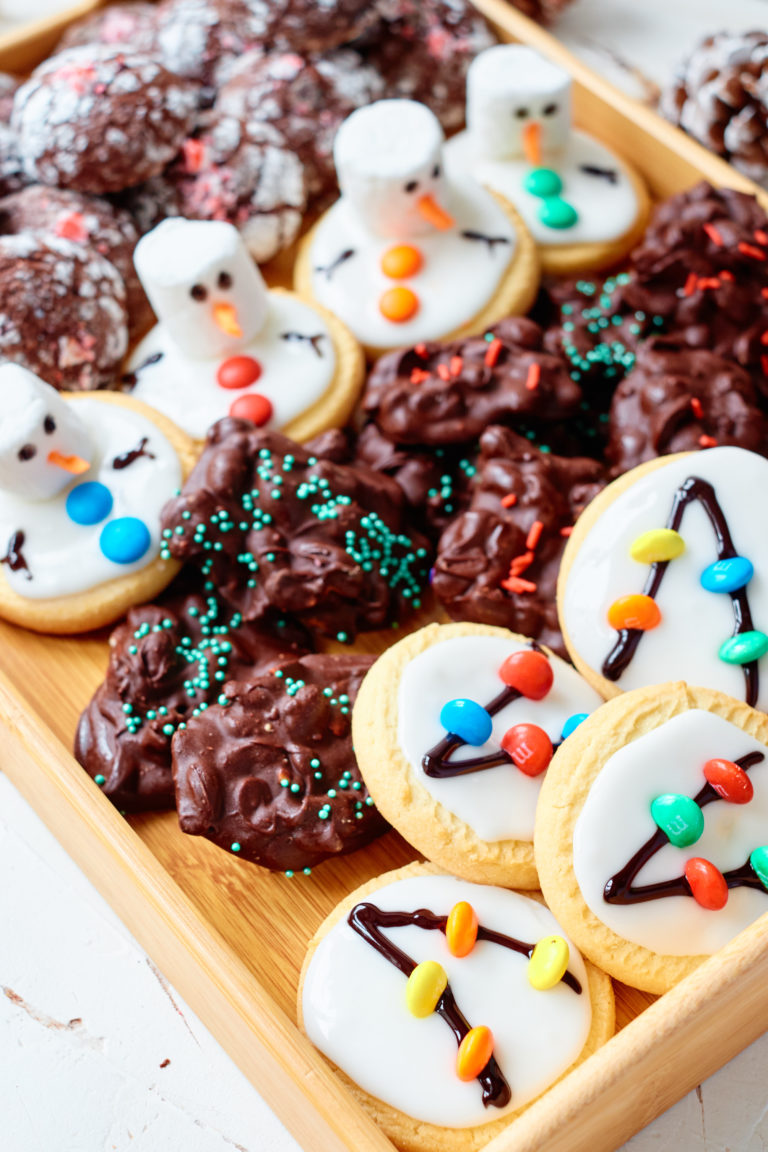
How Do You Arrange A Christmas Cookie Tray?
Fill a large tray or platter with an assortment of Christmas cookies. I love to include a variety of colorful cookies with different flavors and textures for maximum appeal. For a truly festive cookie tray, try pairing these Melted Snowman Cookies with some Chocolate Crinkle Cookies, Crockpot Christmas Candy, and Christmas Lights Cookies. #christmascookietray
Use For Edible Gifting
These cookies make for a super awesome edible gift. Whip up a couple of batches, decant into mason jars, add a ribbon and a label and hand out to all your foodie friends.
More Christmas Recipes
- Grinch Cookies.
- Crockpot Christmas Candy.
- Chocolate Crinkle Cookies.
- Christmas Light Cookies.
- Spiced Christmas Shortbread
- Easy Snowball Cookies.
- Christmas Tree Cupcakes.
Thank you for reading my Melted Snowman Cookies recipe post. And please come visit again as I continue to slice, dice and dream up affordable Air Fryer recipes, Instant Pot Recipes, Southern Recipes and more. Thanks for supporting Recipes from a Pantry, food blog.
Get The Melted Snowman Cookies Recipe:
Don’t forget to tag #recipesfromapantry on Instagram or Twitter if you try Easy Melted Snowman Cookies! It is really, really awesome for me when you make one of my recipes and I’d love to see it. You can also share it on my Facebook page. Please pin this recipe to Pinterest too! Thank you for reading Recipes from a Pantry.
Easy Melted Snowman Cookies
Ingredients
- 12 sugar cookies
- 1 ½ cups (400g) royal icing
- 6 marshmallows cut in half
- long orange sprinkles
- M&Ms
- black piping gel
Instructions
- Make your sugar cookies according to the package, your homemade recipe or get your premade cookies out of the container.
- Microwave your icing for 10 seconds (may need to repeat a few times to get to the right consistency) to thin it out and make it easier to handle in the piping bag.
- Add icing to piping bag and snip off a small tip.
- Frost your cookies with the icing. Don’t be afraid to let it drip off the sides.
- Add your marshmallows toward the back of the cookies as the head. Place your M&M buttons quickly before the frosting sets.
- Using your black gel writing type decorators icing, pipe out the arms by the head.
- Let your cookies dry and set for 20-30 minutes before adding the eyes to the head with a mouth and attach your orange nose sprinkle.
Recommended Products
Notes
- If you really want to make these cookies special, rather than just cutting them, microwave the marshmallows to get them to slightly puff up so when they cool back down once placed on the cookie, they’ll look even more melted. To avoid your marshmallows sticking to your hand when removing them from the plate, spray your hand with the cooking spray and carefully pull the marshmallows from the plate and set them on the iced cookies.
- Make sure to use the black gel icing that comes in a tube that is great for small details like the eyes and mouth.
- If making your own royal icing, use clear vanilla extract so you don’t distort the color of the white icing for your melted snowman part.
- You can easily double or triple this recipe to feed a larger crowd for a bigger Christmas party or if you’re making edible gifts.
- If making your own sugar cookies, you should chill the dough 30-60 minutes before cooking so you have a nice thick cookie base.
- For chewier cookies, melt the butter before adding it.

I have found information about it, thank you for sharing
These are the most adorable cookies! Can’t wait to make them with my little ones.
These melted snowman cookies are so cute! Kids love helping to make them too.
These are SO adorable! Pinning to save to make for Christmas!
Omg these are so fun!! My guests will LOVE these over the festive period 🙂
These melted snowman cookies are just so cute, and a perfect winter treat! They remind me of Olaf from Frozen.