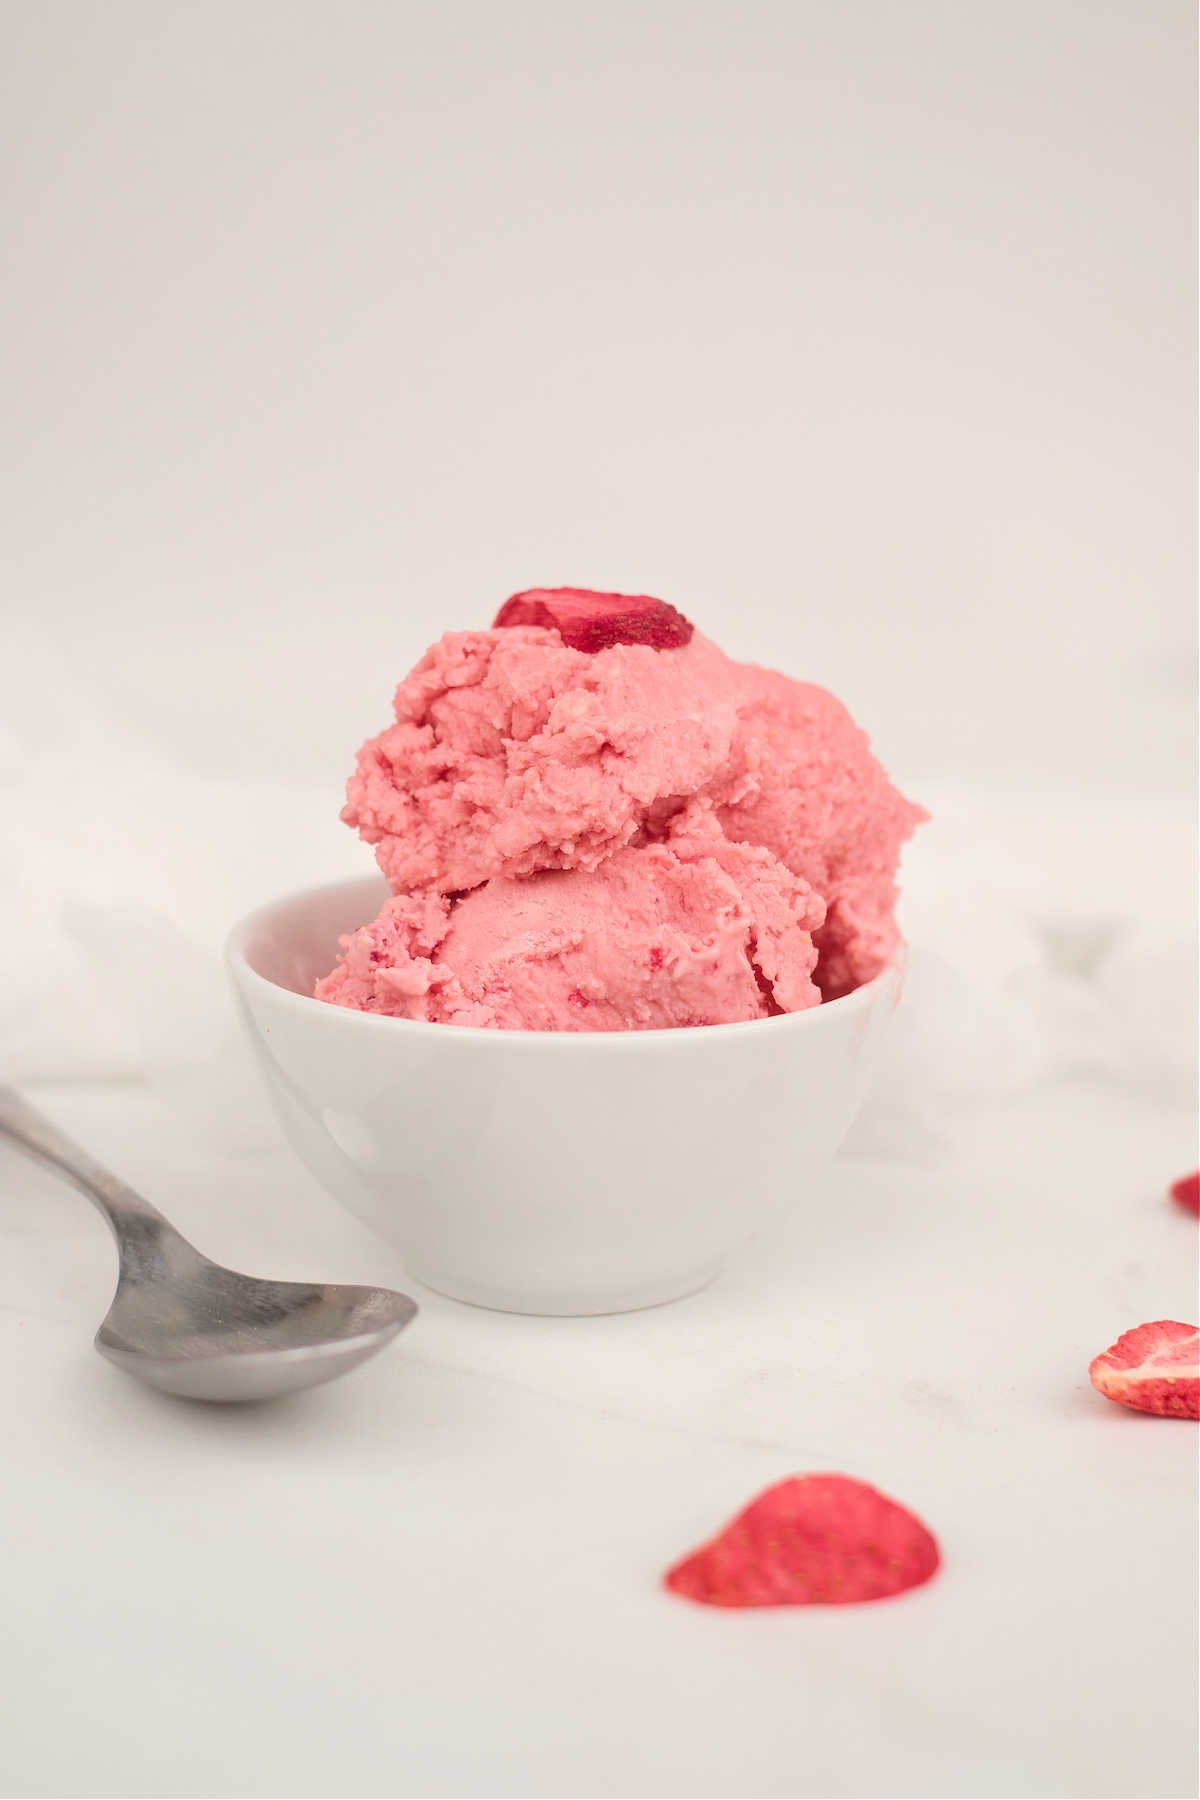
Ninja Creami Strawberry Ice Cream
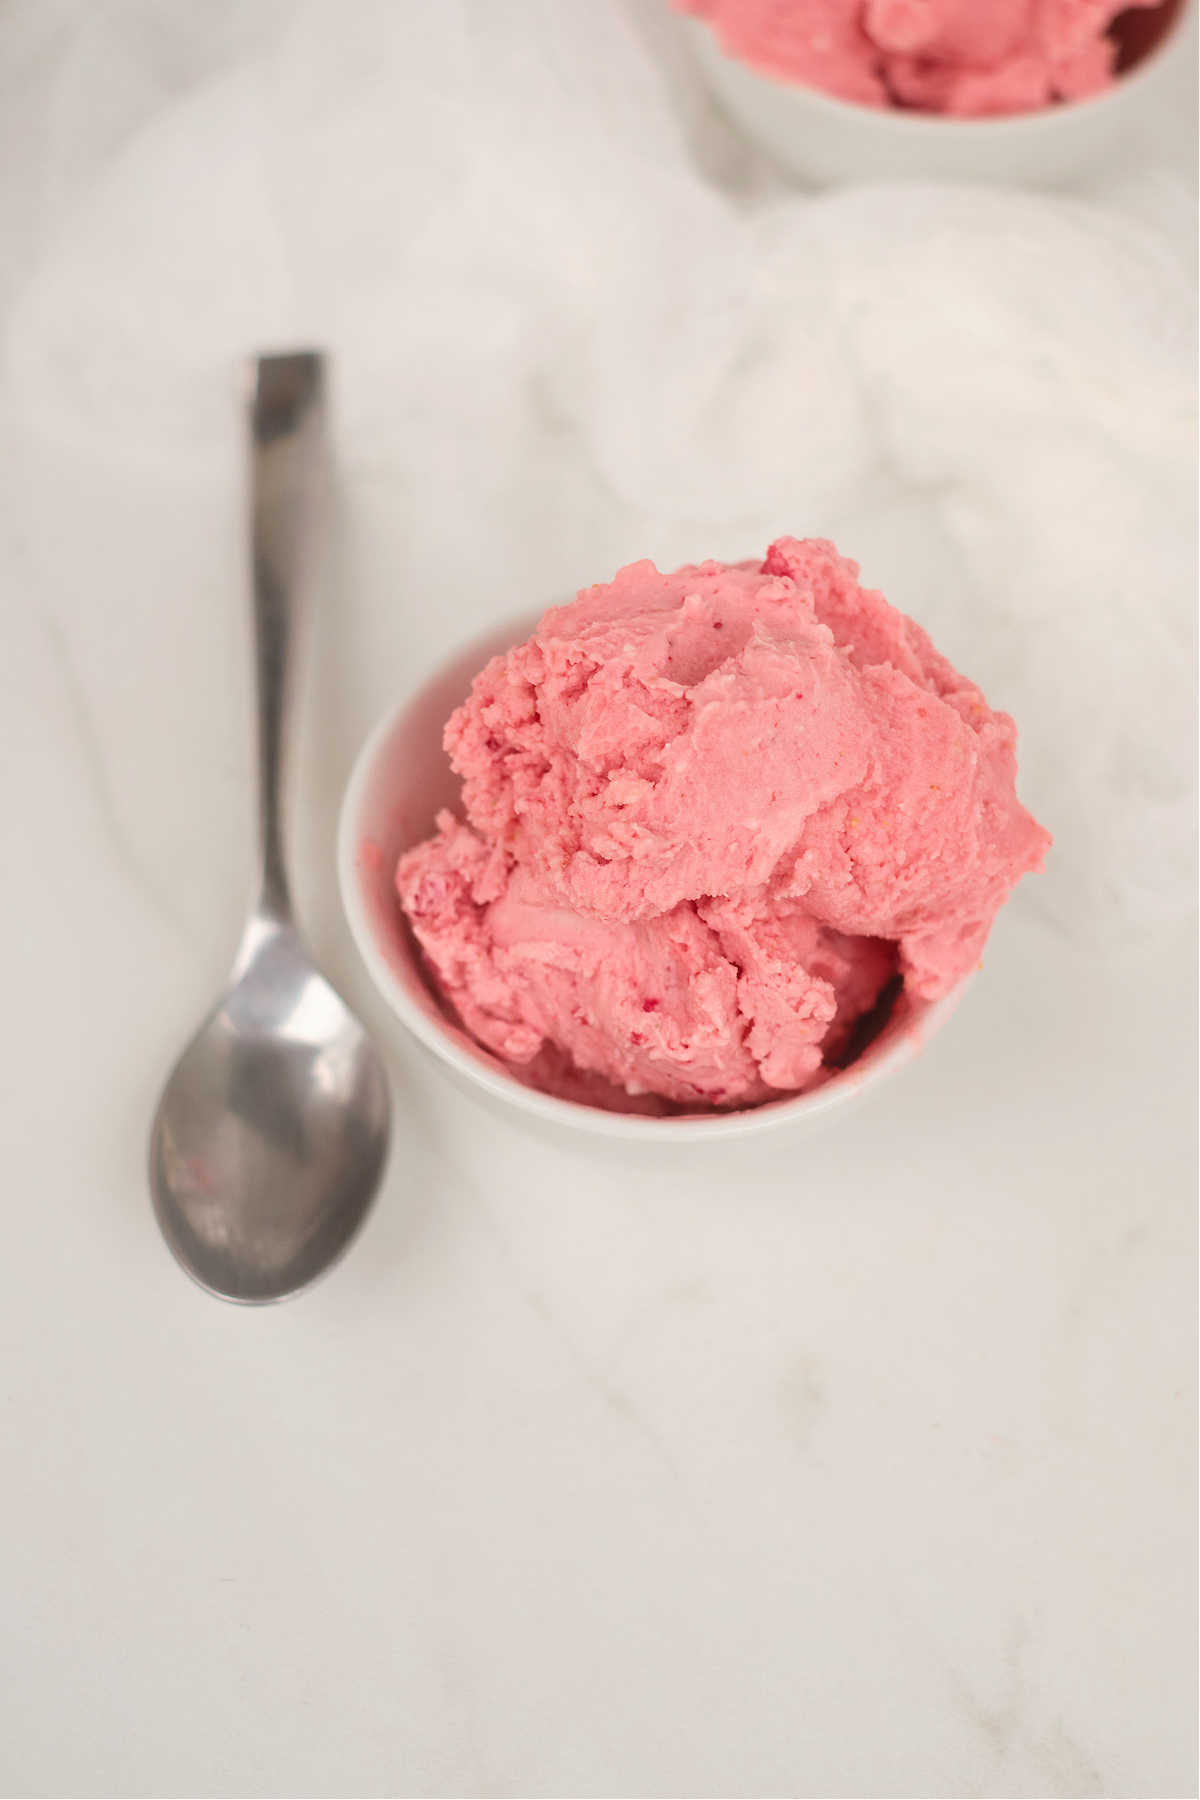
This Ninja Creami Strawberry Ice Cream recipe is loaded with great strawberry flavor! It’s so easy to whip up deliciously creamy strawberry ice cream with just a handful of ingredients and a minimal amount of effort.
Suitable for gluten free and vegetarian diets.


Strawberry ice cream fans, get ready to meet your new favorite recipe! This Ninja Creami strawberry ice cream is easy to make and loaded with the delicious strawberry flavor you crave.
Making strawberry ice cream Ninja Creami is currently my favorite thing to do in the kitchen. Using the Ninja Creami is different than other at-home ice cream methods and requires far less hands-on effort.
Simply mix up the base and pop it in the freezer. Once it’s thoroughly frozen, the Ninja Creami does the rest of the work. In just a few minutes, you’ve got smooth, creamy, and delicious homemade ice cream ready to serve.
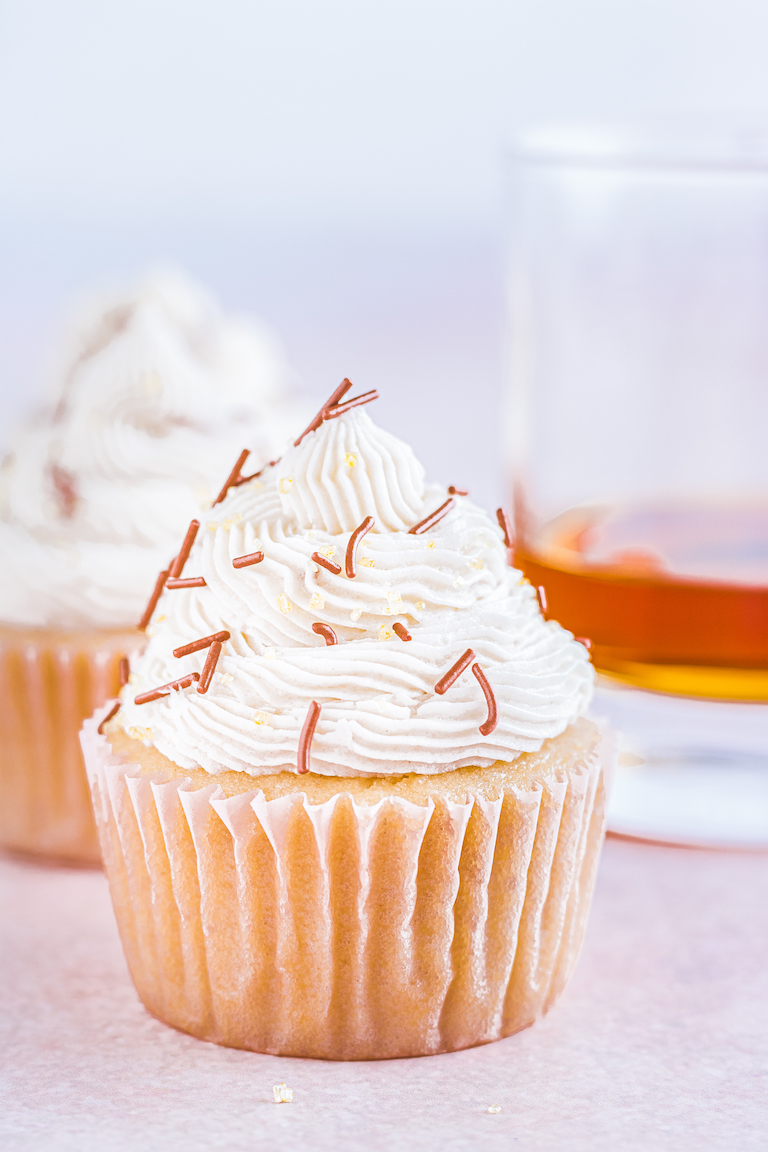
I think you and your family will love it so much that you’ll want to try my Ninja Creami Vanilla Ice Cream Recipe. whole collection of delectable Ninja Creami Recipes!
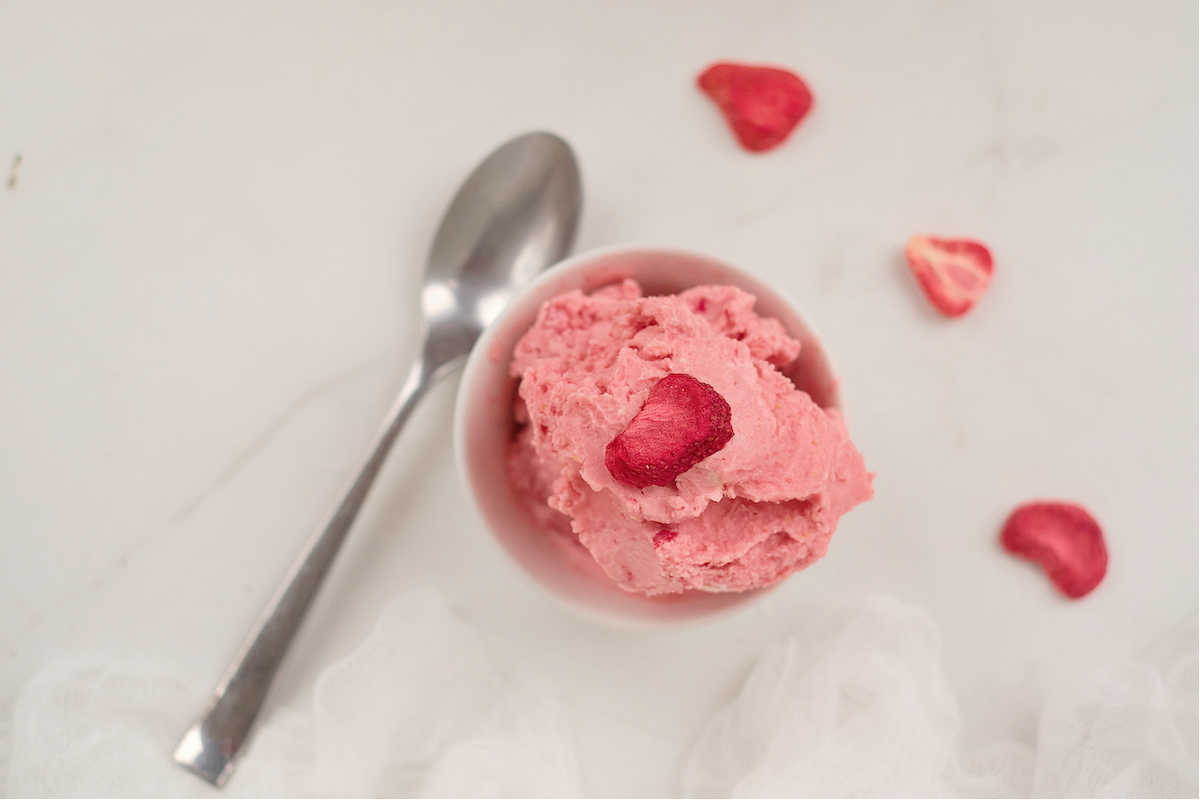
There’s a special ingredient that really takes this Ninja Creami strawberry ice cream recipe to the next level too. Mixing in the freeze-dried strawberries adds awesome crunch and tons of extra strawberry flavor. #somuchyum
Want to save this Recipe?
Enter your email below and get it sent straight to your inbox. Along with recipes & tips every week!
Why Make This Recipe
- Effortless – It only takes a couple of minutes of prep time to combine the ingredients, then the freezer and the Ninja Creami do the rest of the work.
- Budget-Friendly – Skip the ice cream shop and make an even better version with a handful of affordable pantry and refrigerator staples.
- Versatile – It’s easy to customize this recipe to suit your taste. And you can swap ingredients to make it vegan or sugar-free.
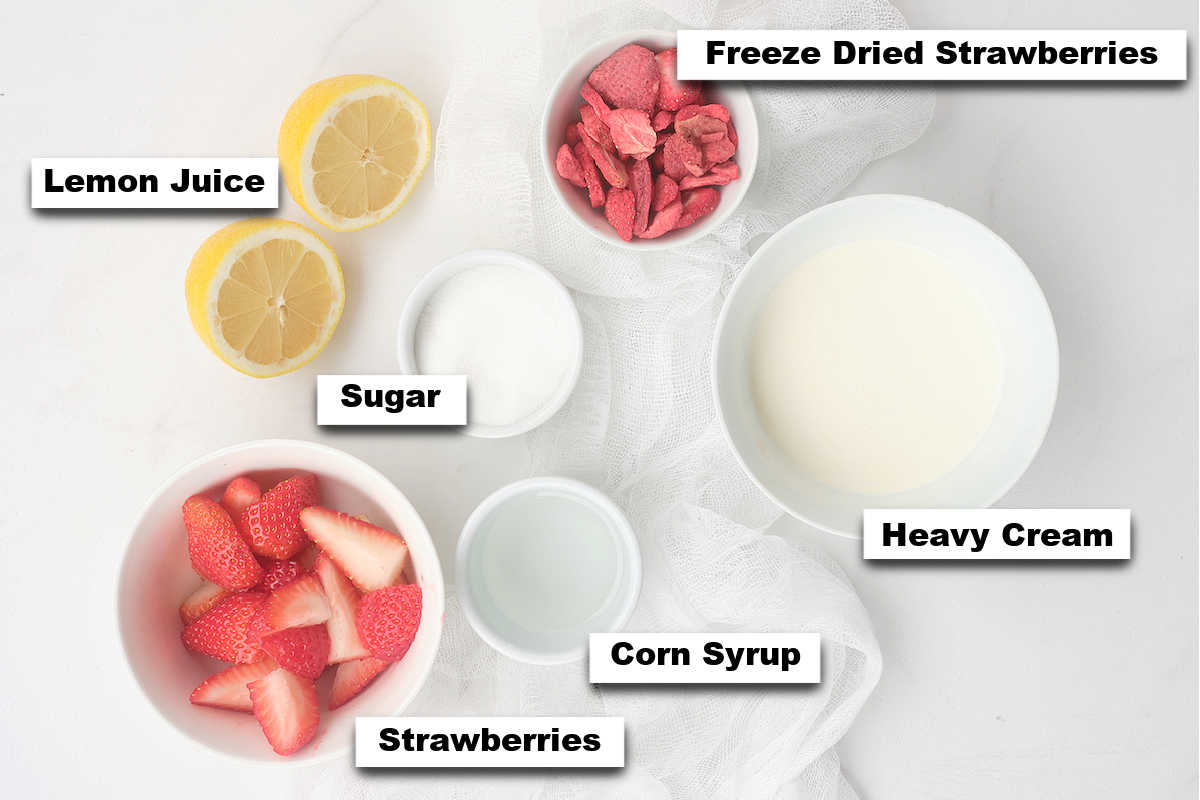
Ingredient Notes
- Strawberries – fresh berries trimmed and sliced into quarters, plus freeze dried strawberries to add during the mix-in stage.
- Heavy Cream – provides a rich and creamy ice cream base.
- Sugar – use granulated white sugar for best results.
- Corn Syrup – for added sweetness.
- Lemon Juice – balances and adds brightness to the strawberry mixture.
Handy Tip: Use Good Kitchen Tools!
For the best tools to help make your recipe even easier and more successful, check out my collection of the Best Kitchen Tools on Amazon.
How To Make Ninja Creami Strawberry Ice Cream
- Then stir in the heavy cream.
- Pour the mixture into your Ninja Creami pint, put the lid on, and place in the freezer for 24 hours.
- To process, remove the pint from the freezer, take off the lid, and refer to the quick start guide for assembly and setup instructions.
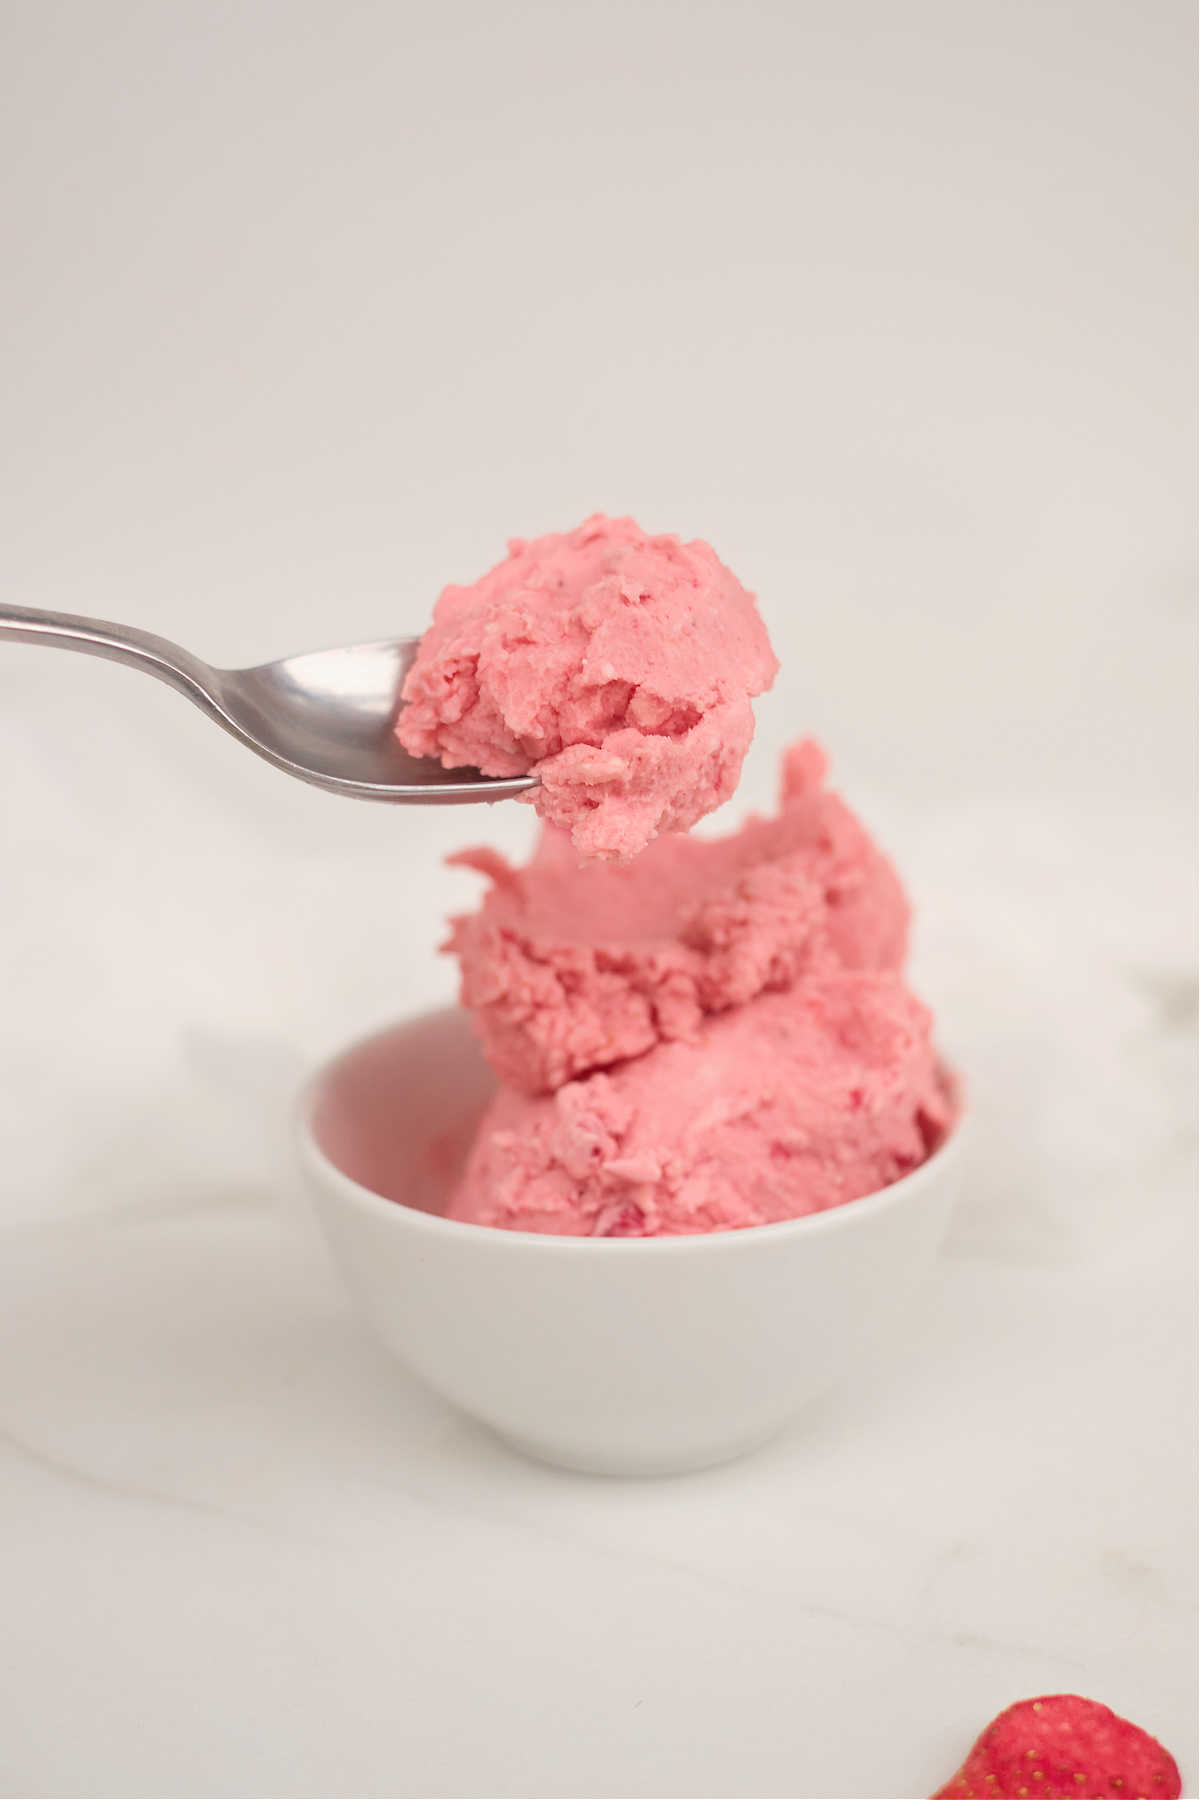
- Add the freeze dried strawberries during the mix-in stage, and once processing is complete, serve immediately.
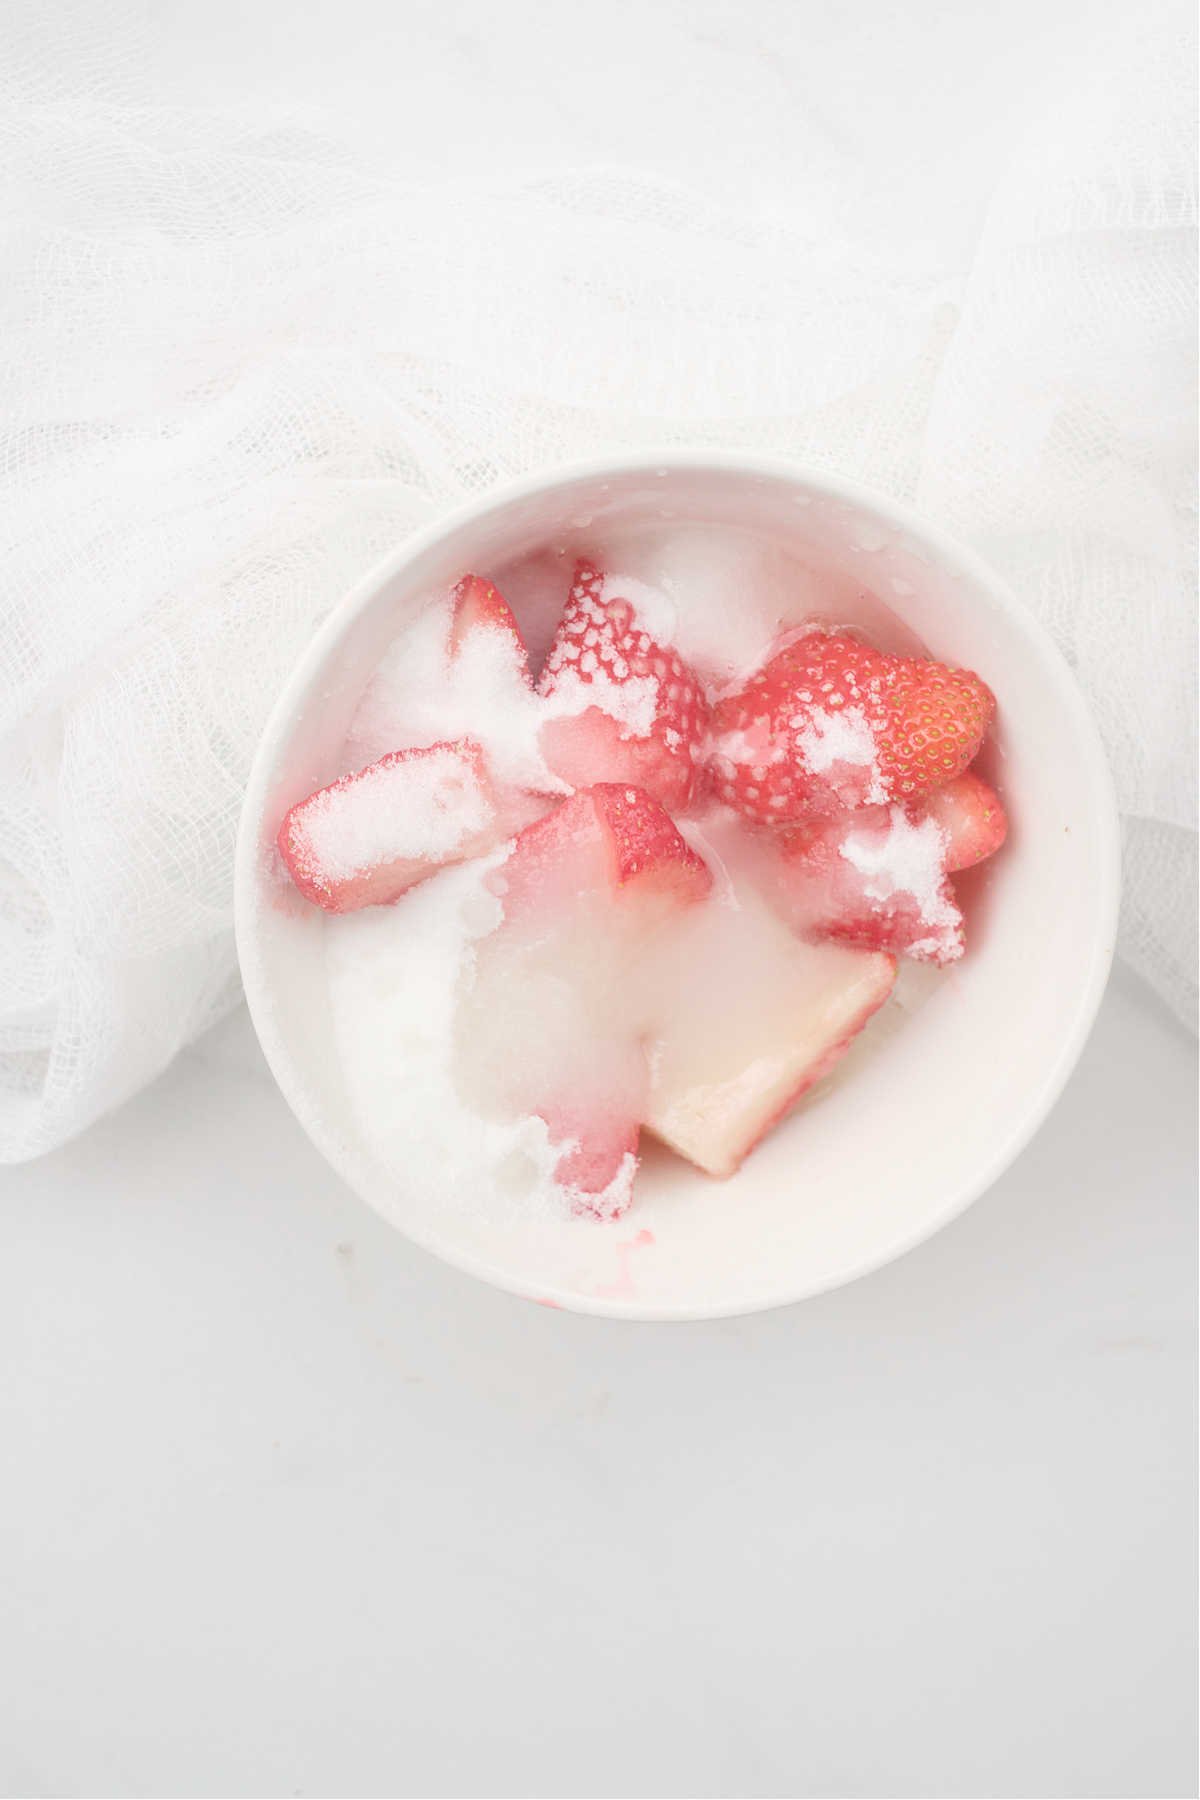
Step 1. Add strawberries to a large bowl, mash with a fork and add sugar, corn syrup, and lemon juice, then stir to combine. Allow mixture to sit for 10 minutes.
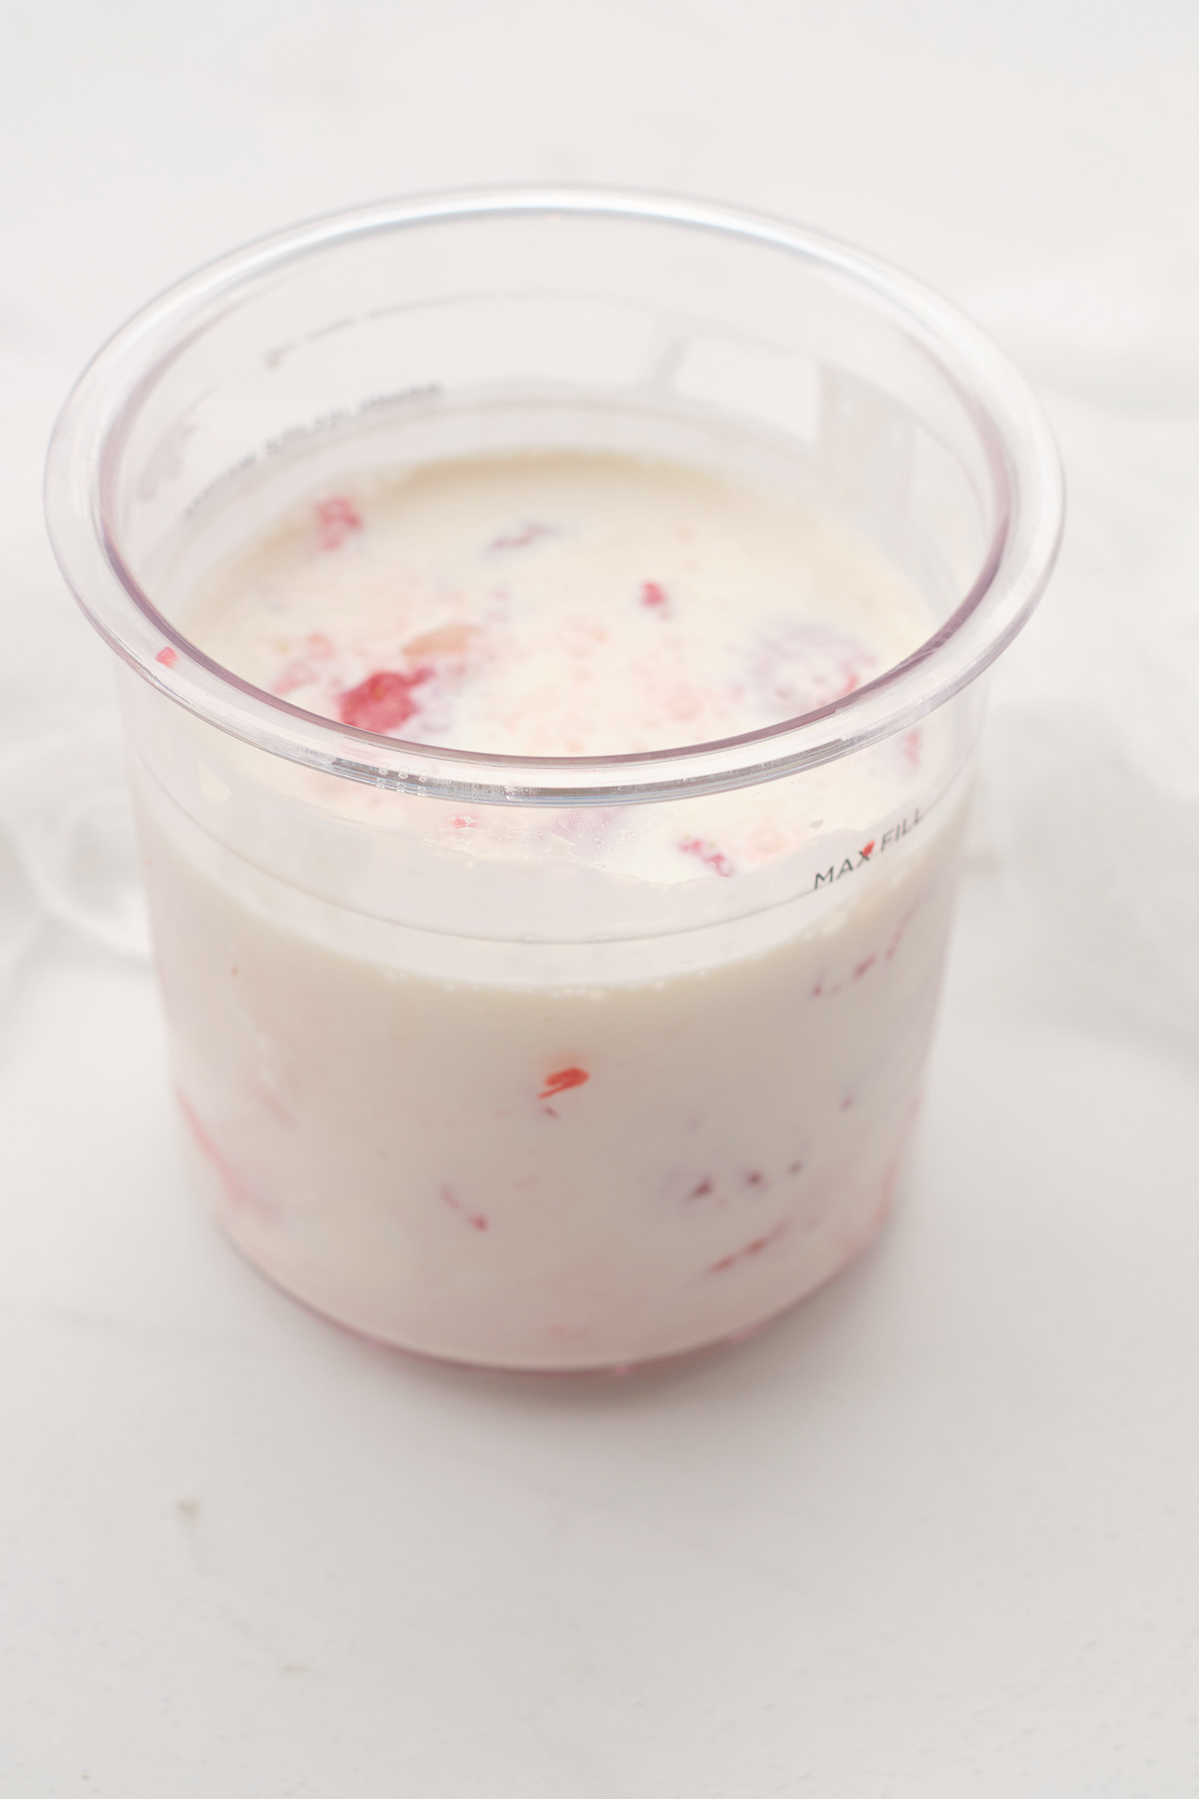
Step 2. Stir in the heavy cream, then pour the mixture into your Ninja Creami pint, put the lid on, and place in the freezer for 24 hours.
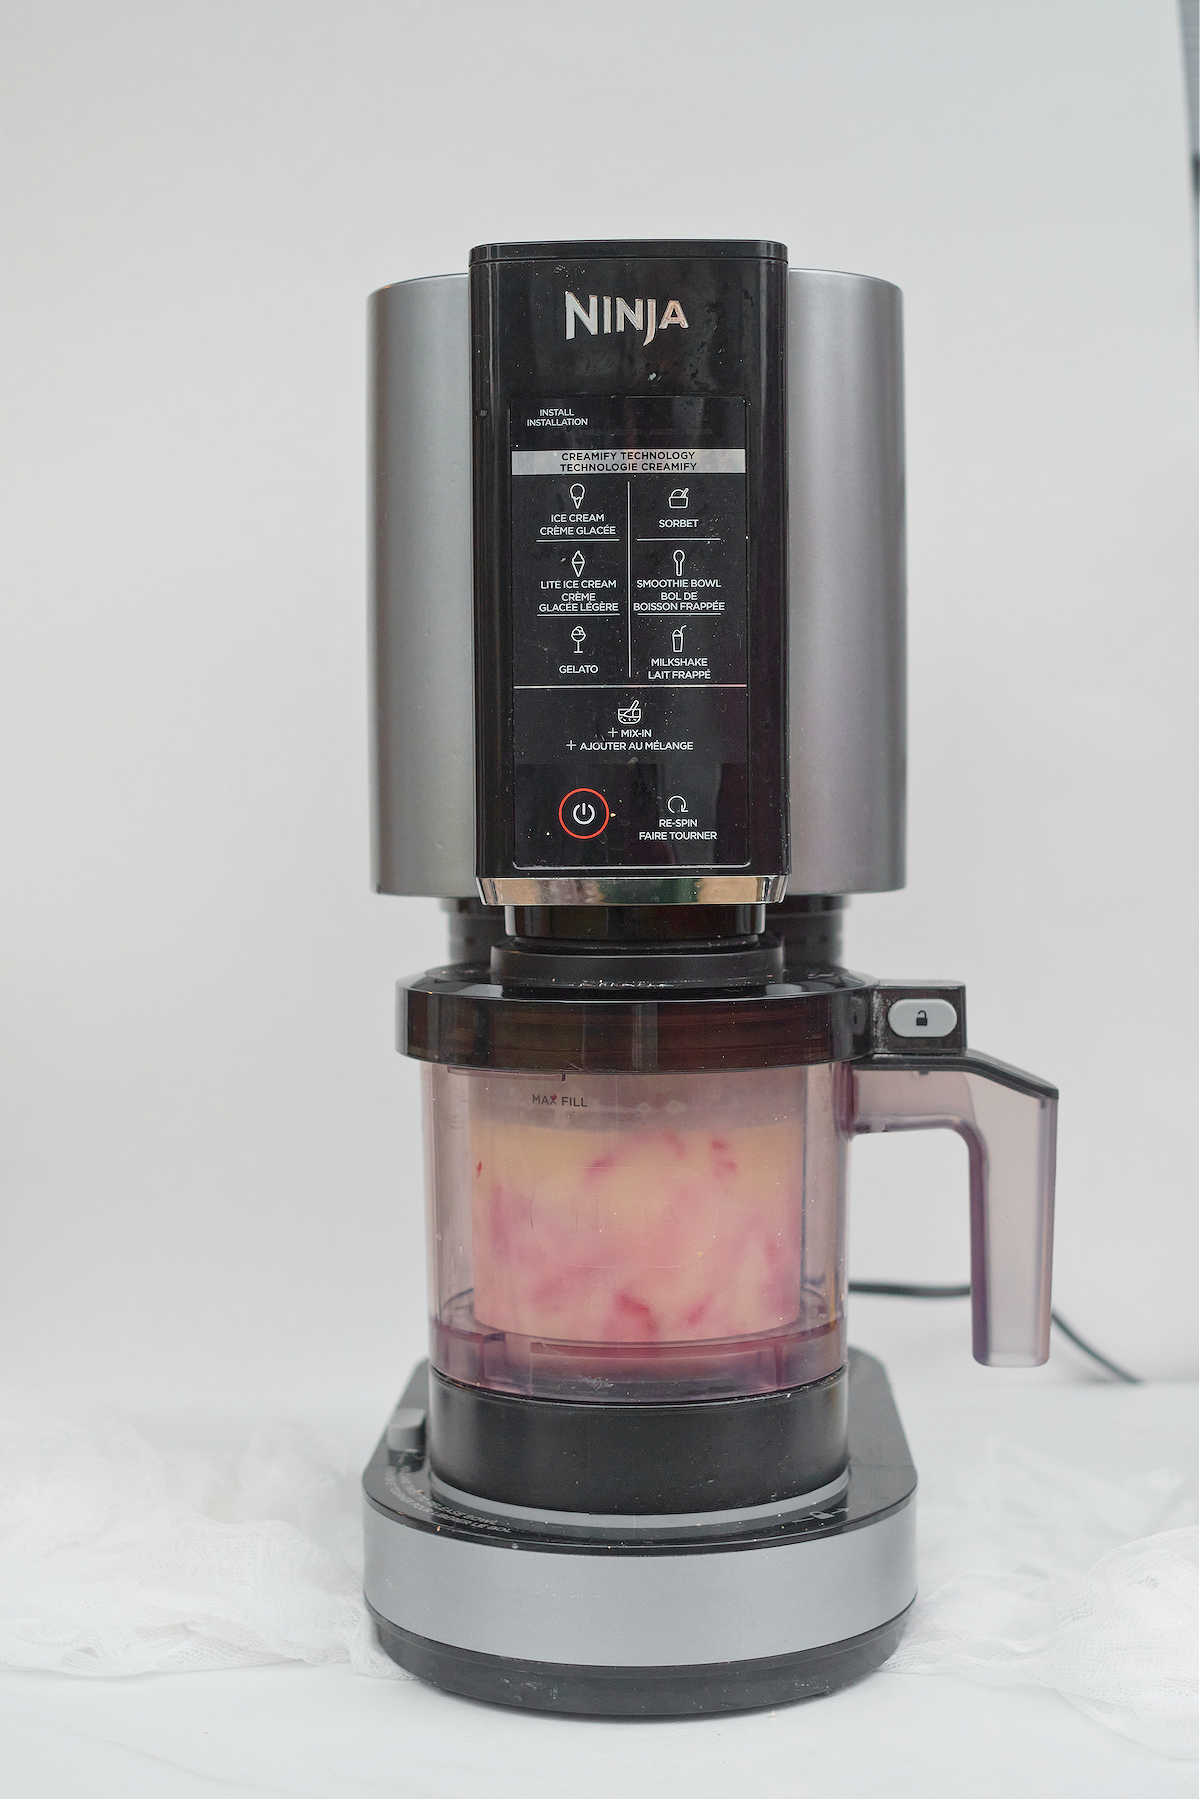
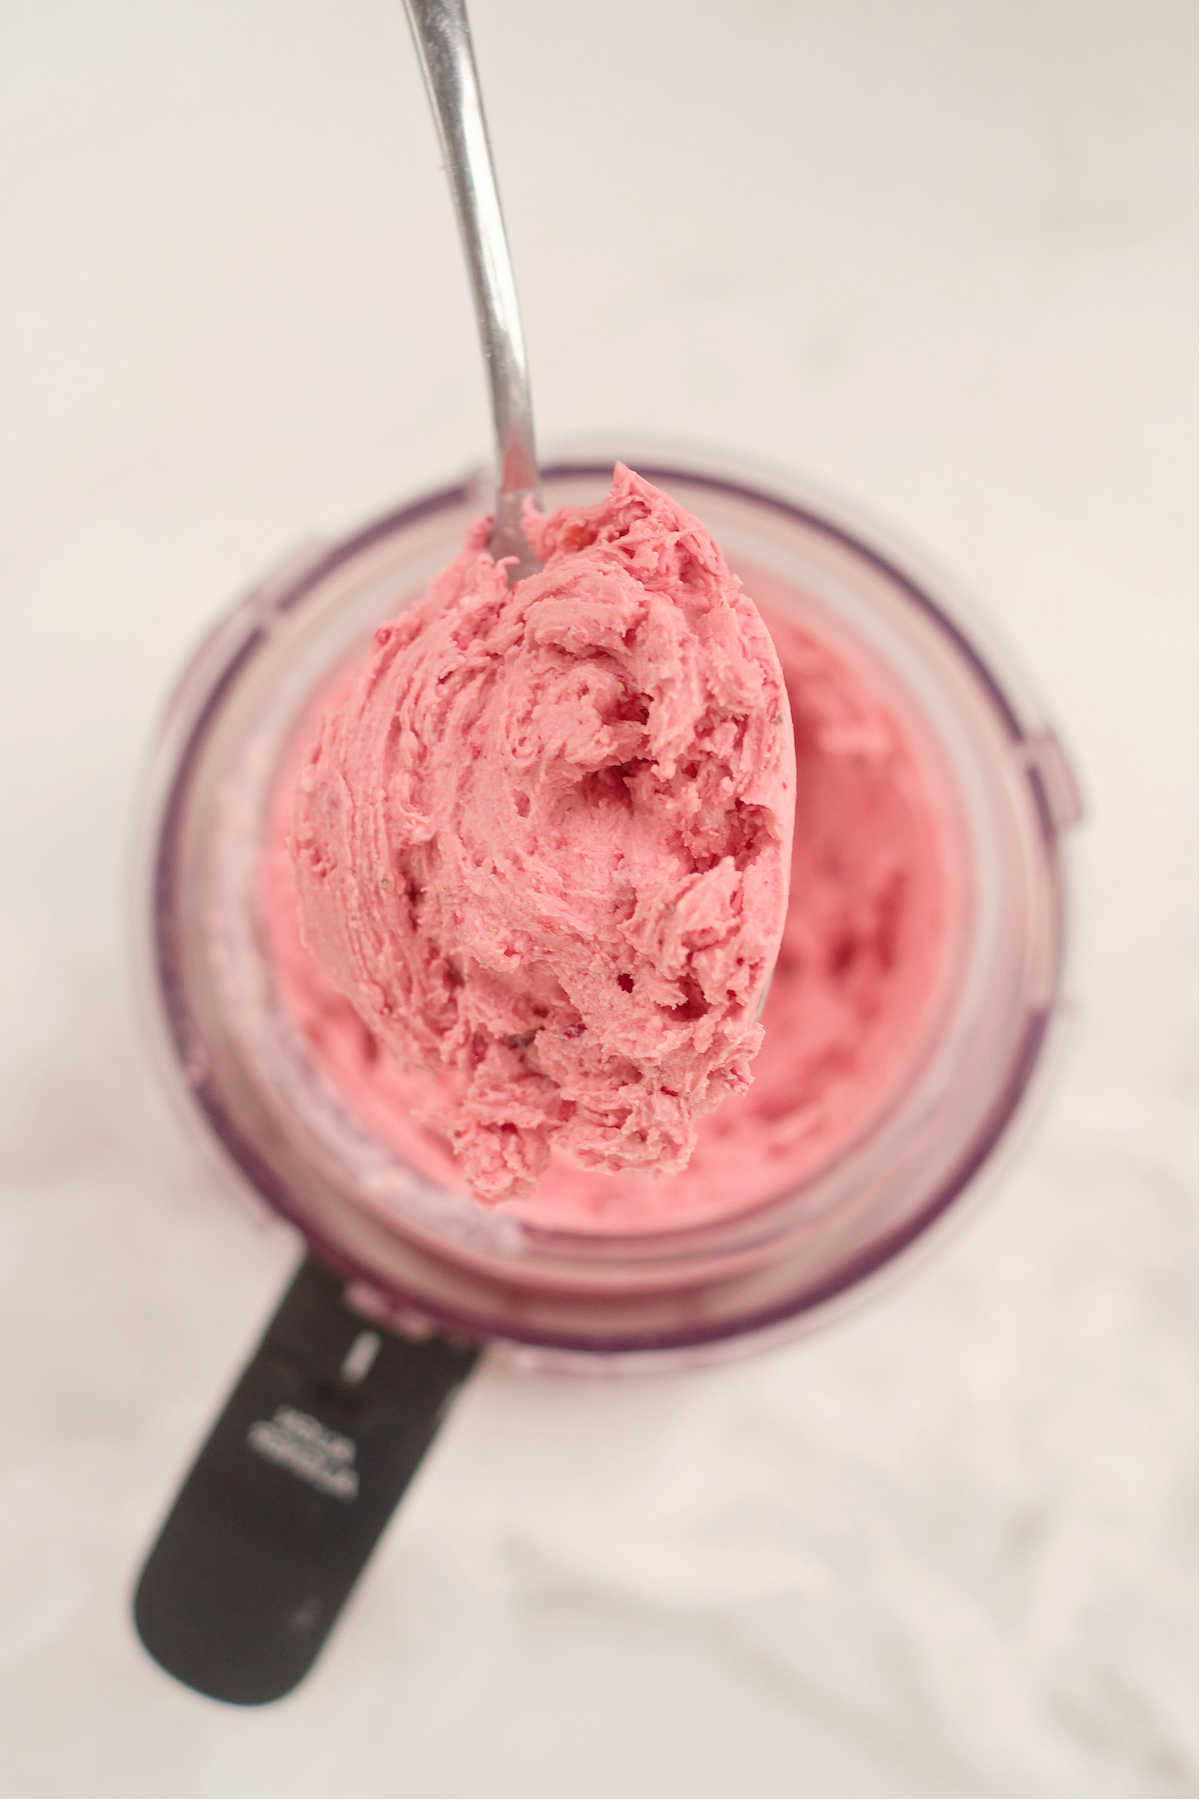
Step 3. Remove the pint from the freezer, take off the lid, and refer to the quick start guide for assembly and setup instructions. Process using the Ice Cream setting.
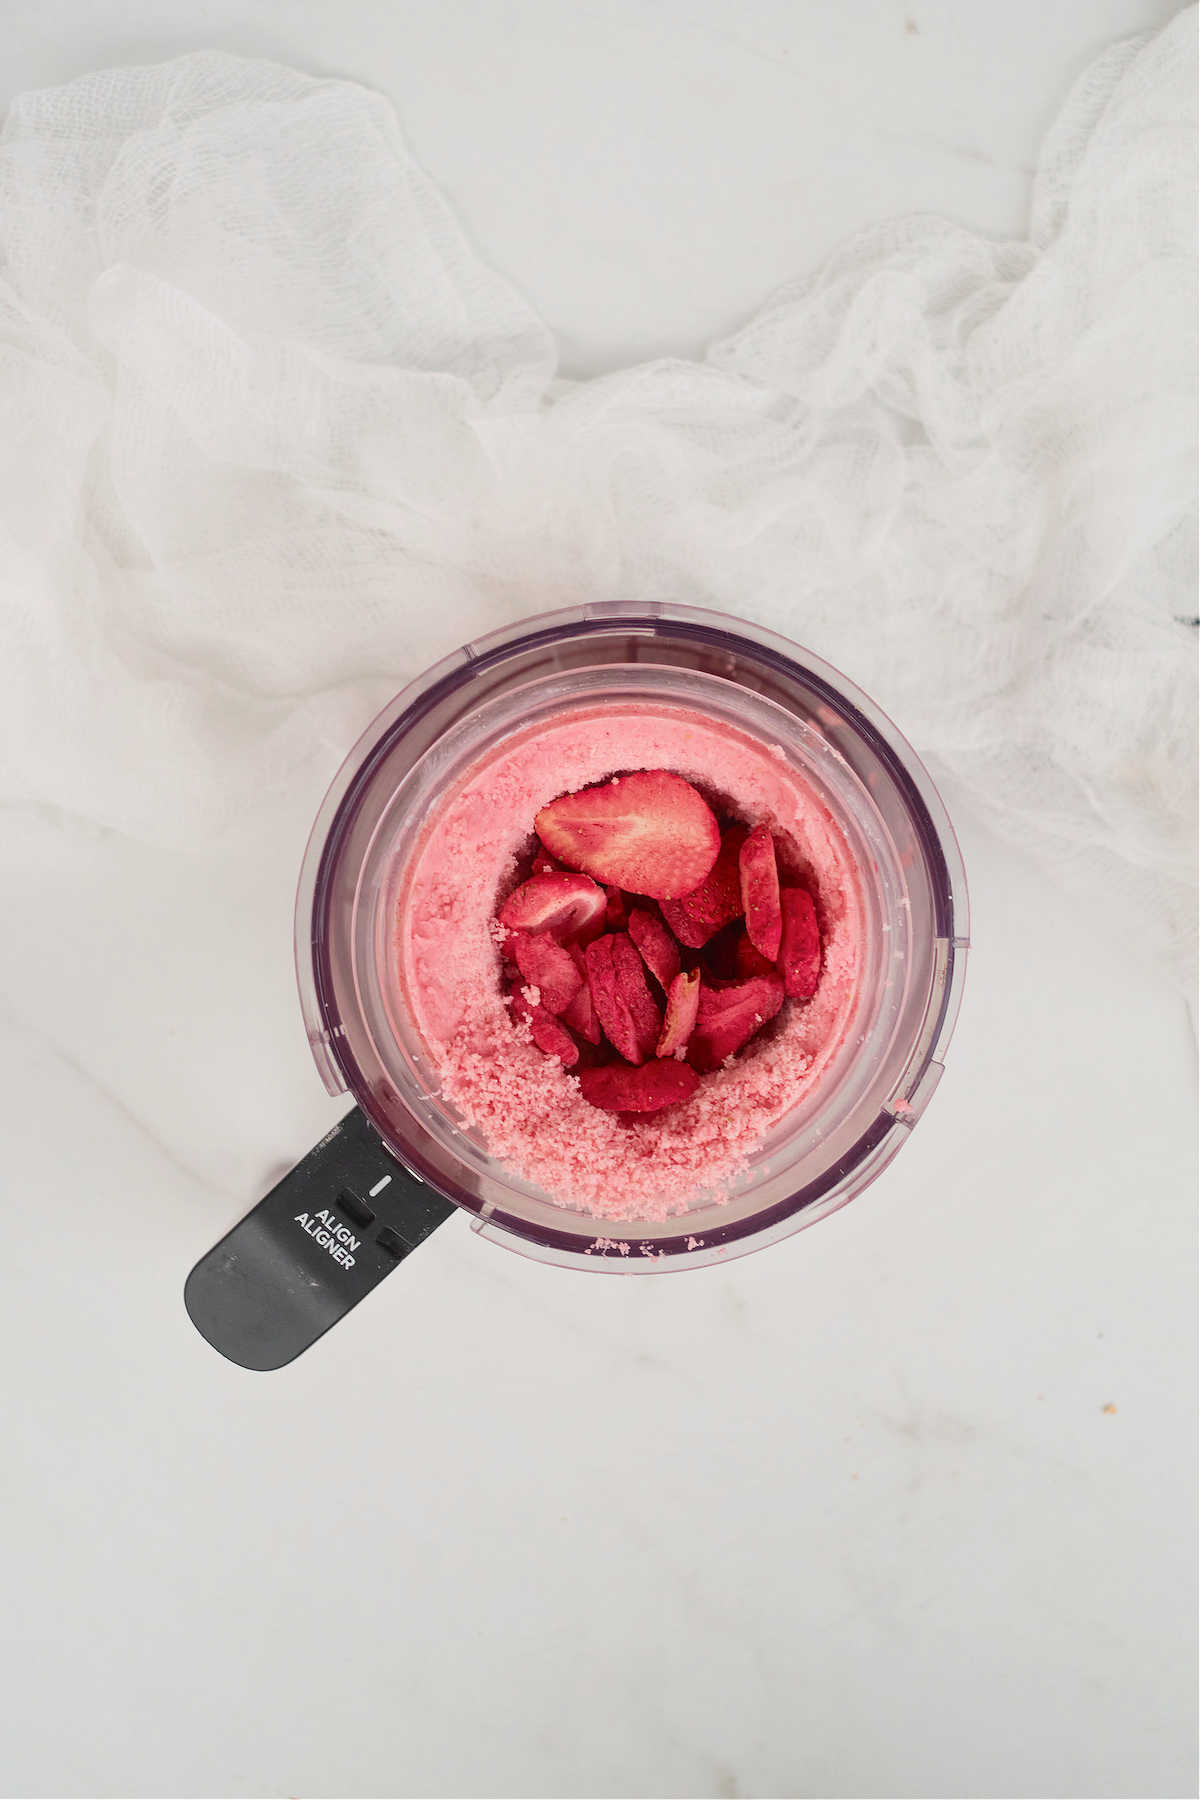
Step 4. Add the freeze dried strawberries during the mix-in stage, and once processing is complete, serve immediately.
Tips For Success
- It’s very important to allow the ice cream mixture to freeze for a full 24 hours. It must be frozen completely to achieve the proper texture and consistency.
- Strawberries not sweet enough? Add a bit more sugar to the mixture before freezing.
- Use the re-spin function if your ice cream isn’t creamy enough. If needed, add a splash of cream before re-spinning.
- Prep and freeze several recipes at once so you’ll have some ready to process whenever the mood strikes!
- Pre-freeze your mix-ins for great texture and flavor.
Delicious Variations
- Make it Dairy-Free – Swap the heavy cream for coconut cream to make this a vegan, dairy-free ice cream.
- Make it Sugar-Free – Use a quarter cup of stevia instead of sugar and replace the corn syrup with agave nectar, then process using the Lite Ice Cream program.
- Use Different Berries – Replace the strawberries with raspberries, blueberries, or blackberries. Or use a combination to make it a mixed-berry treat.
Prep and Storage
- Prep Ahead – create the base and let it freeze for at least 24 hours before adding it to the machine.
- Storage – processed ice cream can be kept in a sealed container inside the freezer for several weeks, up to 1 month.
FAQs
Yes, you can use frozen strawberries when making ice cream. For this recipe, I recommend thawing them first so you can easily slice and combine them with the other ingredients.
Yes, you do have to wait 24 hours for Ninja Creami ice cream to freeze before processing. It is critical that the ice cream base be frozen solid in order to achieve a creamy consistency.
If your Ninja Creami ice cream is icy, it may be the base does not have enough sugar. Try adding a bit more granulated sugar, honey, or corn syrup and re-spinning.
You can keep Ninja Creami ice cream in the freezer in a sealed container for several weeks, even up to a month.
Similar Recipes
- Ninja Creami Vanilla Ice Cream.
- Fried Ice Cream Air Fryer.
- No Churn Low Carb Ice Cream.
- Waffle Ice Cream Sandwich.
Recommended Tools
- The awesome Ninja Creami is a must!
- Measuring Cups and Spoons to ensure your recipe turns out right.
- A good set of Mixing Bowls to easily combine ingredients.
- And for the best tools to help make your recipe even easier and more successful, check out my collection of the Best Kitchen Tools on Amazon.
More Dessert Recipes
Be Sure to check out my other delicious dessert recipes!

Thank you for reading my Strawberry Ice Cream Ninja Creami recipe post. And please come visit again as I continue to slice, dice, and dream up affordable Air Fryer recipes, Instant Pot recipes, Southern Recipes, and more. Thanks for supporting Recipes from a Pantry, food blog.
Get the Ninja Creami Strawberry Ice Cream Recipe:
Don’t forget to tag #recipesfromapantry on Instagram or Twitter if you try Ninja Creami Strawberry Ice Cream! It is really, really awesome for me when you make one of my recipes and I’d love to see it. You can also share it on my Facebook page. Please pin this recipe to Pinterest too! Thank you for reading Recipes from a Pantry.

Ninja Creami Strawberry Ice Cream
Ingredients
- 1 cup (236ml) heavy cream
- ½ cup (100g) sugar
- 8 ounces (226g) fresh strawberries trimmed and sliced into quarters
- 1 teaspoon light corn syrup
- 1 teaspoon lemon juice
- ¼ cup (5.25g) freeze dried strawberries
Instructions
- Add strawberries to a large bowl and mash with a fork.
- Add sugar, corn syrup, and lemon juice and stir to combine. Allow mixture to sit for 10 minutes. Then stir in the heavy cream.
- Pour the mixture into your Ninja Creami pint, put the lid on, and place in the freezer for 24 hours.
- To process, remove pint from freezer, take off lid, and refer to the quick start guide for assembly and set up instructions.
- Add the freeze dried strawberries during the mix-in stage, then when processing is complete, serve immediately.
Video
Notes
-
- It’s very important to allow the ice cream mixture to freeze for a full 24 hours. It must be frozen completely to achieve the proper texture and consistency.
- Strawberries not sweet enough? Add a bit more sugar to the mixture before freezing.
- Use the re-spin function if your ice cream isn’t creamy enough. If needed, add a splash of cream before re-spinning.
- Prep and freeze several recipes at once so you’ll have some ready to process whenever the mood strikes!
- Pre-freeze mix-ins for best results.
- Storage – keep in a sealed container inside the freezer for several weeks.