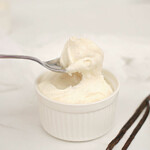
Ninja Creami Vanilla Ice Cream Recipe
With this Ninja Creami Vanilla Ice Cream Recipe, it’s incredibly easy to make flavorful, ultra creamy, and utterly delicious vanilla ice cream right at home!
Suitable for gluten free and vegetarian diets.

Nutrition


You will love how easy it is to make this Ninja Creami vanilla ice cream recipe! All you need are 5 simple ingredients and your beloved Ninja Creami ice cream maker to whip up this flavorful, creamy, and utterly delicious vanilla ice cream treat.
Making vanilla ice cream Ninja Creami is different than the traditional at-home ice cream methods since you prep and freeze the base first. Once the mixture is frozen, simply pop it in and let the Ninja Creami work its magic to transform it into a smooth and creamy frozen delight.
This homemade vanilla ice cream is a frozen treat that you can whip up and have on hand to indulge in any time the mood strikes. This is exactly why you’ll want to check out my entire collection of delectable Ninja Creami Recipes!
Want to save this Recipe?
Enter your email below and get it sent straight to your inbox. Along with recipes & tips every week!
Why Make This Recipe
- Easy – Simply combine the ingredients, freeze, and process. Homemade ice cream has never been easier!
- Affordable – Whip up this high-quality dessert with just a handful of pantry and refrigerator staples.
- Customizable – Swap the ingredients to make this recipe non-dairy or sugar-free, or add some mix-ins and flavorings to create the ice cream of your dreams.
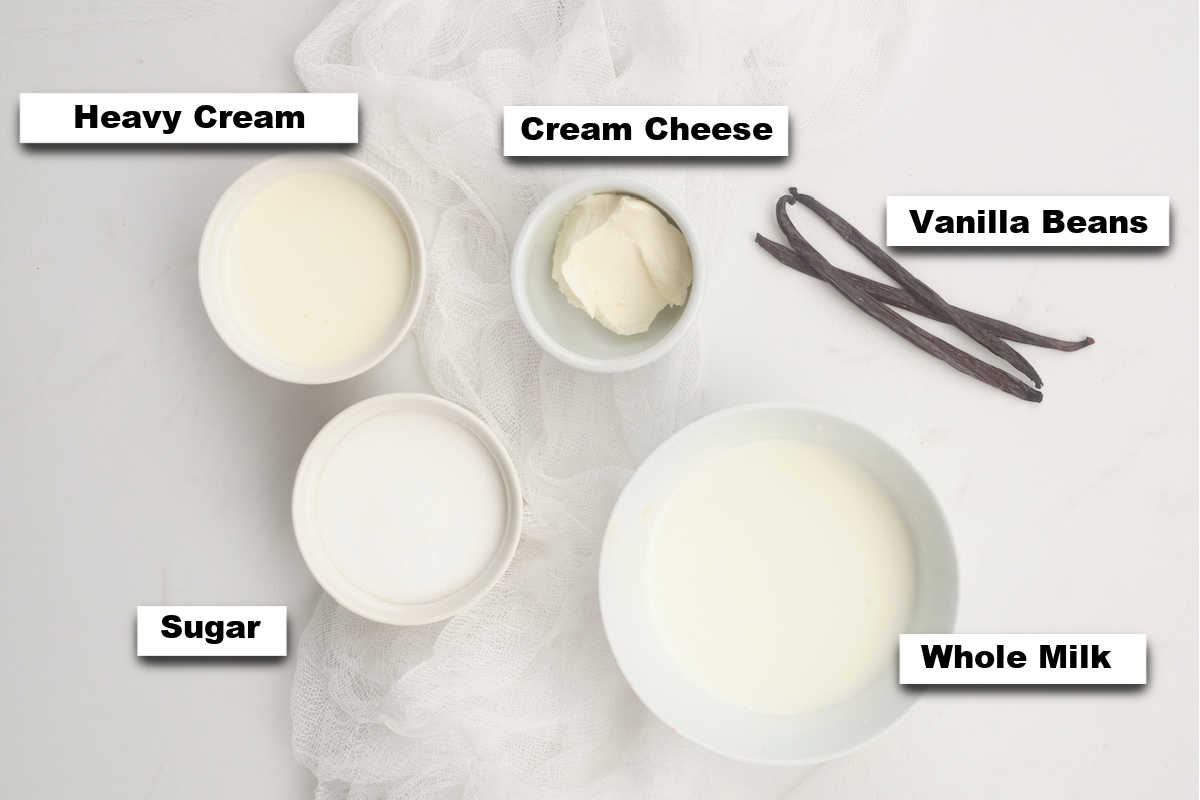
Ingredient Notes
- Whole Milk and Heavy Cream – the combination that creates a perfect ice cream base.
- Cream Cheese – the secret to getting ultra rich and creamy ice cream.
- Sugar – use granulated white sugar for best results.
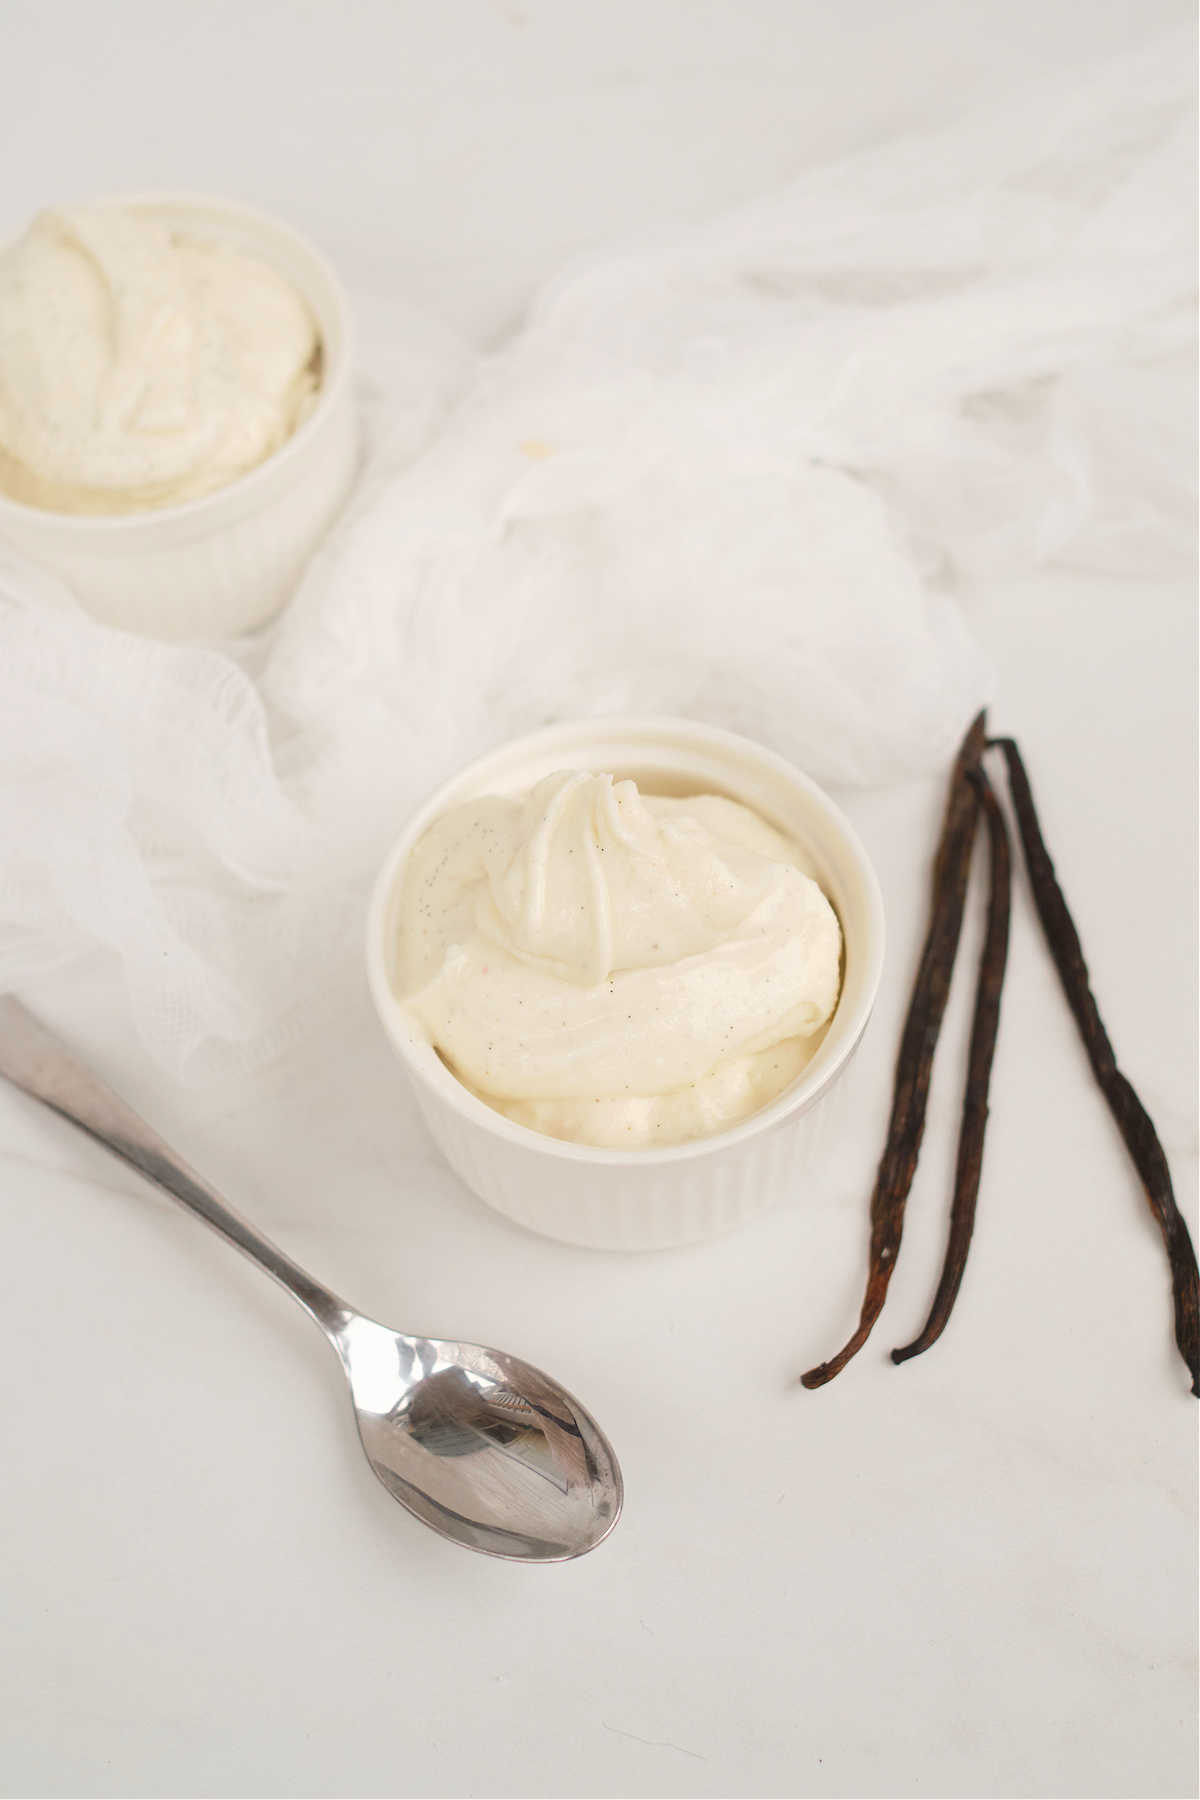
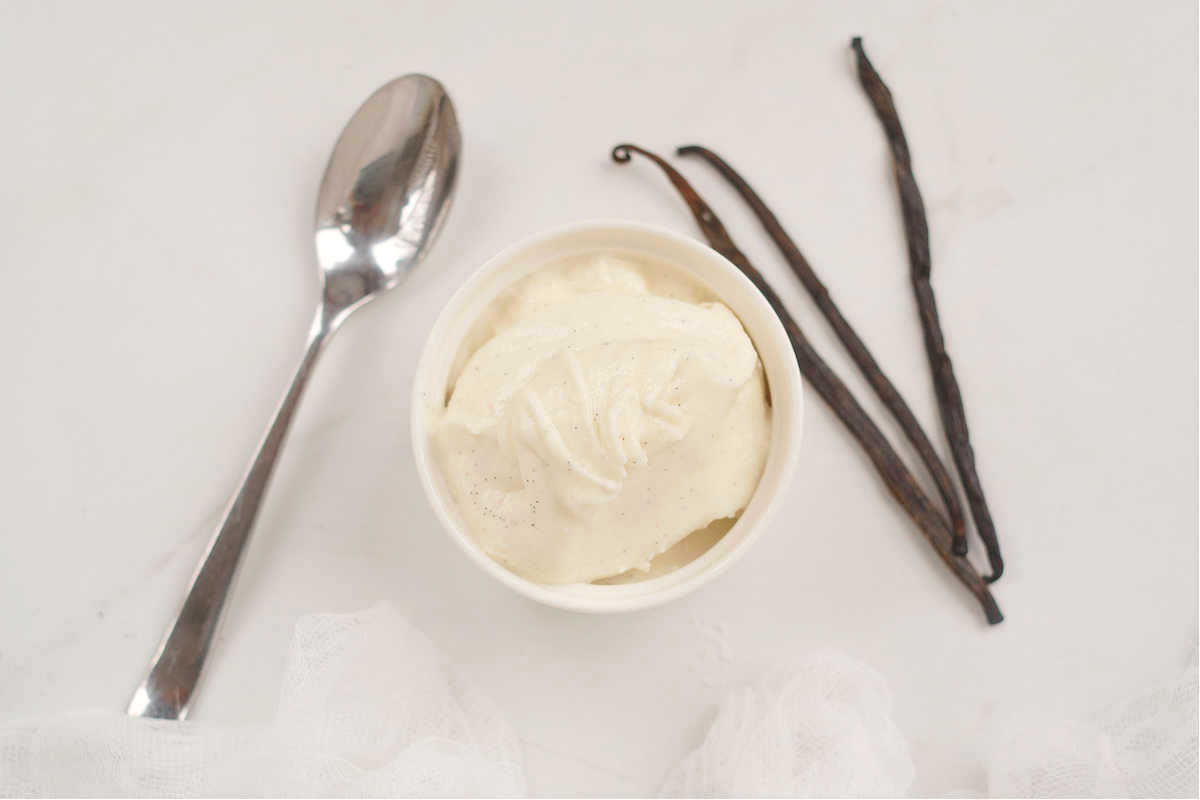
- Vanilla Beans – fresh vanilla beans add delectable vanilla flavor. You can use a teaspoon of vanilla extract instead.
Handy Tip: Use Good Kitchen Tools!
For the best tools to help make your recipe even easier and more successful, check out my collection of the Best Kitchen Tools on Amazon.
How To Make Ninja Creami Vanilla Ice Cream
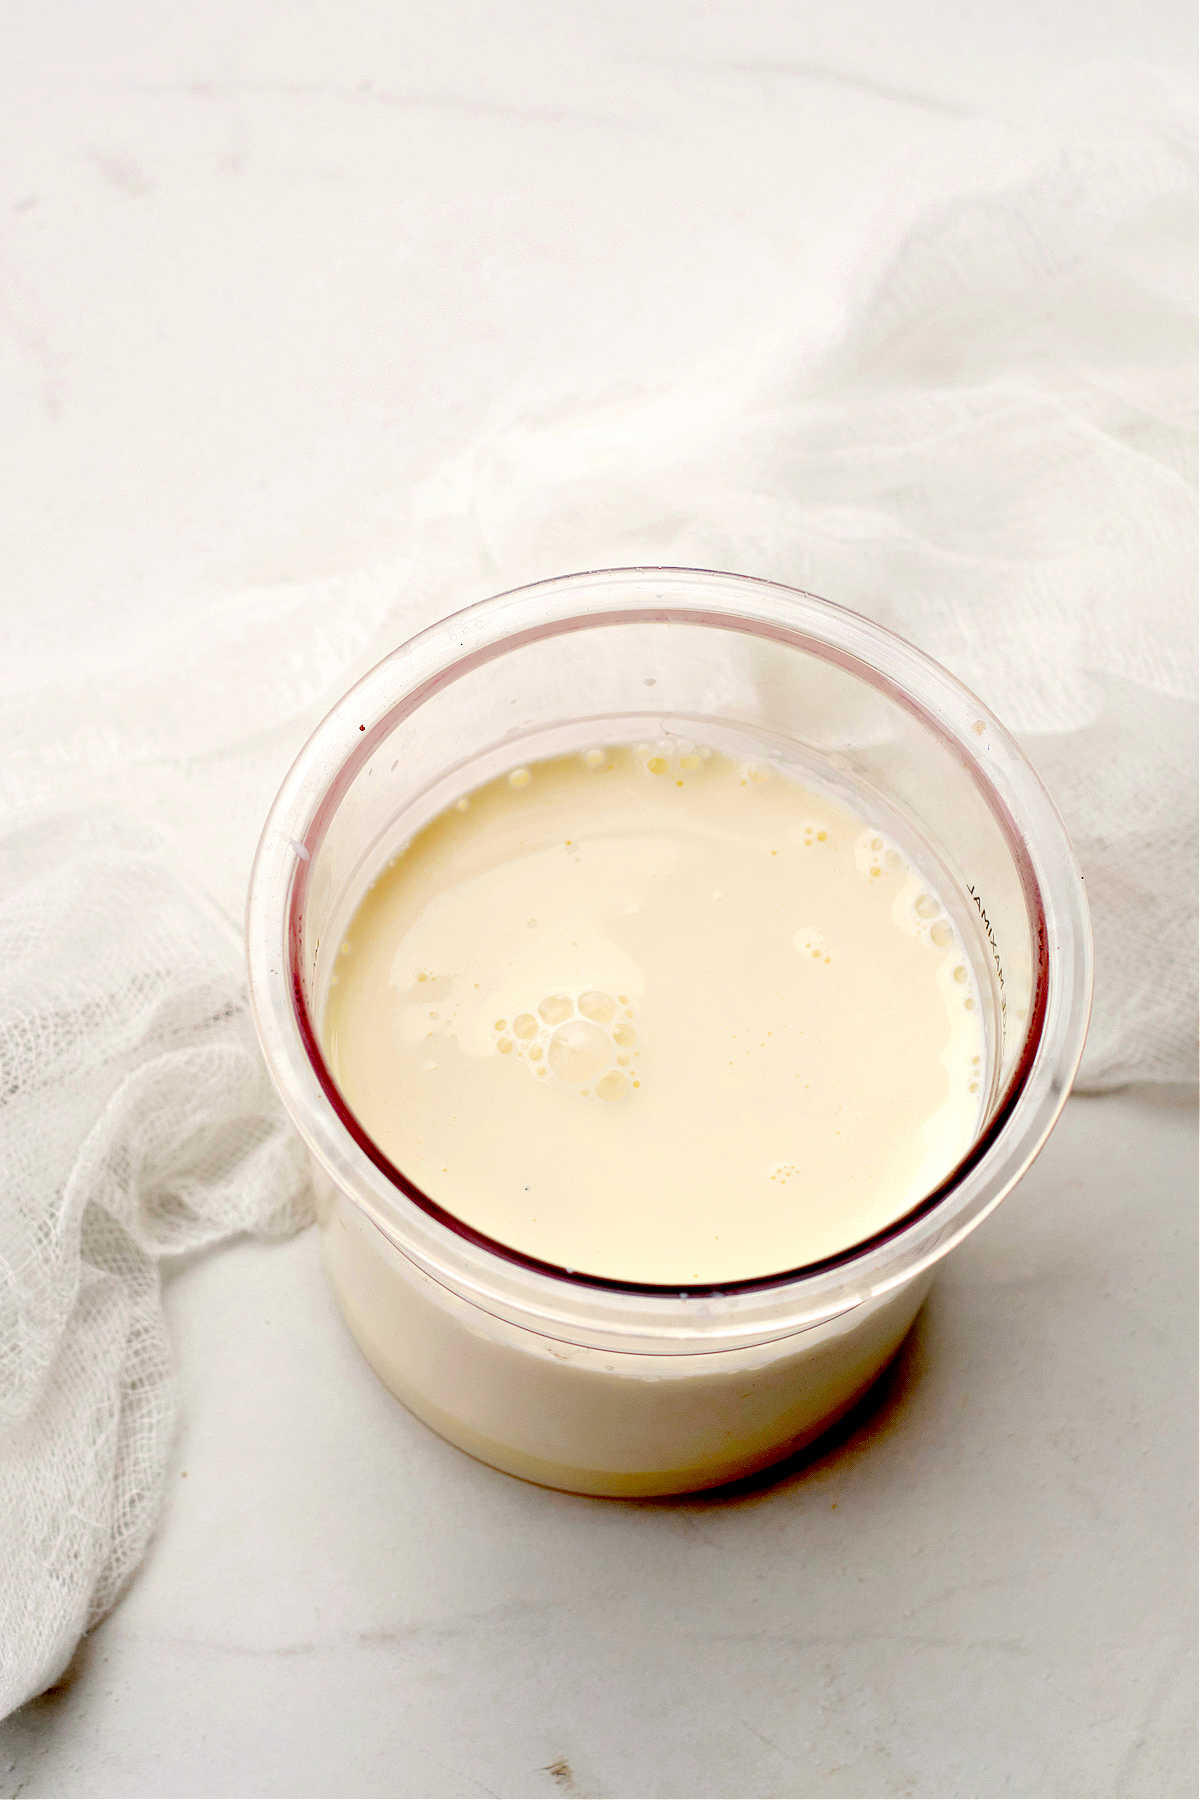
Step 1. Add cream cheese to a large bowl and microwave for 10 seconds. Mix in the sugar, then slowly add the milk and heavy cream, stirring until fully combined.
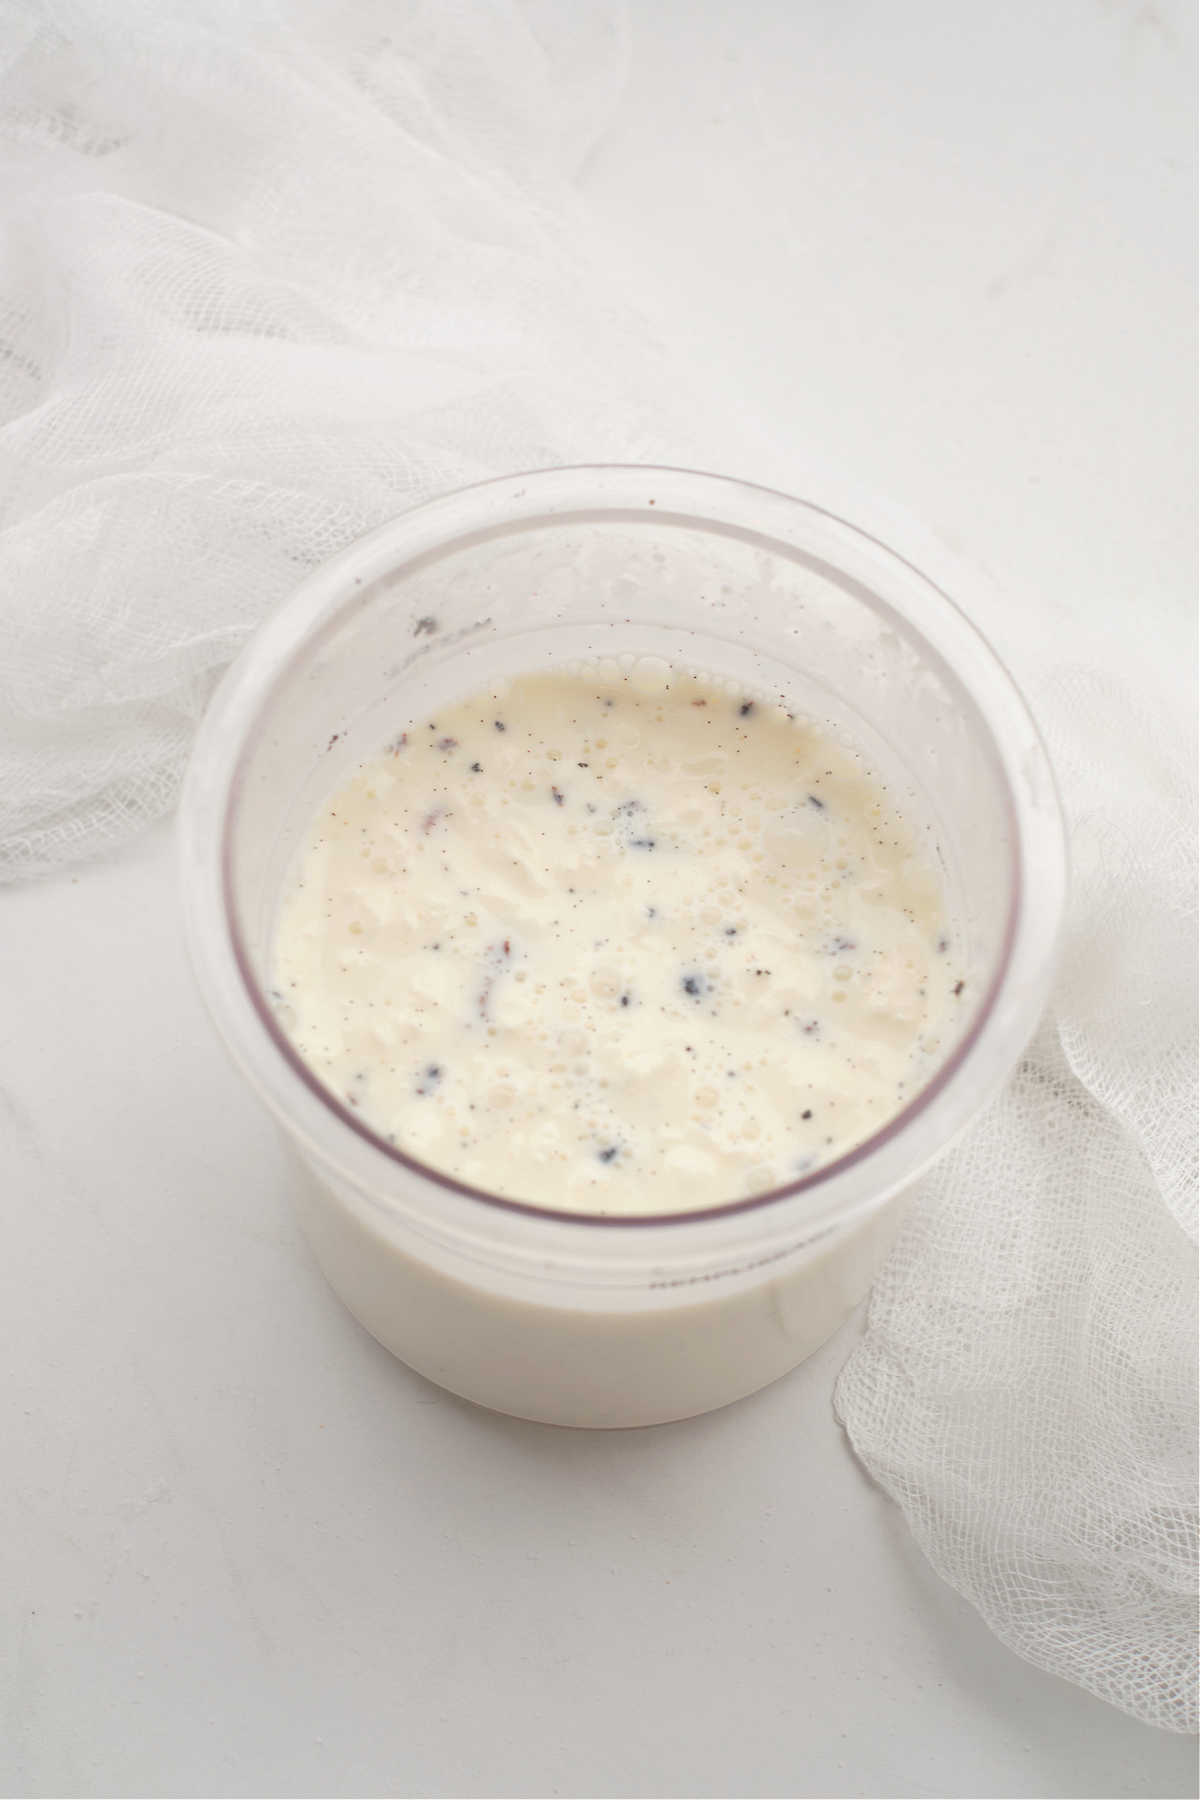
Step 2. Slice the vanilla beans open lengthwise and use the knife blade to scrape out the caviar. Add to the mixture, using a fork to combine.
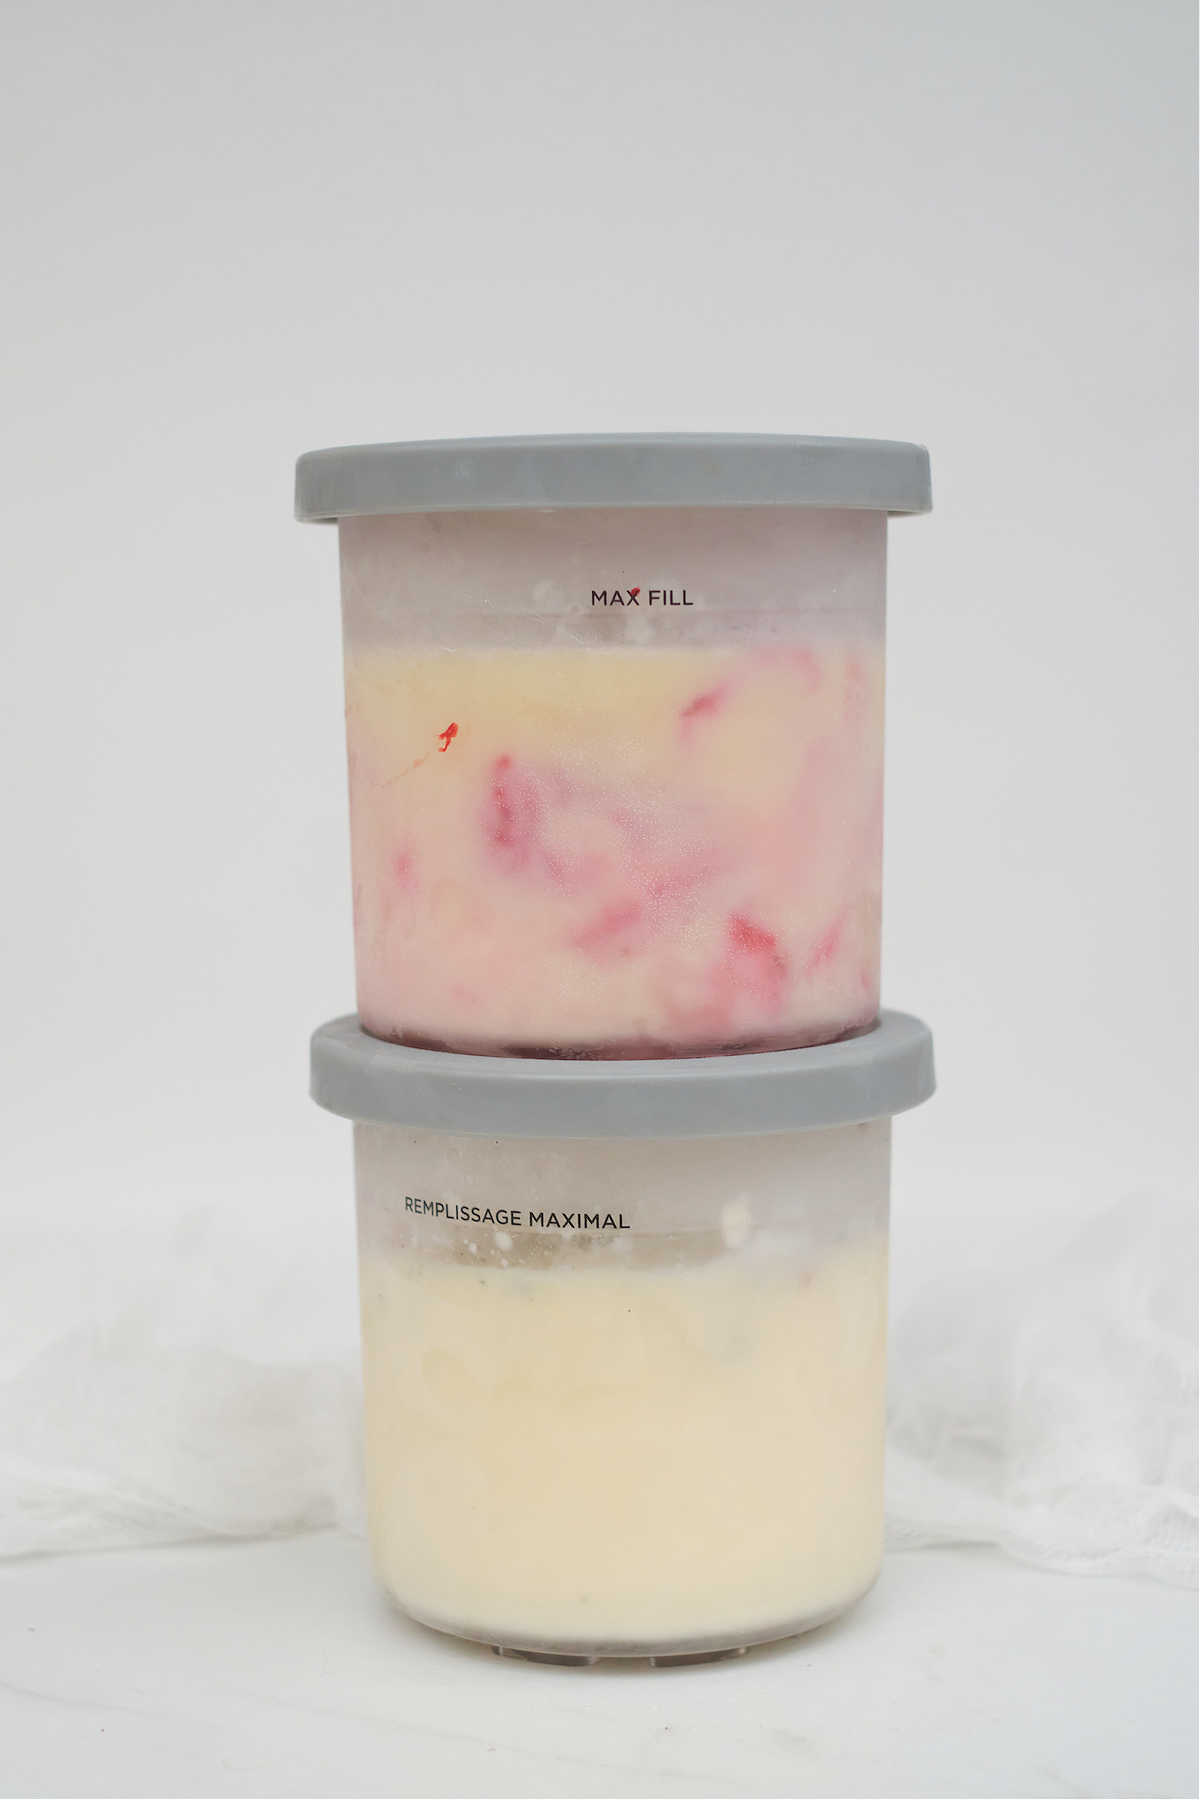
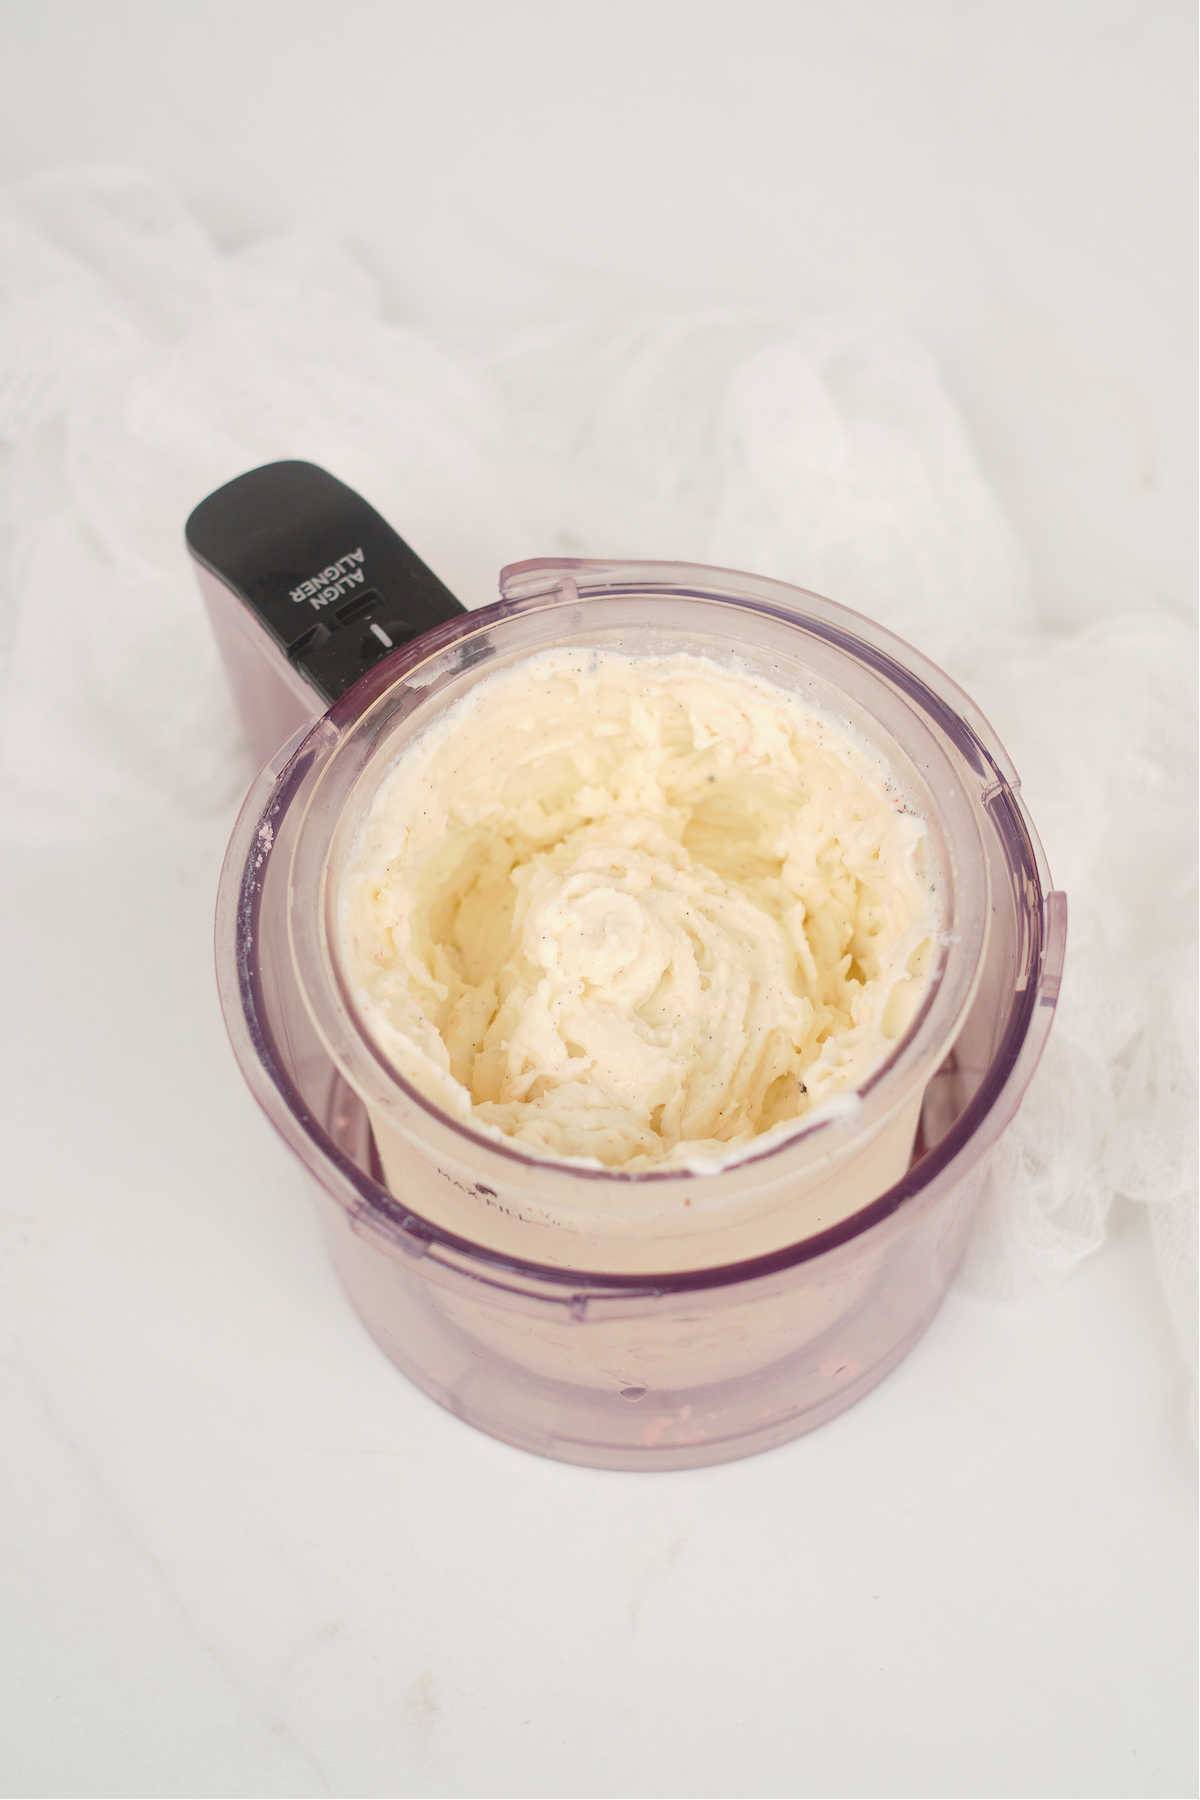
Step 3. Pour the mixture into your Ninja Creami pint, put the lid on, and place in the freezer for 24 hours.
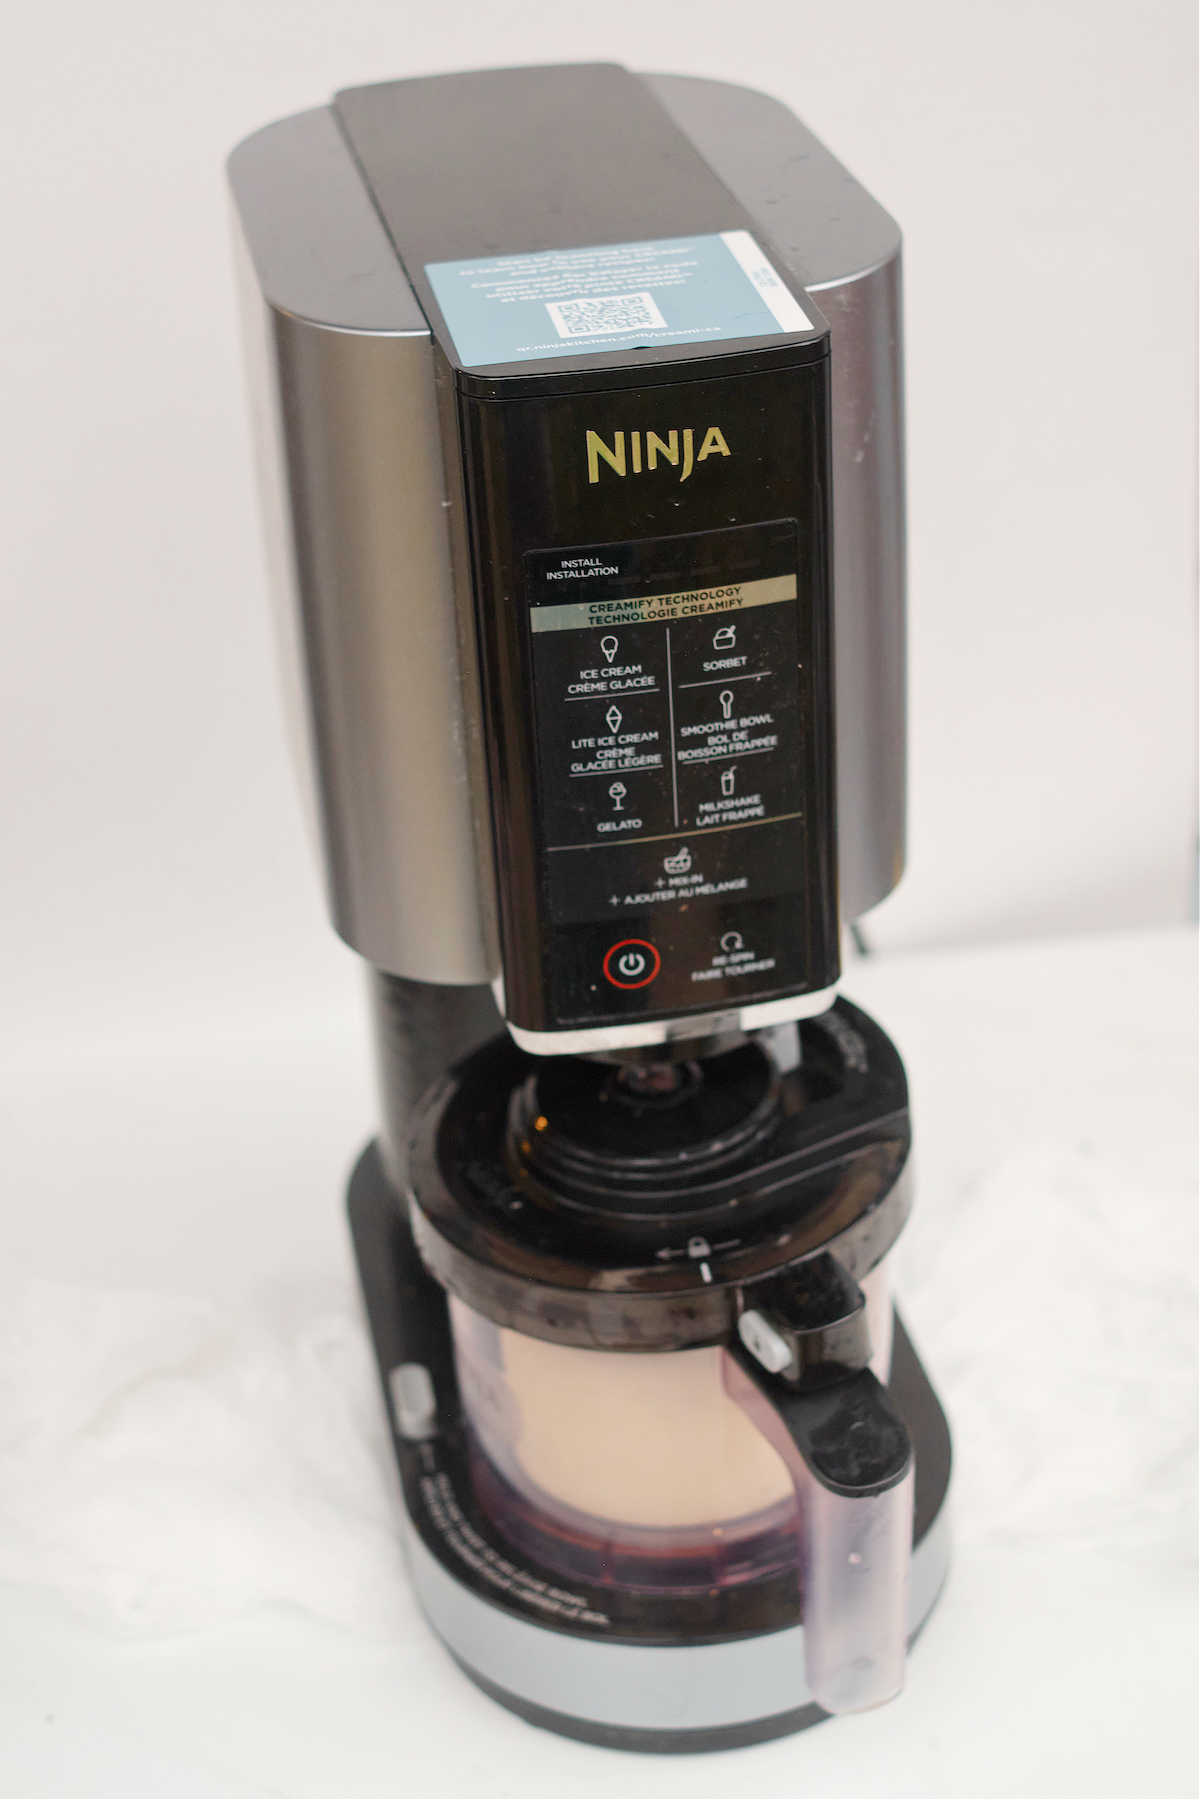
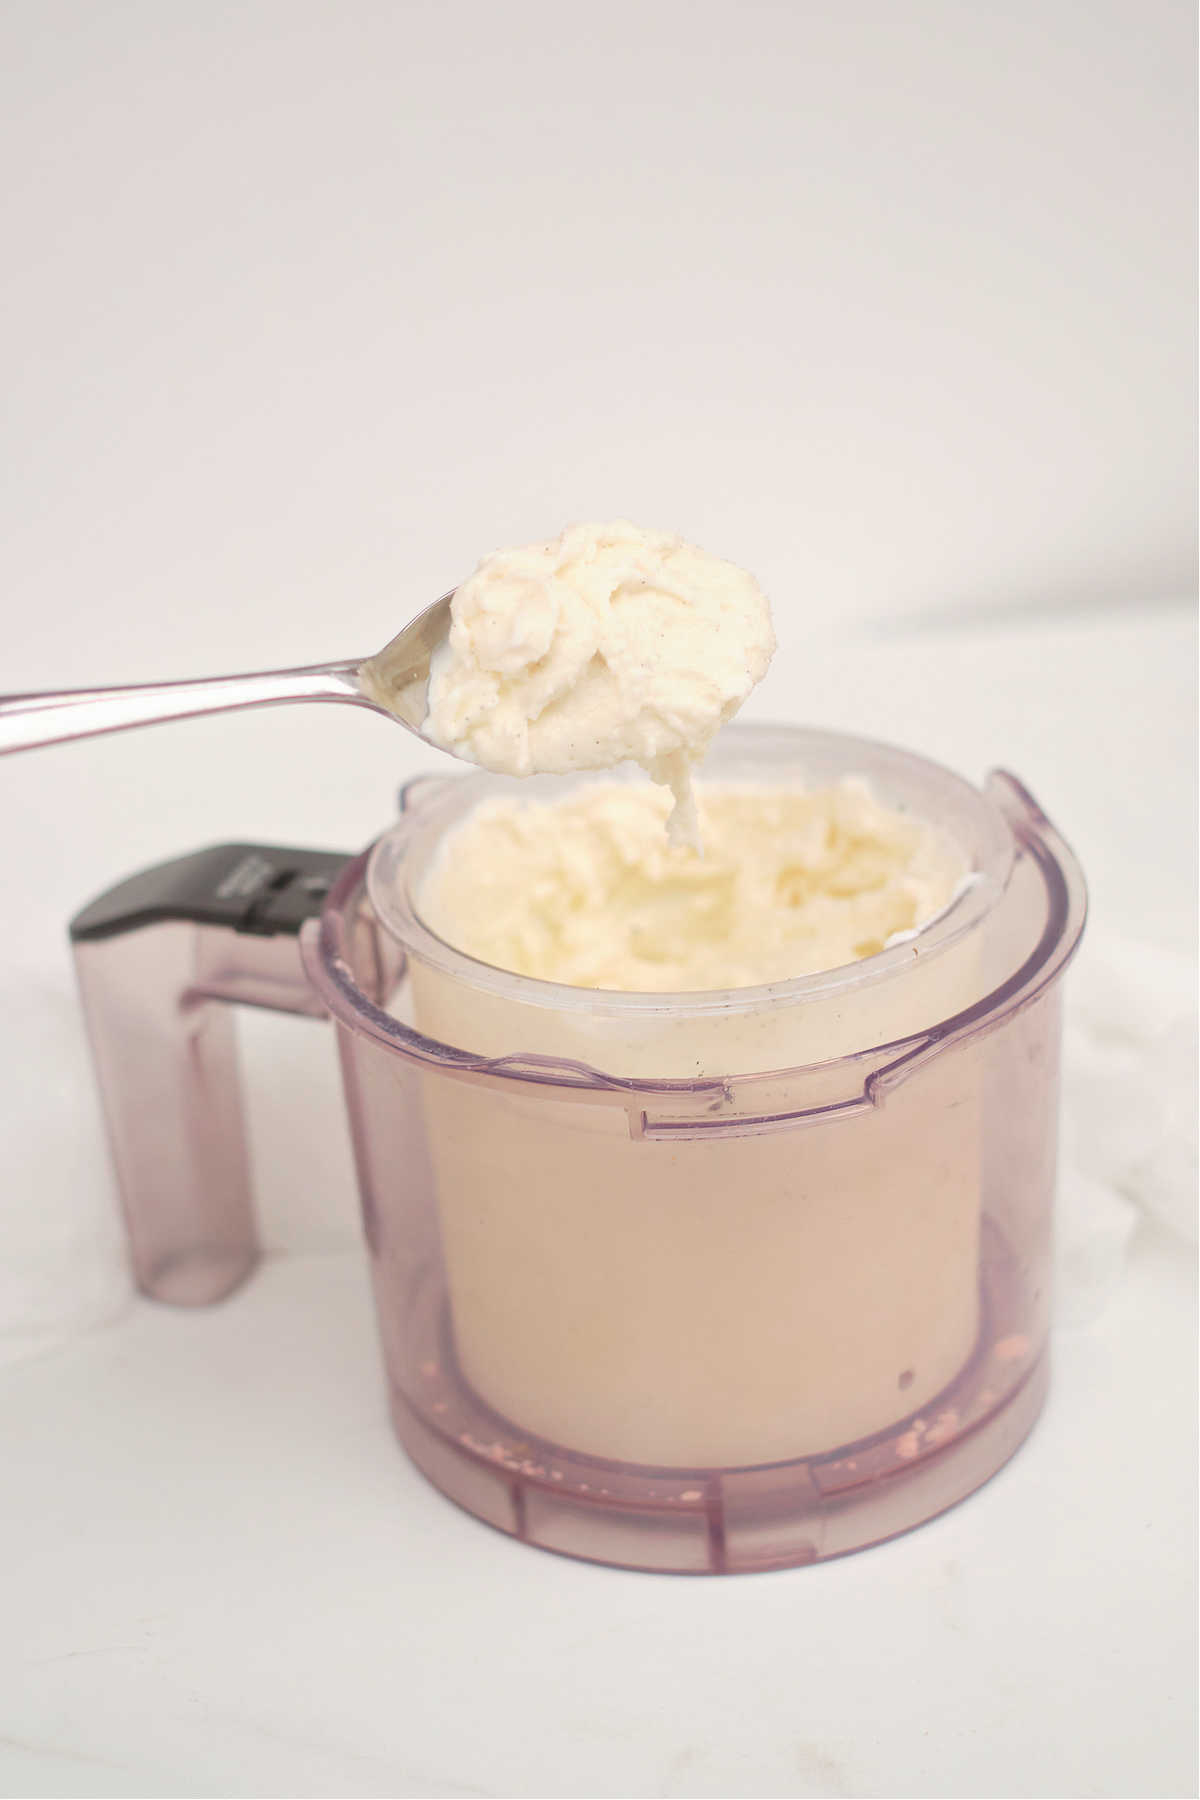
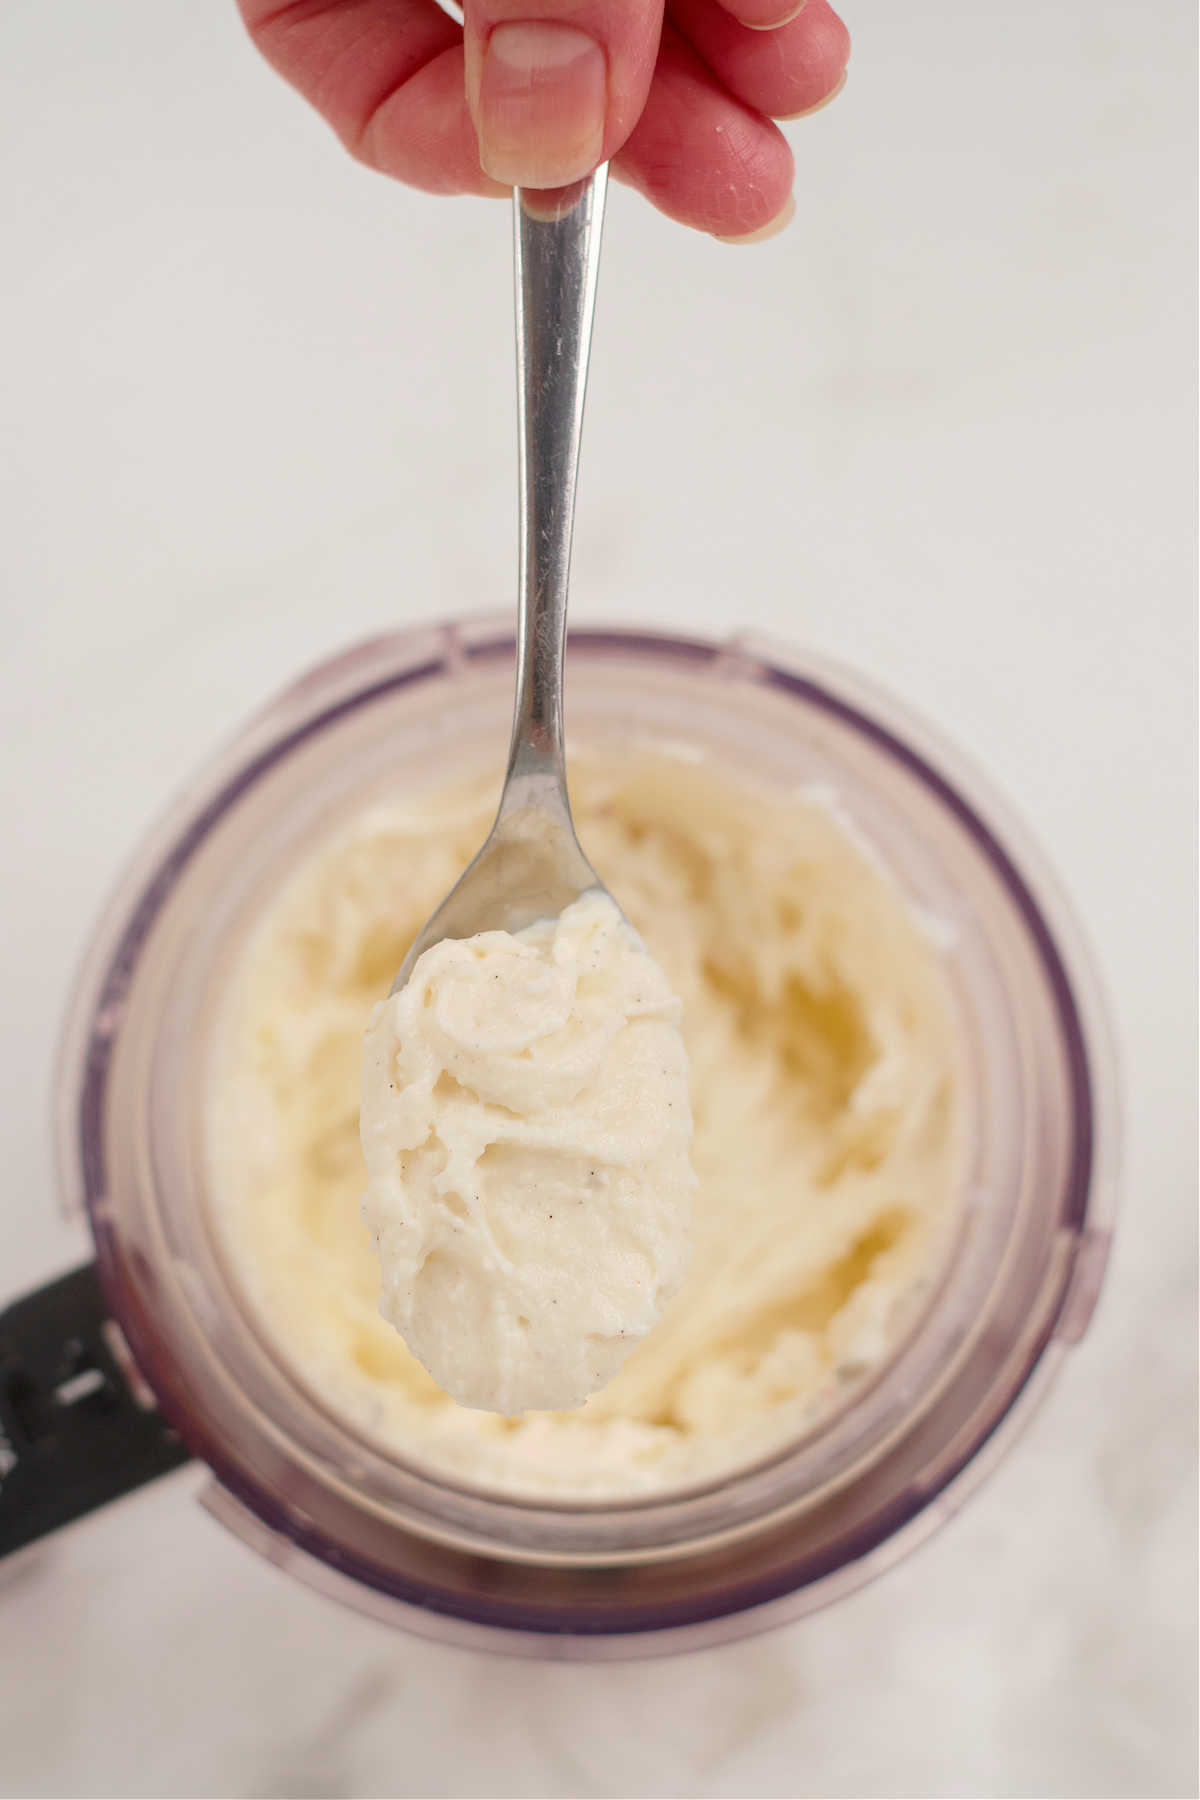
Step 4. Remove from freezer, take off lid, and follow the instructions for processing using the Ice Cream setting. When complete, remove from machine and serve immediately.
Tips For Success
- Be sure to allow the mixture to freeze for the full 24 hours. It must be fully frozen in order to process correctly.
- Prep and freeze several recipes at once so you’ll always have a frozen pint ready to process!
- Use the re-spin function if your ice cream isn’t creamy enough.
- If after respinning it’s still not the right texture, add a splash of cream or milk and re-spin again.
- Using mix-ins? Pre-freeze them before adding them to the recipe.
Delicious Variations
- Make it Vegan – Use unsweetened oat milk instead of whole milk, coconut cream, and vegan cream cheese to make delicious vegan ice cream.
- Lighten Up – Simply replace the sugar with 1/2 teaspoon of stevia and 2 1/2 tablespoons of raw agave nectar, then process using the Lite Ice Cream program.
- Vanilla Milkshake – Use the Ninja Creami milkshake setting to turn this ice cream into a delectable milkshake.
Prep and Storage
- Prep Ahead – make your ice cream base and let it freeze for at least 24 hours before adding it to the machine.
- Storage – keep in a sealed container in the freezer for several weeks, up to 1 month.
FAQs
Yes, and having to wait 24 hours for Ninja Creami is probably the most difficult part of the process. To get the proper texture, it is critical that the ice cream base be a frozen solid. This ensures that smaller ice crystals form, which provides that super creamy texture we all love.
If your Ninja Creami ice cream is icy, the base may not have enough sugar. Use granulated sugar, honey, or corn syrup in your recipe to increase the sugar content.
Yes, you can put frozen fruit in the Ninja Creami as well as fresh fruit. Depending on the recipe, you may need to make adjustments.
You can keep Ninja Creami ice cream in the freezer for several weeks. Smooth out the processed mixture so it’s flat, place the lid on, and put it in the freezer. When you are ready to enjoy it again, simply run it on the same setting used the first time.
Similar Recipes
- Ninja Creami Strawberry Ice Cream.
- Easy Mango Ice Cream.
- Fried Ice Cream Air Fryer.
- Ice Cream Sandwich Cake.
Recommended Tools
- The awesome Ninja Creami is a must!
- A good set of Mixing Bowls to combine ingredients with ease.
- Measuring Cups and Spoons to ensure you use the correct amounts.
- And for the best tools to help make your recipe even easier and more successful, check out my collection of the Best Kitchen Tools on Amazon.
More Dessert Recipes
SEE ALL
Check out my other delicious dessert recipes.


Thank you for reading my Vanilla Ice Cream Ninja Creami recipe post. And please come visit again as I continue to slice, dice, and dream up affordable Air Fryer recipes, Instant Pot recipes, Southern Recipes, and more. Thanks for supporting Recipes from a Pantry, food blog.
Get the Ninja Creami Vanilla Ice Cream Recipe:
Don’t forget to tag #recipesfromapantry on Instagram or Twitter if you try Ninja Creami Vanilla Ice Cream Recipe! It is really, really awesome for me when you make one of my recipes and I’d love to see it. You can also share it on my Facebook page. Please pin this recipe to Pinterest too! Thank you for reading Recipes from a Pantry.
Ninja Creami Vanilla Ice Cream Recipe
Ingredients
- 1 cup (236ml) whole milk
- ¾ cup (177ml) heavy cream
- 1 Tablespoon cream cheese
- 5 small vanilla beans
- ⅓ cup (67g) sugar
Instructions
- Add cream cheese to a large bowl and microwave for 10 seconds.
- Mix in the sugar, then slowly add the milk and heavy cream, stirring until fully combined.
- Slice the vanilla beans open lengthwise and use the knife blade to scrape out the caviar. Add to the mixture, using a fork to combine.
- Pour the mixture into your Ninja Creami pint, put the lid on, and place in the freezer for 24 hours.
- To process, remove pint from freezer, take off lid, and refer to the quick start guide for assembly and set up instructions.
- When processing is complete, remove from machine, scoop out of pint, and serve immediately.
Video
Notes
-
- Be sure to allow the mixture to freeze for the full 24 hours. It must be fully frozen in order to process correctly.
- Prep and freeze several recipes at once so you’ll always have a frozen pint ready to process!
- Use the re-spin function if your ice cream isn’t creamy enough.
- If after respinning it’s still not the right texture, add a splash of cream or milk and re-spin again.
- Using mix-ins? Pre-freeze them before adding them to the recipe.
- Storage – keep in a sealed container in the freezer for several weeks.