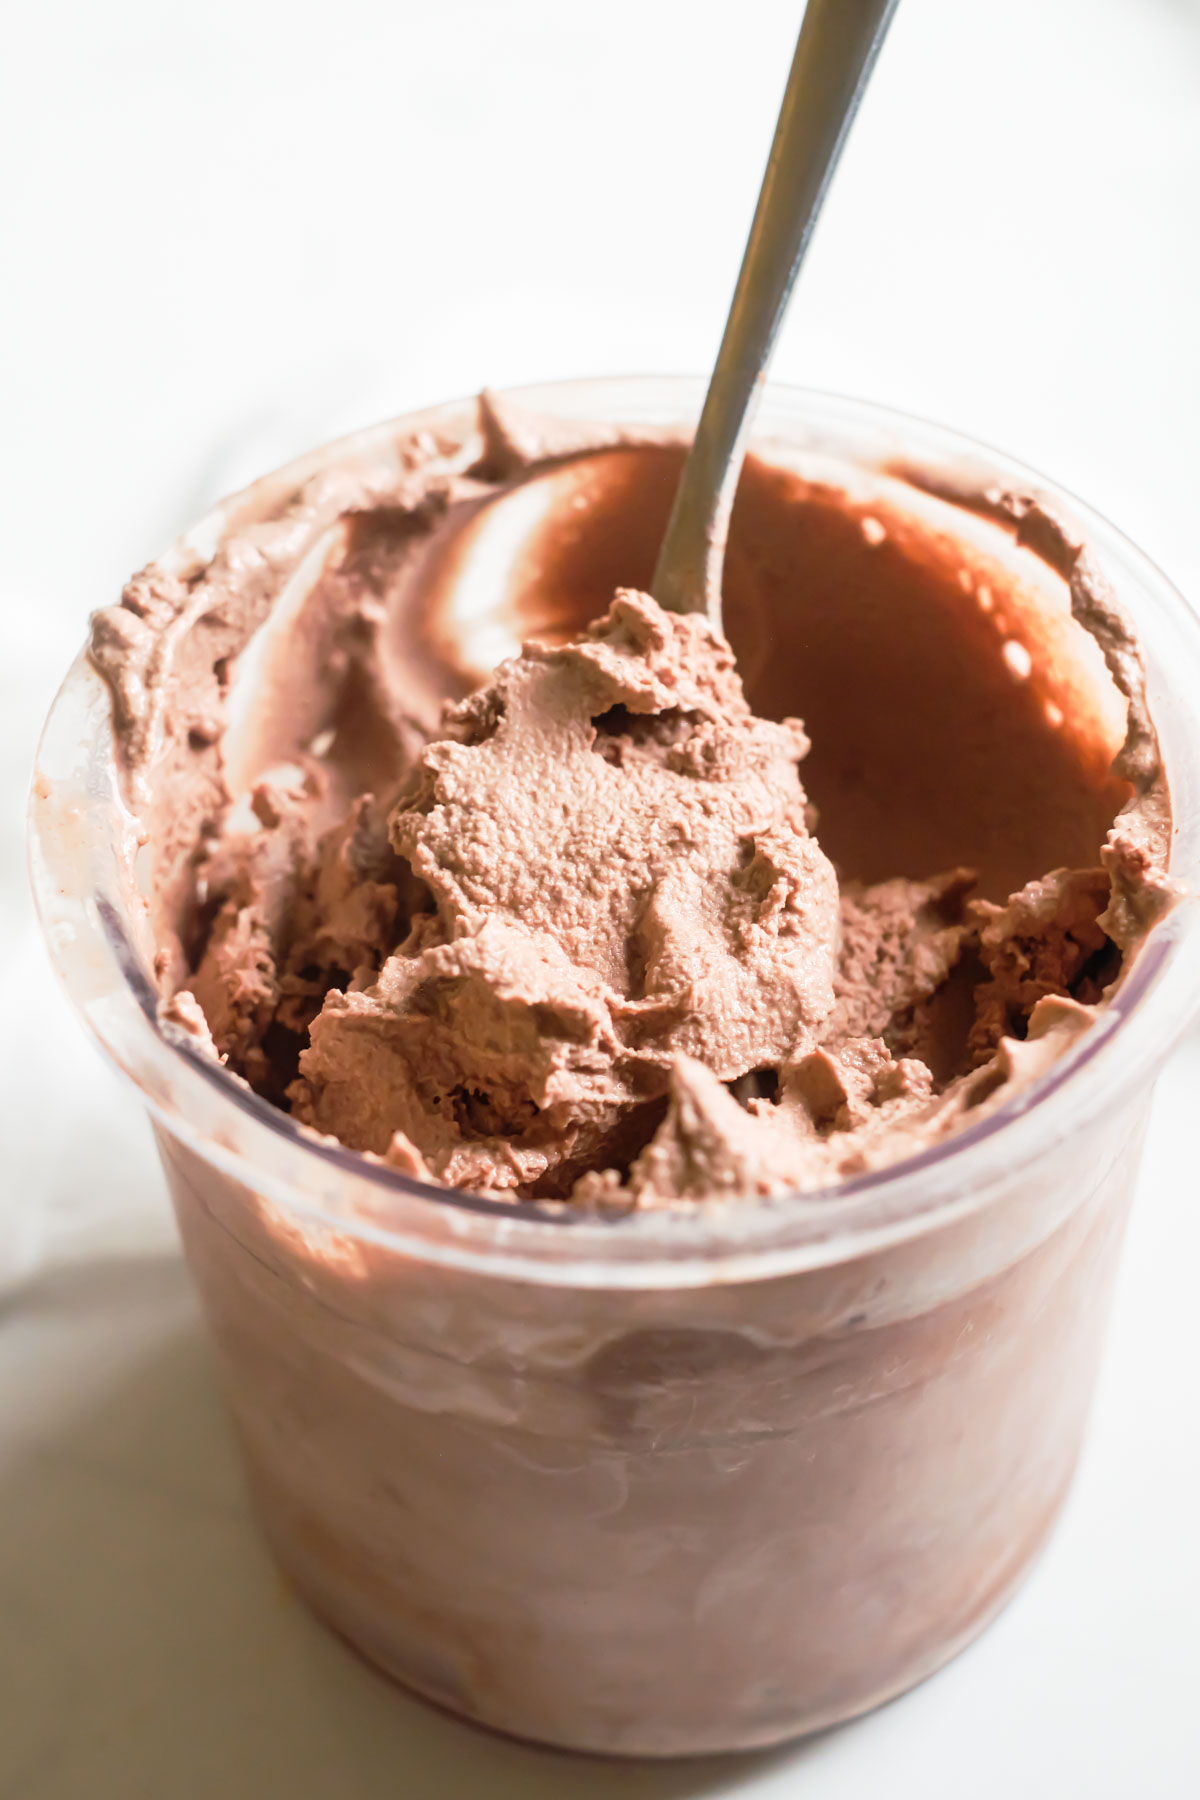
Decadent Ninja Creami Chocolate Ice Cream
Satisfy your sweet tooth with this Ninja Creami Chocolate Ice Cream recipe! You’ll love how quick and easy it is to whip up rich and luxurious chocolate ice cream at home with everyday ingredients and minimal prep time.
Suitable for gluten free and vegetarian diets.


Want to save this Recipe?
Enter your email below and get it sent straight to your inbox. Along with recipes & tips every week!
Fellow chocoholics, I have discovered the formula to a lifetime of happiness. And it is 1 Ninja Creami machine plus 6 simple ingredients. In other words, it’s this recipe for Ninja Creami chocolate ice cream. Ooh and check this Ninja Ceami vanilla ice cream recipe too.
If you love chocolate ice cream as much as my family does, this recipe really is a game-changer. In fact, it’s so shockingly simple to make with just a few ingredients, you’ll wonder why you spent all that time rushing out to the nearest ice cream shop to satisfy those after-dinner cravings.
What I reallllly love about the Ninja Creami is that you make and freeze the base 24 hours in advance. With the planning and prep work done upfront, all that’s left to do is add the frozen mixture to the Ninja. A few minutes later, the best chocolate ice cream will be ready to serve.
Yeap, I think you’ll love this Ninja Creami chocolate ice cream recipe so much that you’ll want to check out all my other Ninja Creami recipes!
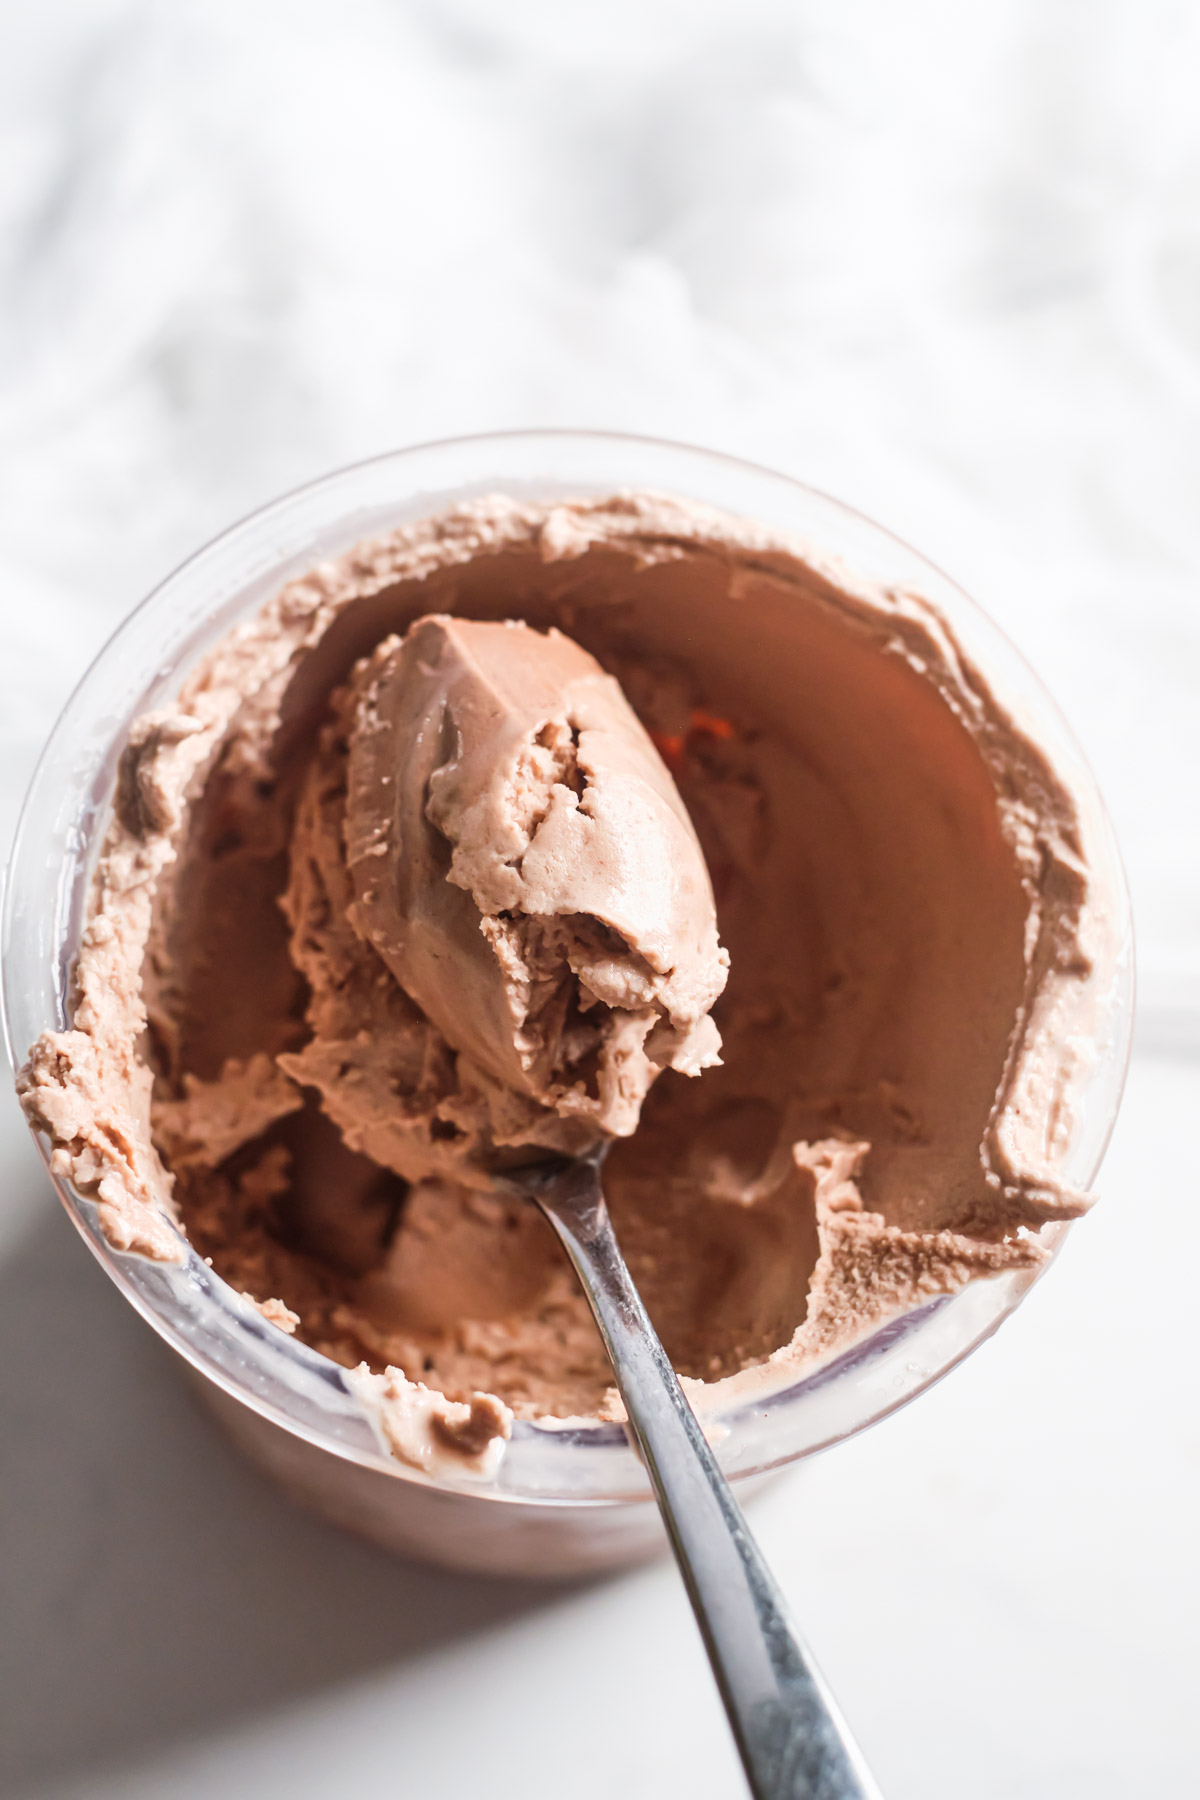
Table of Contents
Why Make This Recipe
- Easy and Convenient—No more last-minute trips to the ice cream shop! This recipe only requires 10 minutes of prep time to make in the comfort of your own home.
- Versatile – Homemade ice cream lets you select the ingredients and tailor the recipe to suit your tastes and dietary needs.
- Budget-Friendly – Save money by making delicious ice cream for the whole family using just a handful of affordable pantry staples.
- Plus if you like this you will also love this Ninja Creami banana ice cream.

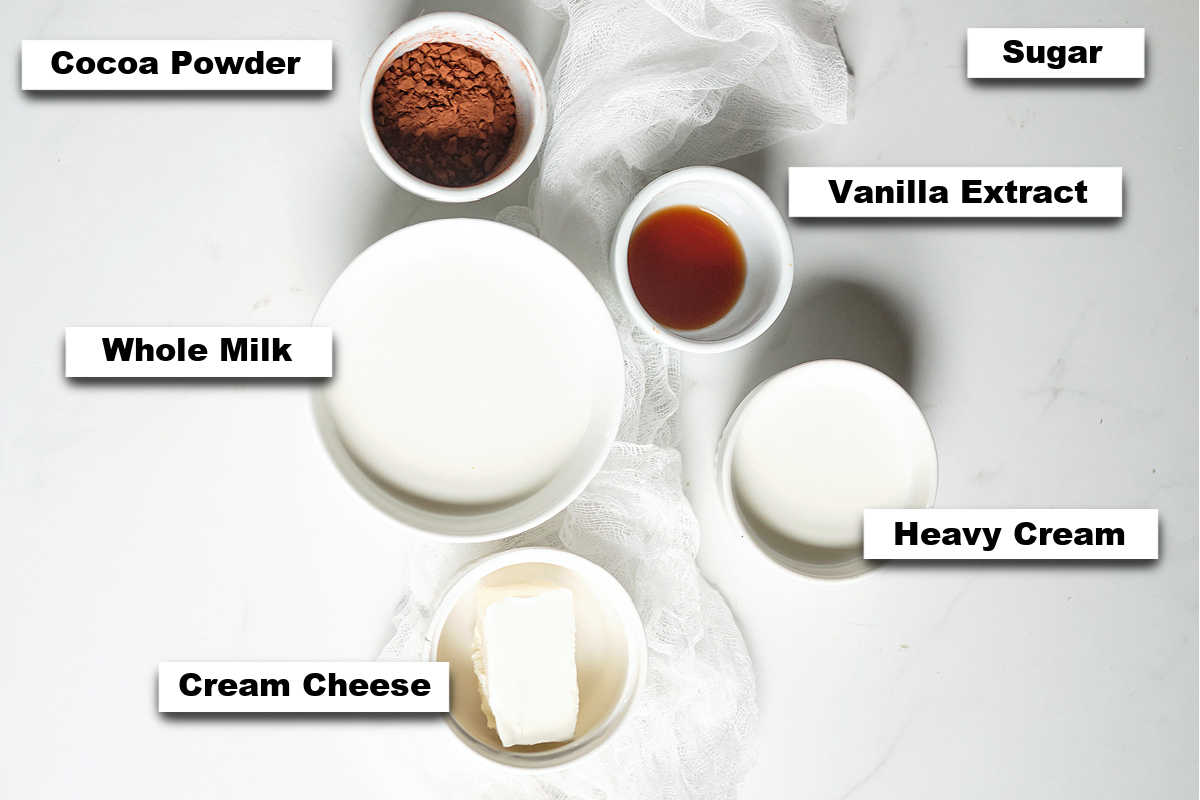
Ingredient Notes
- Cream Cheese – adds that luxurious creamy texture.
- Sugar – granulated white sugar adds the right amount of sweetness.
- Vanilla Extract – provides a lovely depth of flavor.
- Cocoa Powder – for that deep, rich chocolate flavor we all crave. I find Dutch-processed cocoa powder gives the best results.
- Heavy Cream and Whole Milk – the perfect base for delectably creamy ice cream.
Handy Tip: Use Good Kitchen Tools!
For the best tools to help make your recipe even easier and more successful, check out my collection of the Best Kitchen Tools on Amazon.
How To Make Ninja Creami Chocolate Ice Cream
Get the complete ingredients list and instructions from the recipe card below.
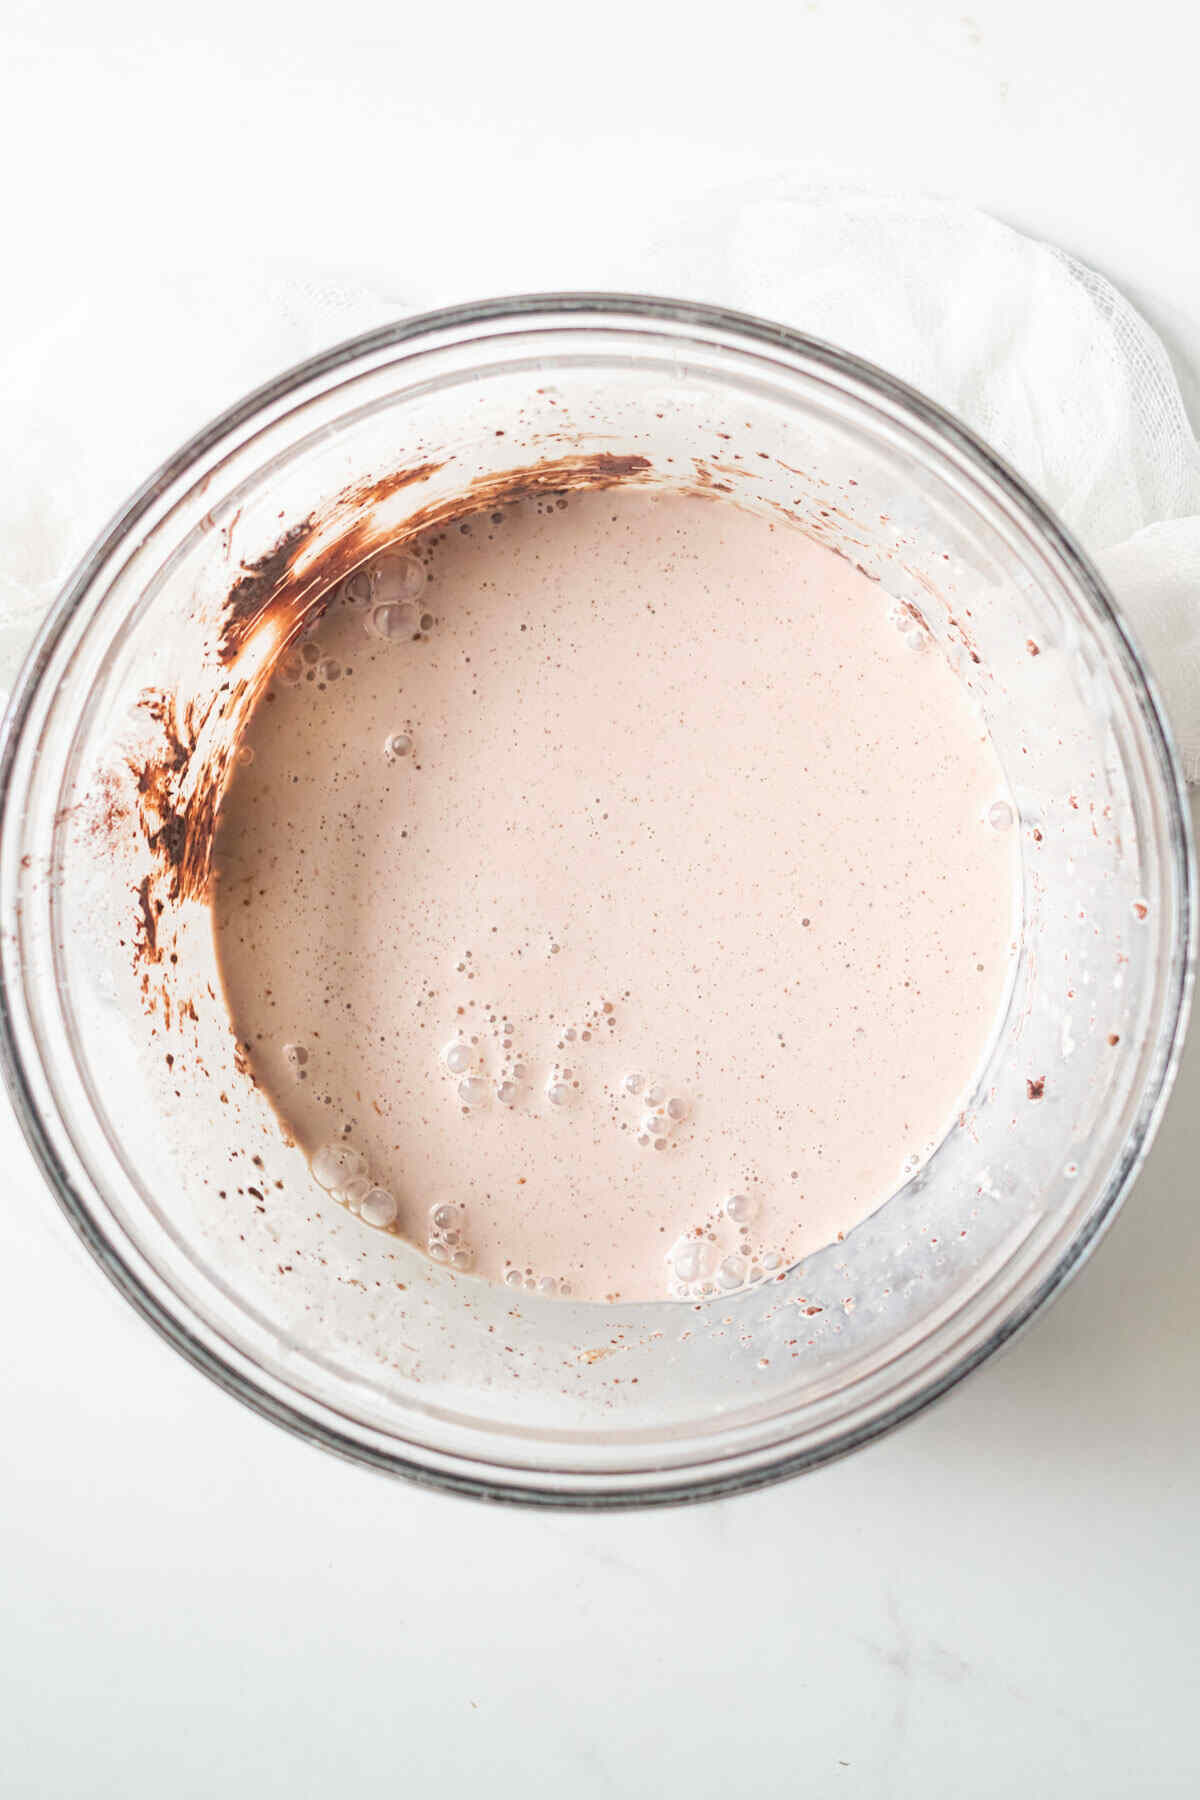
Step 1. Add cream cheese and cocoa powder to a large microwave-safe bowl and heat for 10 seconds to soften. Add sugar and vanilla extract and stir for a minute or so (until it looks like frosting). Next, slowly add in the heavy cream and milk, mixing until fully combined.
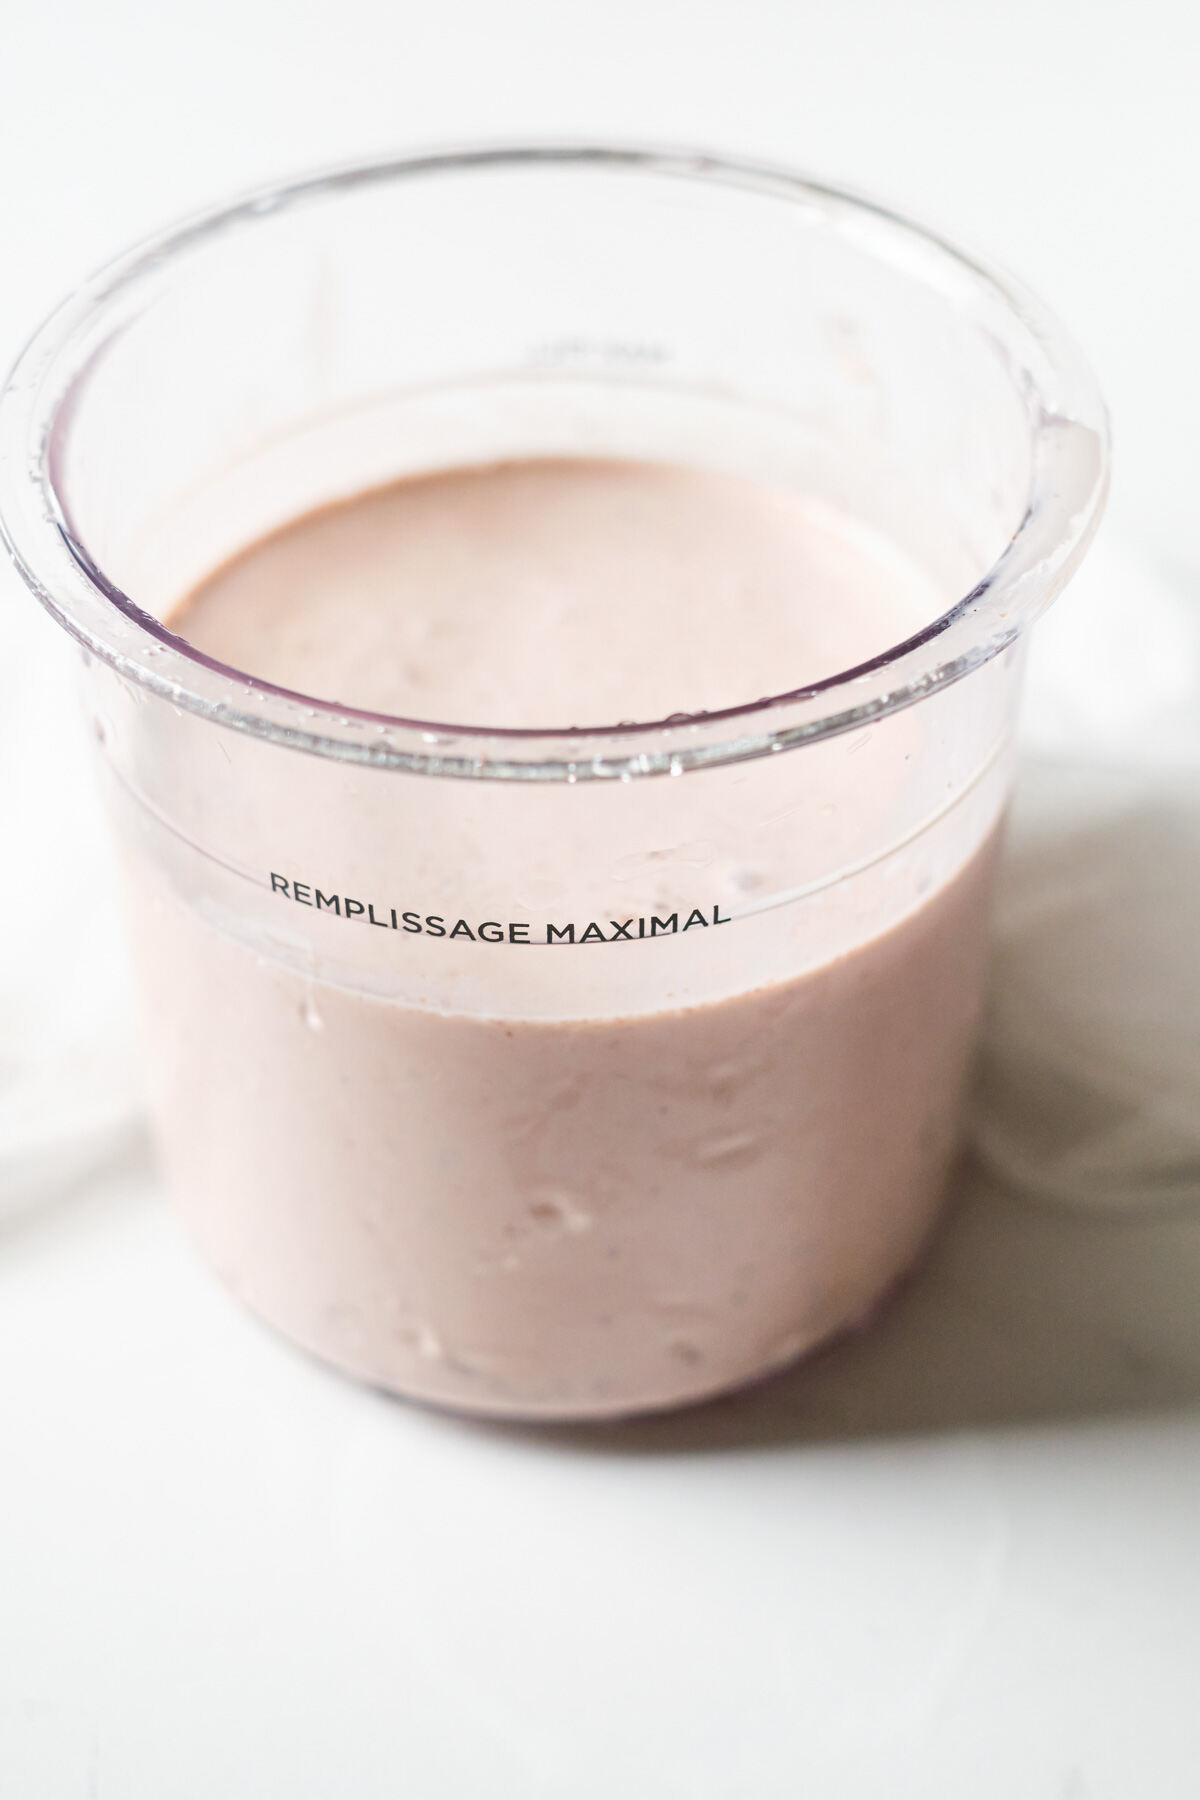
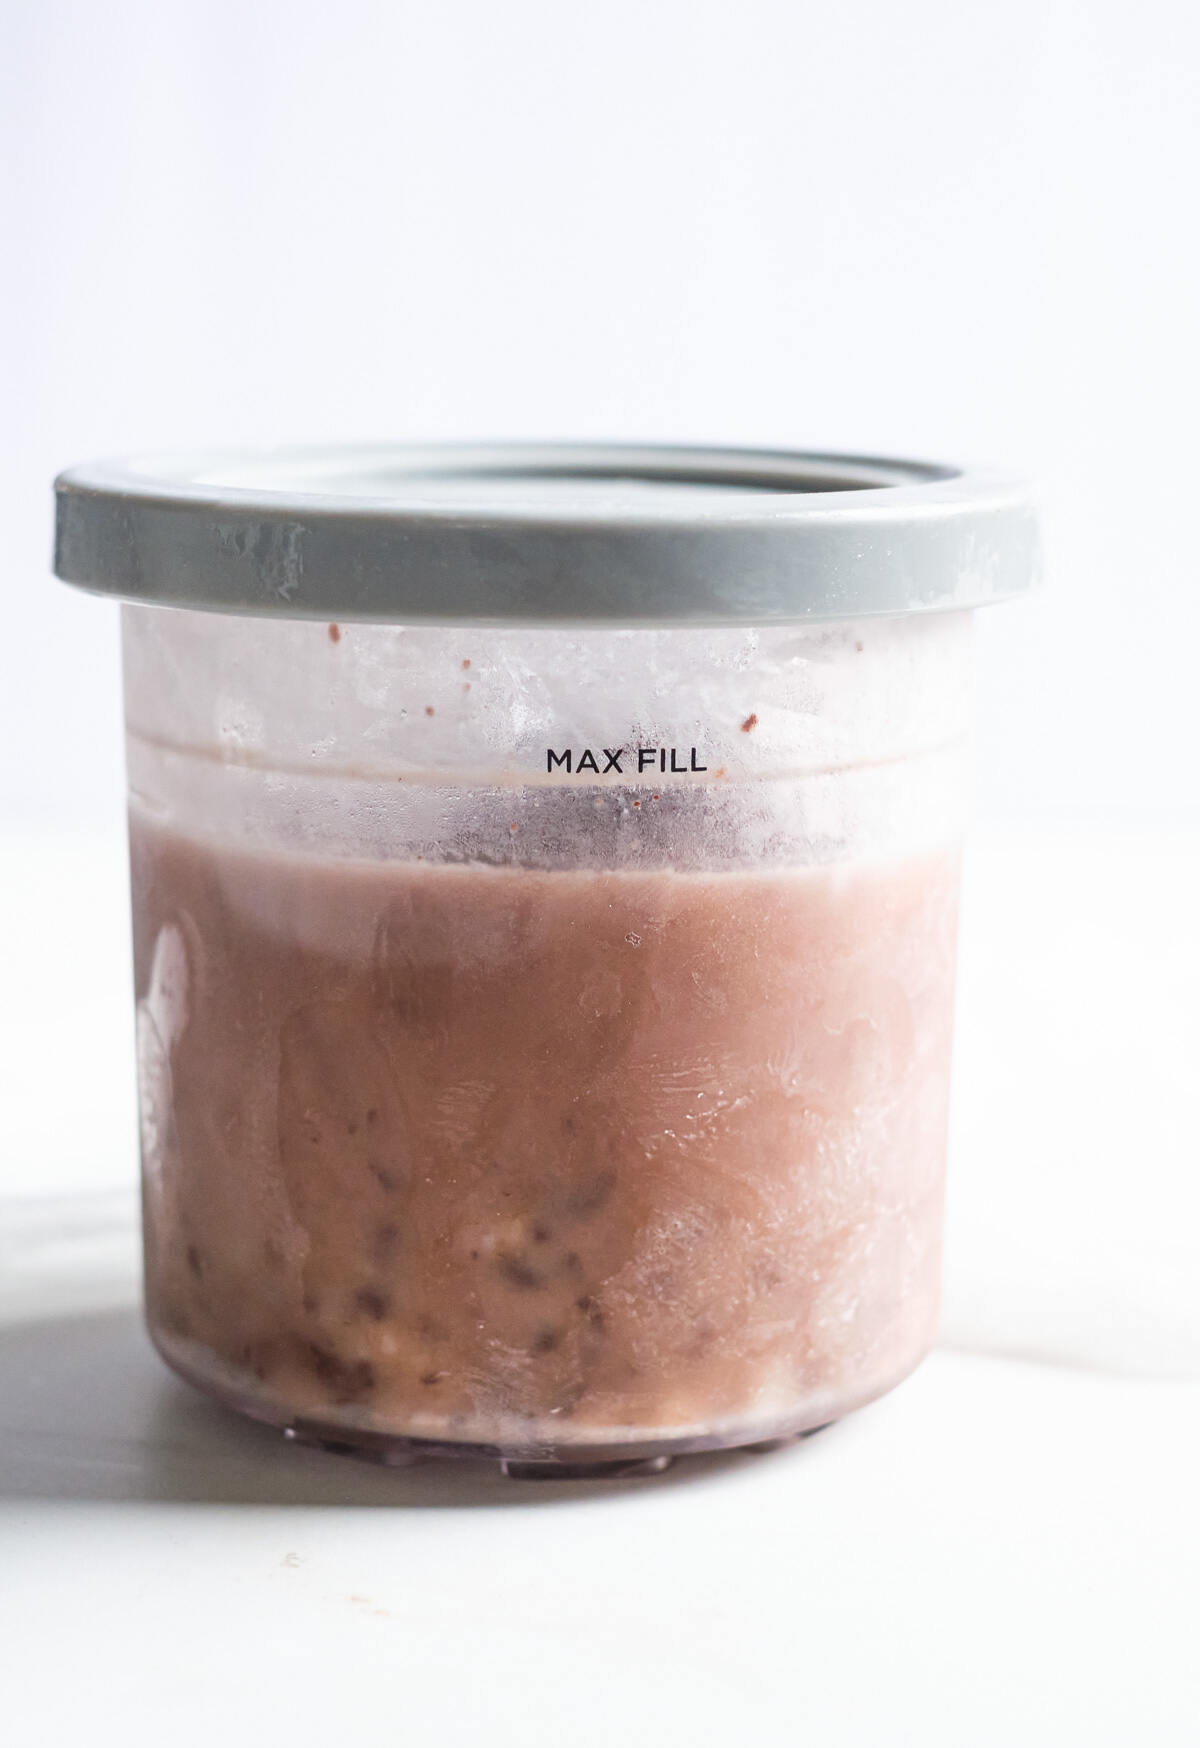
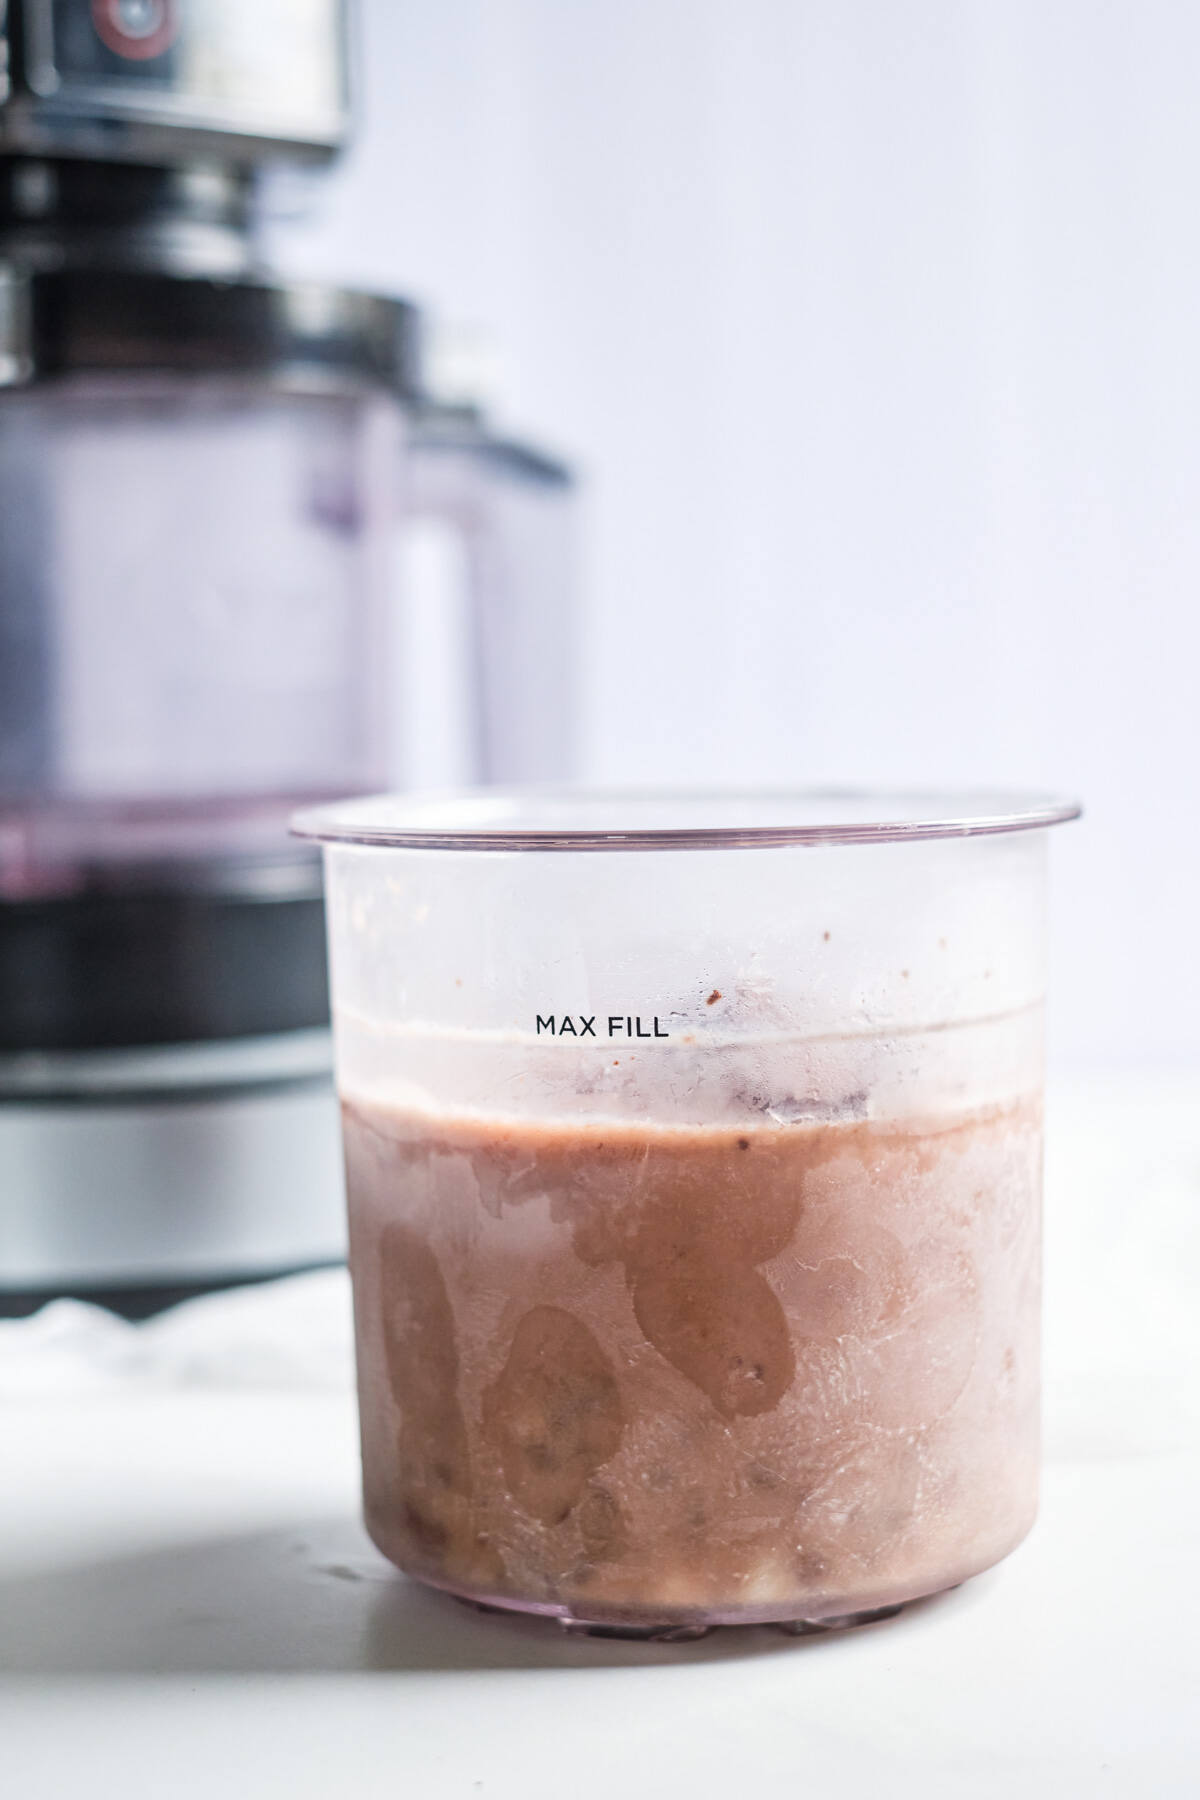
Step 2. Pour the ice cream base into a CREAMi™ pint container, place the lid on, and freeze it for a full 24 hours.
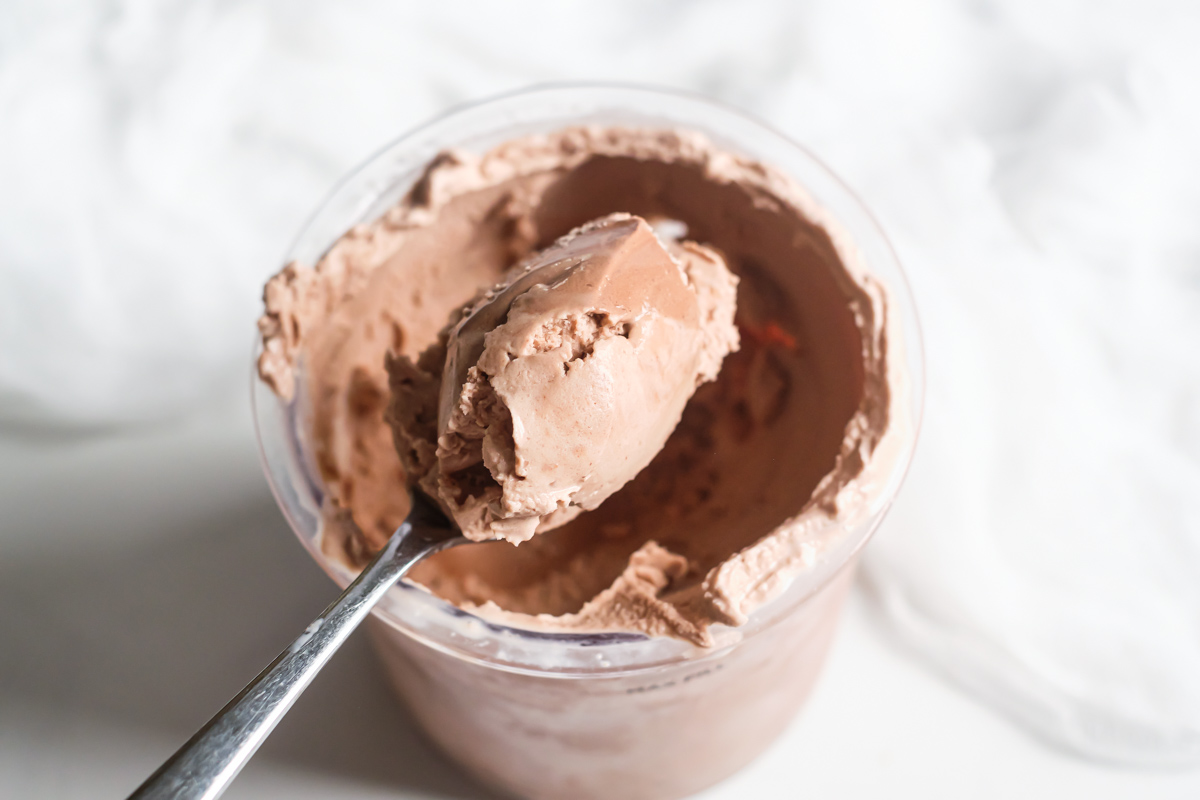
Step 3. When ready to process, remove the pint from the freezer, take off the lid, and refer to the quick start guide for assembly and set-up instructions. Select full and use the ice cream button and let process.
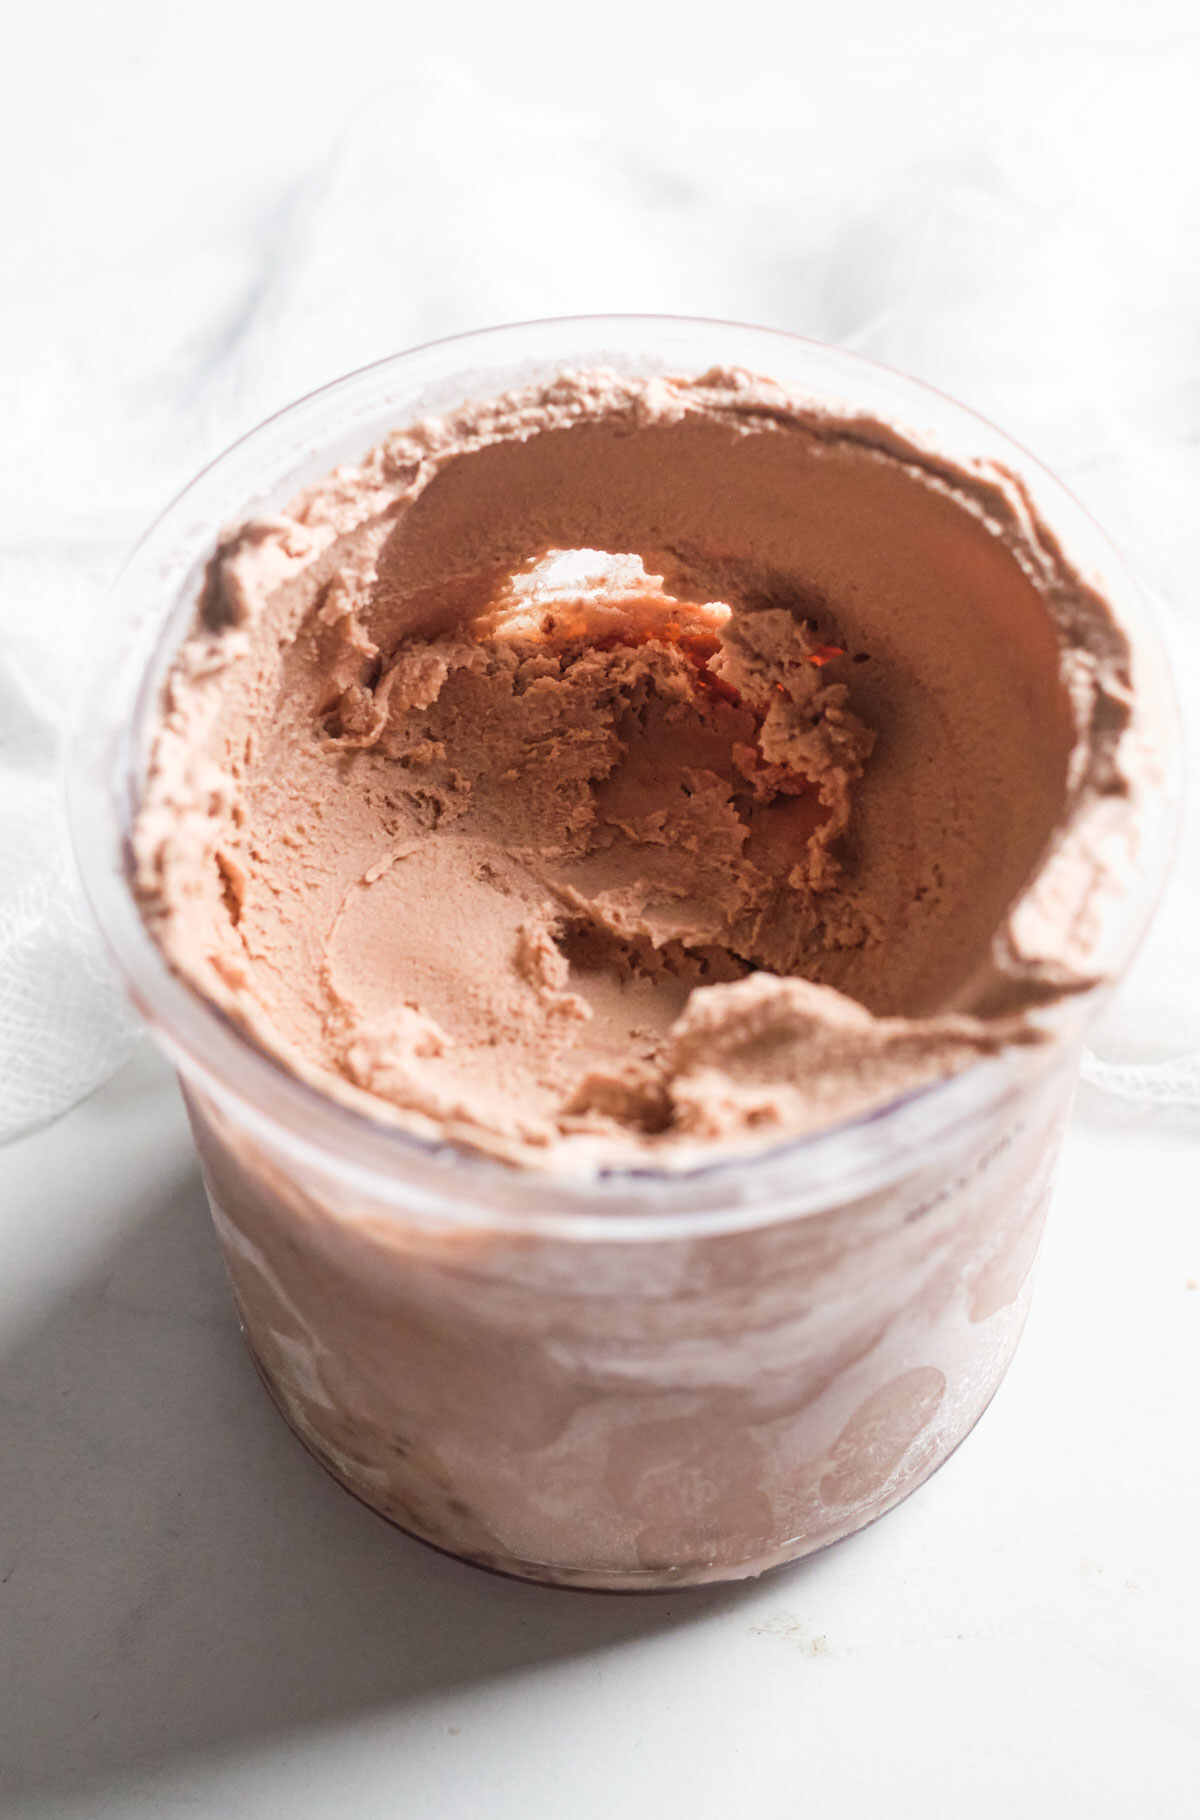
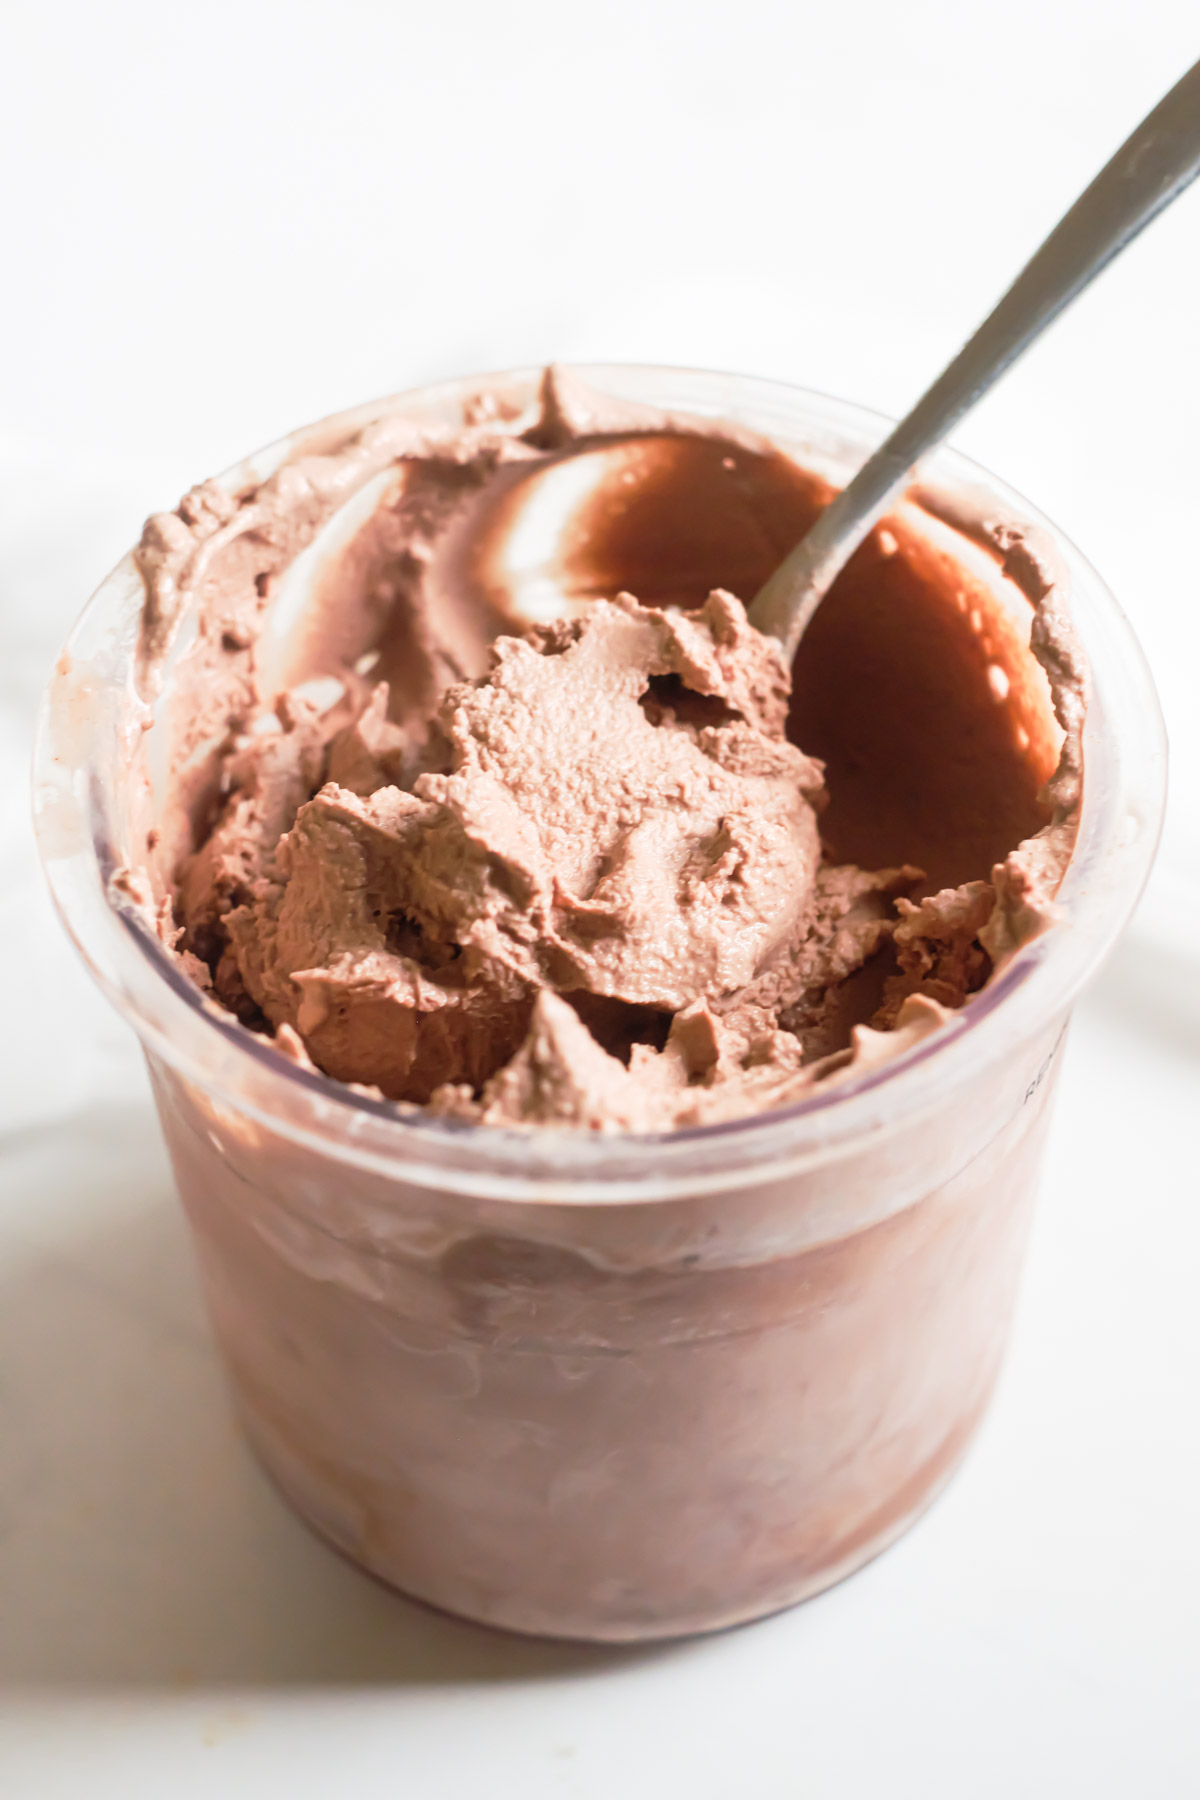
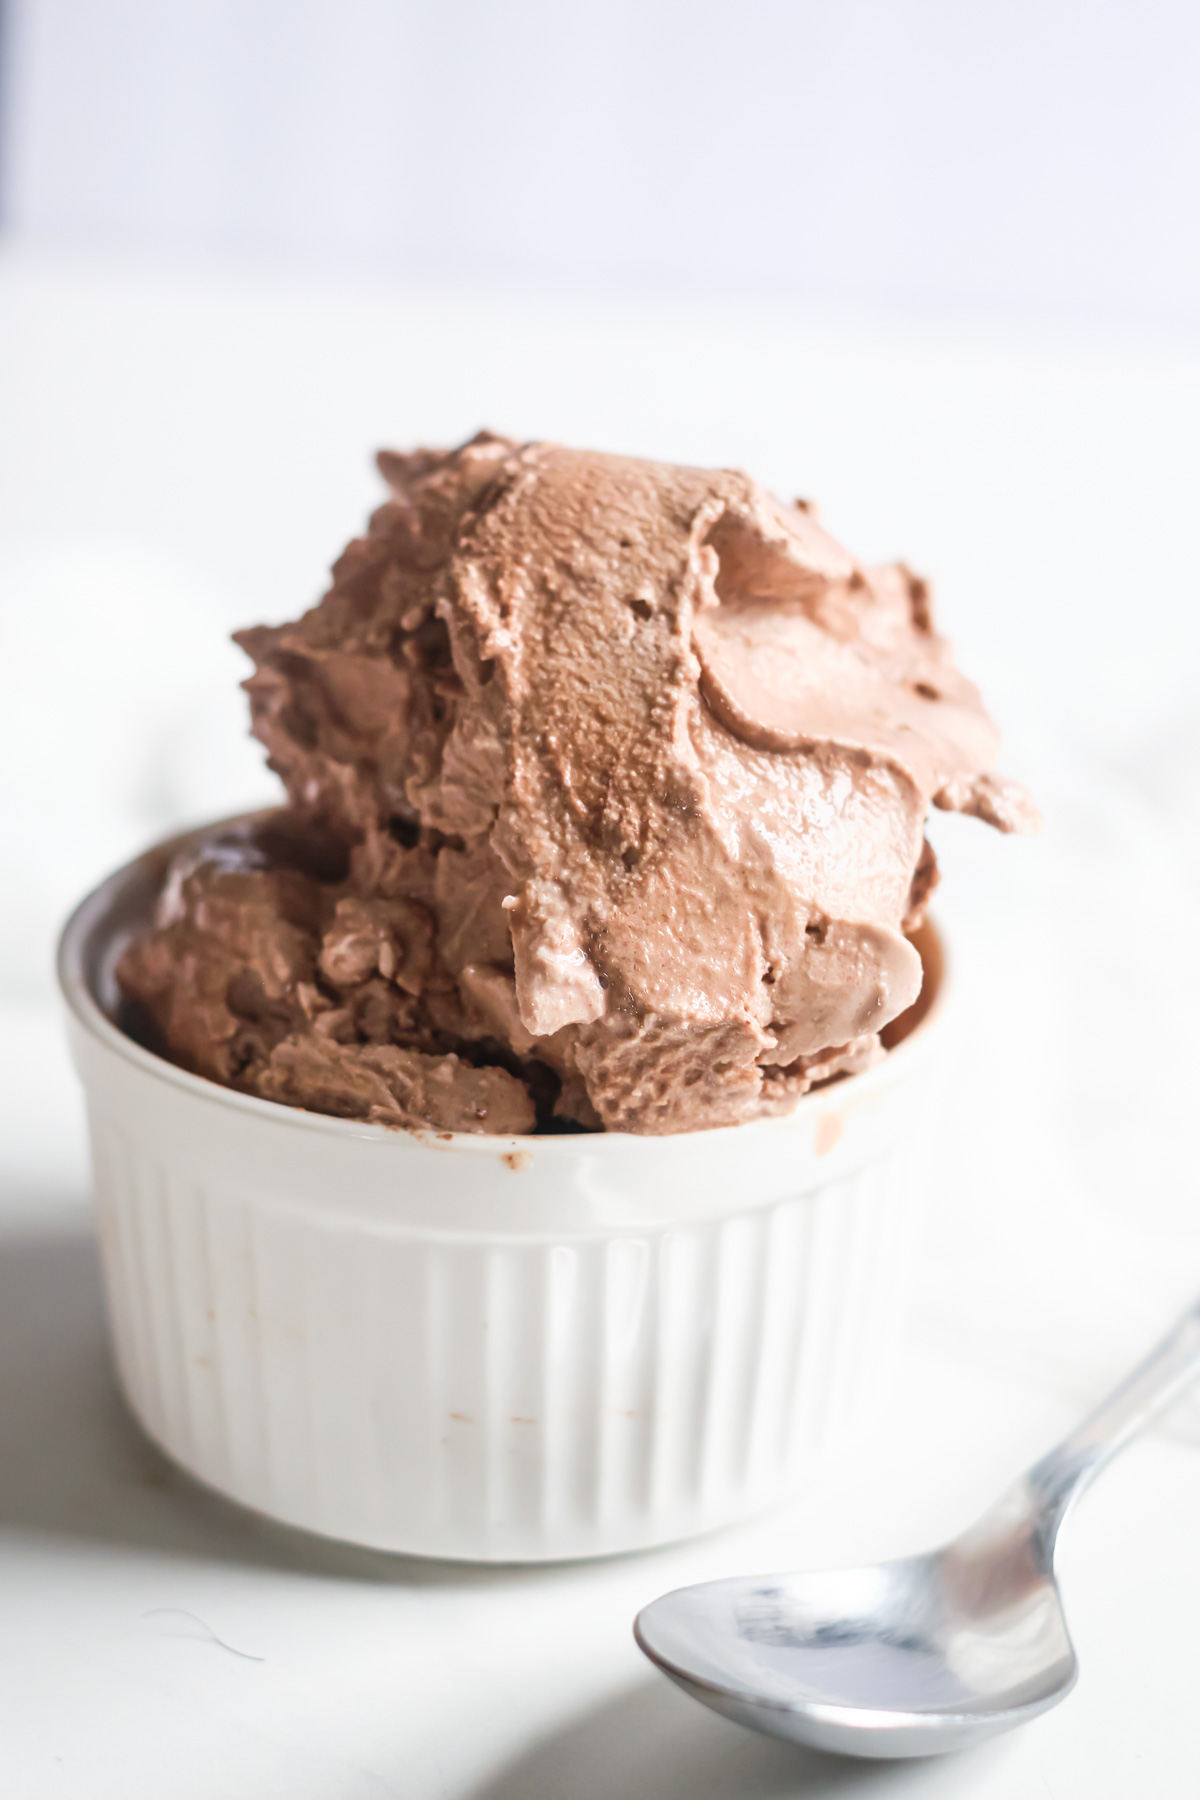
Step 4. If ice cream is not creamy enough or powdery, the please re-spin. When the processing is complete, remove the pint from the machine, serve, and enjoy!
Tips For Success
- In order for the ice cream to process correctly, make sure your ice cream mixture has been in the freezer for the full 24 hours and is completely frozen.
- Use the re-spin function if your ice cream isn’t creamy enough. If it’s still not the right texture, add a splash of cream or milk and re-spin again.
- Please make sure never to exceed the maximum fill line of the ninja pint container.
- Double this recipe to batch prep and freeze a couple of pints at once so you can process whenever those cravings strike.
- Keep your favorite mix-ins stashed in the freezer so they’re frozen and ready to use when you add them.
Recipe Variations
- Use Mix-ins – Have fun by adding chopped nuts, chocolate chips, mini marshmallows, or your favorite candy pieces. Consult your user manual for how to use the mix in setting.
- Dairy-Free and Vegan – Swap in unsweetened oat milk or almond milk for whole milk, replace the heavy cream with coconut cream and use vegan cream cheese.
- Make it Healthier – Substitute the sugar with 1/2 teaspoon of stevia and 2 1/2 tablespoons of raw agave nectar, then select the Lite Ice Cream program to process.
- Serve a Chocolate Milkshake – Simply use the Ninja Creami milkshake setting to whip up a delectable frozen treat.
Prep and Storage
- Prep Ahead – This recipe requires that you freeze the ice cream base for at least 24 hours before processing in the Ninja Creami.
- Storage – You can store this ice cream inside a sealed container in the freezer for up to 1 month.
FAQs
This can happen if the ice cream base has been frozen for a long time, or if the freezer temperature is too cold. Usually adding a tablespoon or two of liquid and re-spinning will fix the problem.
Yes, if you have leftover ice cream (a rare event in my house!), simply put it in a freezer-safe airtight container and keep it frozen for several weeks, even up to a month.
Yes, you can use the Ninja Creami to add mix-ins to store-bought ice cream. Just follow the instructions in your owner’s manual for using the mix-in setting.
Making homemade ice cream instead of purchasing it at the store or local ice cream shop can help save money. Using the Ninja Creami to make ice cream only requires a handful of everyday ingredients which makes it affordable, easy, and fun!
You have a few options.
1. You can reduce the sugar or you can replace it with some Stevia extract and monk fruit sweeteners or sugar free Instant pudding mix.
2. To lower the calories you could replace some of the full fat milk with half and half.
Note though that these changes may lead to a less creamy, ice dessert that you may need to re-spin before serving.
Similar Recipes
- Ninja Creami Vanilla Ice Cream.
- Ninja Creami Strawberry Ice Cream.
- Creamy Cookie Peanut Butter Milkshake.
- Ninja Creami Banana Ice Cream.
Serving Suggestions
- A sprinkling of toasted walnuts adds both flavor and texture.
- These delicious air fryer chocolate chip cookies are awesome for making ice cream sandwiches!
- Top peanut butter banana brownies with a scoop of this homemade chocolate ice cream for a truly decadent dessert.
Recommended Tools
- Of course, you need the awesome Ninja Creami machine!
- A good set of measuring cups and spoons to easily add your ingredients.
- Pure vanilla extract to get the very best flavor.
- And for the best tools to help make your recipe even easier and more successful, check out my collection of the Best Kitchen Tools on Amazon.
Thank you for reading my Ninja Creami chocolate ice cream recipe post. And please come visit again as I continue to slice, dice, and dream up affordable Air Fryer recipes, Instant Pot Recipes, Southern Recipes, and more. Thanks for supporting Recipes from a Pantry, food blog.
Get The Ninja Creami Chocolate Ice Cream Recipe:
Don’t forget to tag #recipesfromapantry on Instagram or Twitter if you try Ninja Creami Chocolate Ice Cream! It is really, really awesome for me when you make one of my recipes and I’d love to see it. You can also share it on my Facebook page. Please pin this recipe to Pinterest too! Thank you for reading Recipes from a Pantry.

Ninja Creami Chocolate Ice Cream
Ingredients
- 2 Tablespoons cocoa powder
- 1 Tablespoon cream cheese
- 1 teaspoon vanilla extract
- ⅓ cup (67g) granulated white sugar
- 1 cup (236ml) whole milk
- ¾ cup (177ml) heavy cream
Instructions
- Add cocoa powder and cream cheese to a large microwave-safe bowl and heat for 10 seconds to soften.
- Add sugar and vanilla extract and use a spatula to stir for a minute or so (until it looks like frosting).
- Next, slowly add in the heavy cream and milk, mixing until fully combined.
- Pour the mixture into a CREAMi™ pint, put the lid on, and freeze for a full 24 hours.
- To process, remove pint from freezer, take off lid, and refer to the Ninja CREAMi™ quick start guide for assembly and set up instructions. Select full and use the ice cream button and let process.
- If ice cream is not creamy enough or powdery, the please re-spin. When processing is complete, remove from the machine, serve, and enjoy!
Video
Notes
- In order for the ice cream to process correctly, make sure your ice cream mixture has been in the freezer for the full 24 hours and is completely frozen.
- Use the re-spin function if your ice cream isn’t creamy enough. If it’s still not the right texture, add a splash of cream or milk and re-spin again.
- Double this recipe to batch prep and freeze a couple of pints at once so you can process whenever those cravings strike.
- Keep your favorite mix-ins stashed in the freezer so they’re frozen and ready to use when you add them
- Storage – ice cream can be stored in a sealed container inside the freezer for up to a month.


This looks so good, I NEED to get a ninja creami